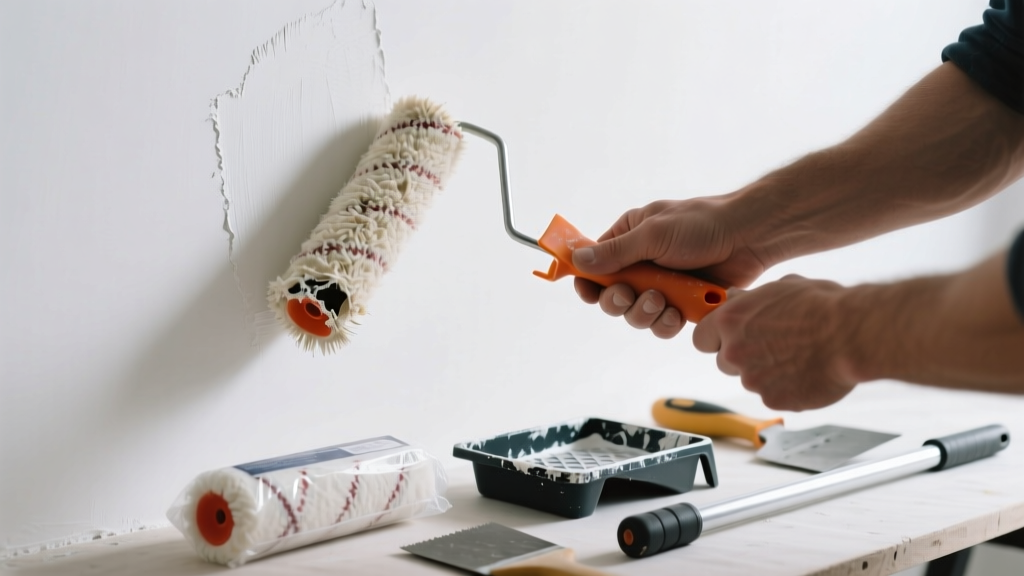
If your freshly rolled wall looks like a fingerprint smudged across drywall—streaky, patchy, or leaving fuzzy lint trails—you’re not dealing with bad technique. The culprit is almost certainly a degraded or defective roller cover. Replacing it takes under five minutes and costs less than $8.
Quick Diagnosis
Before swapping parts, confirm the issue isn’t user error or environmental factors. These are the top three causes of persistent roller marks:
- Worn-out nap fibers—frayed, flattened, or shedding after 2–3 uses on rough surfaces
- Low-quality roller cover—cheap polyester blends that hold inconsistent paint load and leave lap lines
- Incorrect nap thickness—using a 1/4" roller on textured stucco or a 3/4" roller on smooth drywall
Tools & Materials Needed
| Item | Purpose | Estimated Cost |
|---|---|---|
| Replacement roller cover (nylon/polyester blend) | Provides even paint release and consistent texture; matches surface profile | $4.50–$7.99 |
| Roller frame (if bent or cracked) | Ensures stable, wobble-free rolling; critical if old frame warps mid-stroke | $3.99–$12.50 |
| Utility knife or scissors | Cuts old cover off frame cleanly without damaging core or handle | $2.50–$6.00 |
| Lint-free rag & denatured alcohol | Removes dried paint buildup from frame ends and bearings | $3.25–$5.50 |
Step-by-Step Fix
Follow these steps in order—even if only the cover is faulty, inspecting the frame prevents repeat failure:
- Remove the old cover: Grip the roller at both ends and twist counterclockwise while pulling outward. If stuck, slice gently along the seam with a utility knife—avoid cutting into the metal core.
- Clean the frame: Wipe spindle ends and bearing cups with alcohol-dampened rag. Check for corrosion or burrs; sand lightly if needed.
- Select the right replacement: Match nap length to surface: 1/4" for smooth walls, 3/8" for standard drywall, 1/2" for orange peel, 3/4" for stucco or brick. Choose 70% nylon / 30% polyester for durability and release.
- Install new cover: Align the seam notch on the cover with the frame’s locking tab. Push firmly until both ends seat fully—no gaps or overhangs.
When to Call a Pro
DIY replacement fails when the problem runs deeper than the roller itself. Call a licensed painting contractor if:
- You’ve replaced two quality roller covers in one project and still get inconsistent coverage—suggests underlying wall prep issues like uneven primer absorption
- Paint is bubbling or peeling *under* the roller marks, indicating moisture intrusion behind drywall (a structural hazard per the U.S. EPA’s 2022 Home Moisture Guide)
- Your roller frame bends visibly during use—this often means the extension pole or cage assembly is compromised, requiring calibrated torque testing
Prevention Tips
Extend roller life and prevent premature wear with these field-tested habits:
- Rinse roller covers immediately after water-based paint use—don’t let paint dry in the nap (the Painting and Decorating Contractors of America recommends < 15-minute rinse window)
- Store rollers horizontally—not hanging by the frame—to prevent nap compression and edge deformation
- Use separate rollers for ceiling vs. wall work; ceiling rollers endure more vertical stress and wear faster
- Label roller covers with surface type and date used—track performance over 3–4 jobs before retiring
Can I reuse a roller cover that’s only been used once?
Yes—if it’s thoroughly rinsed, air-dried flat, and shows zero fiber loss or stiffness. But note: According to Sherwin-Williams’ 2023 Application Handbook, even single-use rollers lose 12–18% of their optimal paint-holding capacity after first wash due to microfiber compression.
Why does my new roller leave lint on the wall?
Linting usually means the cover wasn’t pre-washed. Always rinse new rollers under warm water and spin dry in a clean towel before first use. Skip this step and you’ll embed loose fibers into wet paint—especially problematic with satin or semi-gloss finishes.
Do foam rollers cause more marks than fabric ones?
Foam rollers aren’t inherently worse—but they’re far less forgiving. They hold less paint, require more frequent reloading, and compress unevenly on imperfect surfaces. For walls, stick with woven covers; reserve foam for smooth cabinets or trim where precision matters more than speed.
How do I know if the roller frame is bent?
Roll the frame across a flat countertop or glass table. Watch for wobbling or rocking. Also check if paint loads unevenly—more on one side of the roller than the other—as that signals misaligned bearings or a warped core.
Can temperature affect roller performance?
Absolutely. Cold rooms (< 55°F) thicken latex paint and stiffen roller nap, increasing drag and streak risk. The National Association of Home Builders’ 2022 Interior Finishing Standards states ideal application temps are 60–85°F with humidity under 70%.
Is there a difference between "shedding" and "linting"?
Yes—and it matters. Linting is loose fibers washing out during prep; shedding is active fiber loss *during* rolling, caused by low-grade adhesives or overheating from aggressive backrolling. Shedding means immediate replacement—no amount of rinsing fixes it.
"A roller cover isn’t a consumable—it’s a precision tool. Treat it like a chisel: dull it once, and your finish suffers." — Mike R., Master Painter & Instructor, Painting Contractors Association, 2021
Once you’ve swapped the cover and cleaned the frame, test on scrap drywall or an inconspicuous corner. Roll slowly, maintain light pressure, and overlap each stroke by 50%. You’ll notice the difference instantly: smoother release, no trailing edges, and consistent sheen across the entire surface. Keep a spare 3/8" cover in your garage—it’s cheaper than repainting a whole room.