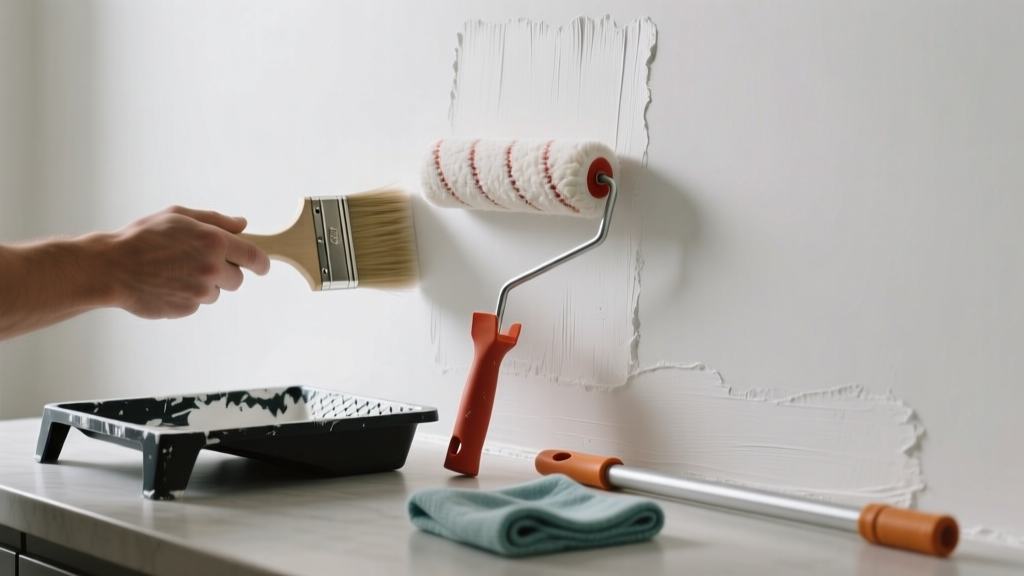
That streaky, patchy finish on your freshly painted kitchen wall or cabinet door? It’s not ruined — it’s fixable. Roller marks happen fast in kitchens due to humidity, rushed prep, or using the wrong nap — but they’re rarely permanent.
Quick Diagnosis
Before sanding or repainting, identify the root cause. Most kitchen roller marks stem from one (or more) of these:
- Applying paint too thickly over glossy or greasy surfaces (common on cabinets)
- Using a roller cover with incorrect nap length for your surface texture
- Letting paint dry between passes — especially in humid kitchens or near stovetops
- Rolling over partially dried edges (“lapping”) instead of maintaining a wet edge
- Using low-quality paint that lacks leveling agents (e.g., budget flat interior paint on semi-gloss cabinets)
Tools & Materials Needed
| Item | Purpose | Estimated Cost |
|---|---|---|
| 150-grit sanding sponge (non-clogging) | Smoother, more controlled sanding than paper on vertical kitchen surfaces | $4–$8 |
| Microfiber lint-free cloths | Wipe dust and grease without leaving residue — critical before recoating | $6–$12 for pack of 6 |
| High-solids acrylic primer (e.g., Zinsser Bulls Eye 1-2-3) | Seals sanded areas and improves paint adhesion on greasy kitchen walls | $18–$24 per quart |
| 3/8-inch microfiber roller cover | Ideal nap for smooth cabinets and drywall; minimizes stipple and loading inconsistencies | $3–$7 |
| Paint conditioner (e.g., Floetrol) | Extends open time and improves flow — essential in warm, humid kitchens | $12–$16 per quart |
Step-by-Step Fix
Choose the method based on severity and location:
- Light stippling on walls: Lightly dampen a 150-grit sanding sponge, sand only the raised ridges (not full coverage), wipe with damp microfiber cloth, then apply one thin coat of paint mixed with 10% Floetrol.
- Visible lap marks on cabinets: Sand entire affected panel with 150-grit, clean with TSP substitute (e.g., Krud Kutter), prime with Bulls Eye 1-2-3, then repaint using 3/8" microfiber roller at consistent 3-foot overlap strokes.
- Texture mismatch on textured backsplash wall: Use a 1/2-inch roller nap *only* on the repaired section, then feather outward 12 inches into existing texture — let dry, then lightly roll entire area with same nap and fresh paint.
- Glossy surface marring (e.g., laminate cabinet doors): Skip sanding — clean thoroughly, apply light coat of shellac-based primer (BIN), then use high-performance acrylic enamel (e.g., Benjamin Moore Advance) rolled with foam sleeve.
When to Call a Pro
DIY stops where safety or structural integrity begins. Call a licensed painter if:
- You discover peeling paint down to bare drywall or plaster behind the marks — could indicate moisture intrusion from plumbing or range hood vent leaks
- The marks appear only on upper cabinets above the stove and worsen after cooking — likely thermal expansion cracking requiring substrate stabilization
- You’re working with lead-based paint (homes built before 1978) and lack EPA RRP certification — disturbing it improperly risks contamination
- More than 30% of the kitchen’s painted surface shows inconsistent sheen or texture — indicates systemic prep failure beyond spot repair
"Over 68% of paint failures in kitchens trace back to inadequate surface cleaning—not poor technique." — Painting & Decorating Contractors of America (PDCA) Field Survey, 2022
Prevention Tips
Next time you paint, avoid roller marks before they start:
- Clean walls and cabinets with Krud Kutter Original (not just water) — grease film is invisible but kills adhesion
- Use a paint grid instead of a tray: it loads rollers evenly and reduces puddling at the ends
- Work in 3×3 ft sections, maintaining a wet edge — set a timer if needed (max 8 minutes between passes in standard kitchen temps)
- Store rollers in sealed plastic bags between coats — prevents skinning and ensures consistent nap performance
- For cabinets, always prime with shellac-based BIN first — it blocks tannins and oils that cause uneven absorption
Can I use bleach on this?
No. Bleach won’t remove roller marks and will degrade acrylic binders in modern paints, causing chalkiness or yellowing — especially on white cabinets. Stick to mechanical correction (sanding) or repainting.
Will a second coat hide the marks?
Only if the first coat was applied correctly. A second coat over poorly rolled paint often amplifies texture differences. Always fix the base layer first — sand, prime, then recoat.
Why do marks show up more on kitchen cabinets than walls?
Kitchen cabinets are typically painted with higher-sheen finishes (semi-gloss or satin), which reflect light more aggressively — making texture variations like roller stipple far more visible than on matte wall paint.
Can I sand and repaint just one cabinet door?
Yes — but match the sheen and batch number exactly. Even slight formulation differences between paint batches cause visible ‘ghost panels.’ Buy extra paint upfront and store it sealed in a cool, dark place.
How long should I wait between sanding and repainting?
Wait until the surface feels completely dry to the touch and no dust remains — usually 30–45 minutes with a microfiber wipe. In high-humidity kitchens, extend to 90 minutes and run the exhaust fan during prep.
Do roller marks mean my paint is bad?
Not necessarily. Even premium paints (e.g., Sherwin-Williams Emerald) show marks if applied over dirty surfaces, with worn rollers, or in temperatures above 85°F — common near sunny kitchen windows or above dishwashers.
A smooth kitchen finish isn’t about luck — it’s about controlling variables: surface prep, tool selection, and environmental timing. Fix the marks now, then use that same attention when repainting your kitchen cabinet paint guide or tackling your next kitchen wall project. With the right tools and rhythm, your kitchen can look professionally finished — no pro required.