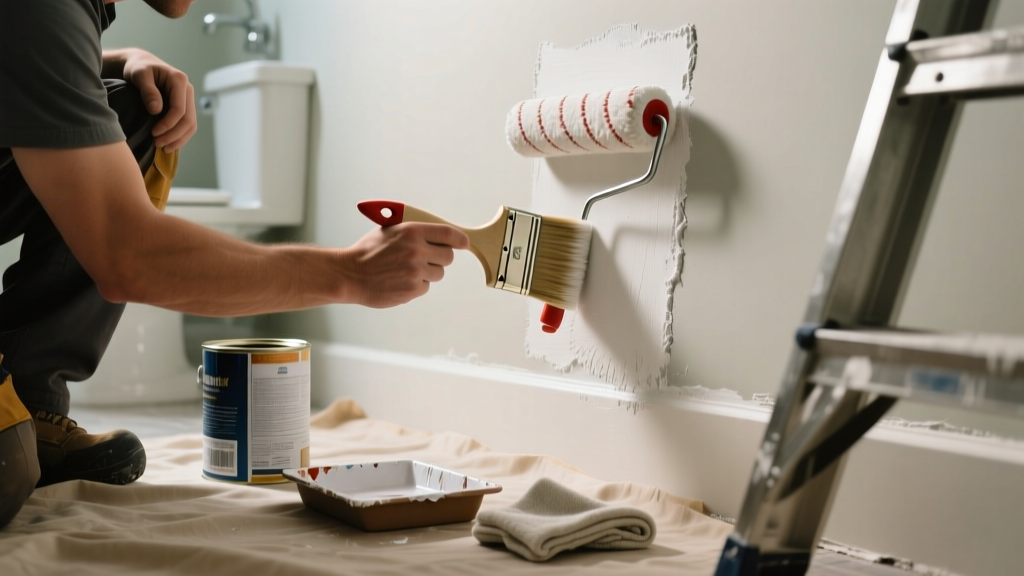
Bathroom paint roller marks—those streaky, patchy, or textured bands—aren’t just ugly; they’re a red flag that moisture, technique, or product choice went sideways. Unlike living rooms or bedrooms, bathrooms demand extra attention to humidity control, surface prep, and paint formulation. Get it wrong, and you’ll see roller lines reappear after just one shower.
Quick Diagnosis
Roller marks in bathrooms rarely happen by accident—they’re symptoms of specific missteps. Pinpointing the cause saves time and prevents repeat failures.
- Applying paint over damp or poorly cleaned tile grout or drywall seams
- Using a low-nap roller (≤3/8") on semi-gloss or satin bathroom paint
- Rolling too fast or with inconsistent pressure—especially near ceiling corners or around vents
- Paint drying too quickly due to poor ventilation or high ambient heat
- Re-rolling partially dried areas, causing lap marks and texture buildup
Tools & Materials Needed
| Item | Purpose | Estimated Cost |
|---|---|---|
| 120-grit sanding sponge | Smooths raised roller ridges without gouging moisture-sensitive drywall | $4–$7 |
| Microfiber roller cover (3/4" nap) | Delivers even coverage on textured or semi-gloss bathroom paints | $6–$12 |
| High-humidity primer (e.g., Zinsser Perma-White) | Seals porous patches and prevents flash-off inconsistencies | $22–$30 |
| Moisture meter (e.g., General Tools MMD4E) | Verifies drywall moisture is ≤12% before repainting | $35–$55 |
| Exhaust fan timer switch | Ensures 30+ minutes of post-paint ventilation to slow drying | $18–$28 |
Step-by-Step Fix
Don’t sand and repaint blindly—target the root issue. Use these methods in sequence, not all at once.
- Assess moisture first: Use a moisture meter on suspect areas. If readings exceed 12%, delay repairs and run the exhaust fan continuously for 48 hours.
- Light sanding: Gently rub roller ridges with a dampened 120-grit sanding sponge—never dry-sand in bathrooms (creates airborne mold-prone dust).
- Spot-prime: Apply Zinsser Perma-White only to sanded areas using a 2" angled brush—don’t roll over patched zones yet.
- Repaint with proper technique: Load roller fully, remove excess on tray ramp, then apply in overlapping 'W' patterns—never back-roll into drying edges.
When to Call a Pro
Some roller mark situations signal deeper problems no DIY fix can safely resolve.
- Visible bubbling or peeling beneath the marks—could indicate chronic moisture intrusion behind tile or drywall
- Discoloration (yellow/brown stains) bleeding through paint, suggesting mold growth or past water damage
- Roller marks appearing within 72 hours of professional-grade paint application—points to substrate failure or improper primer bonding
- Electrical outlets or light fixtures near affected walls showing corrosion or mineral deposits
"Over 68% of bathroom paint failures traced to premature topcoating over inadequately cured primer or damp substrates." — Painting & Decorating Contractors of America (PDCA) Field Survey, 2022
Prevention Tips
Roller marks in bathrooms are almost always preventable—if you adjust for humidity, timing, and tool selection.
- Wait at least 4 hours between coats when RH exceeds 60% (use a hygrometer)
- Always prime new drywall with mold-resistant primer—never skip this step, even with "paint-and-primer" products
- Use only synthetic (nylon/polyester) rollers rated for high-humidity use—natural fibers absorb moisture and shed lint
- Install a timer-switched exhaust fan that runs 20 minutes after you leave the bathroom
- Keep paint cans sealed tightly and store above 50°F—cold paint applies unevenly and dries unpredictably
Can I use bleach on this?
No. Bleach won’t remove roller texture—it may lighten paint color unevenly and degrade acrylic binders in modern bathroom paints. For mildew-related discoloration under marks, use a diluted vinegar solution (1:3) instead, then rinse and let dry fully before repair.
Will a second coat hide roller marks?
Only if the first coat was applied evenly and fully dry. Applying a second coat over existing roller ridges will amplify—not mask—them. Always sand and spot-prime first, especially over semi-gloss finishes common in bathrooms.
Do I need to repaint the whole wall?
Not necessarily. With careful feather-sanding, spot-priming, and cut-in blending, most roller marks can be repaired in 2–3 sq ft zones. But if marks appear across >40% of the wall or align with drywall seams, full repainting ensures uniform sheen and film thickness.
Can I use a foam roller instead?
Avoid standard foam rollers—they collapse under pressure in humid air and leave visible stippling. If you prefer foam, use a high-density, closed-cell type designed for enamel paints (e.g., Wooster Sherlock), and limit use to flat trim—not large wall areas.
How long should I wait before showering after fixing roller marks?
Wait at least 72 hours after the final coat—even if the paint feels dry. Bathrooms need full film cure time to resist steam softening. Run the exhaust fan during and 30 minutes after every shower for the first week.
Does ceiling paint need different handling?
Yes. Ceilings dry faster and show roller marks more readily. Use a 1" microfiber sleeve, apply paint in 2-ft sections, and maintain a wet edge by working from corner to center—not side-to-side. Never stretch a single load across more than 3 ft.
Fixing roller marks isn’t about covering flaws—it’s about respecting how bathroom environments interact with paint chemistry and application physics. A smooth, durable finish starts with measuring moisture, choosing tools built for humidity, and resisting the urge to rush the dry time. For related issues like bathroom ceiling paint peeling or mold under bathroom paint, check those targeted guides next.