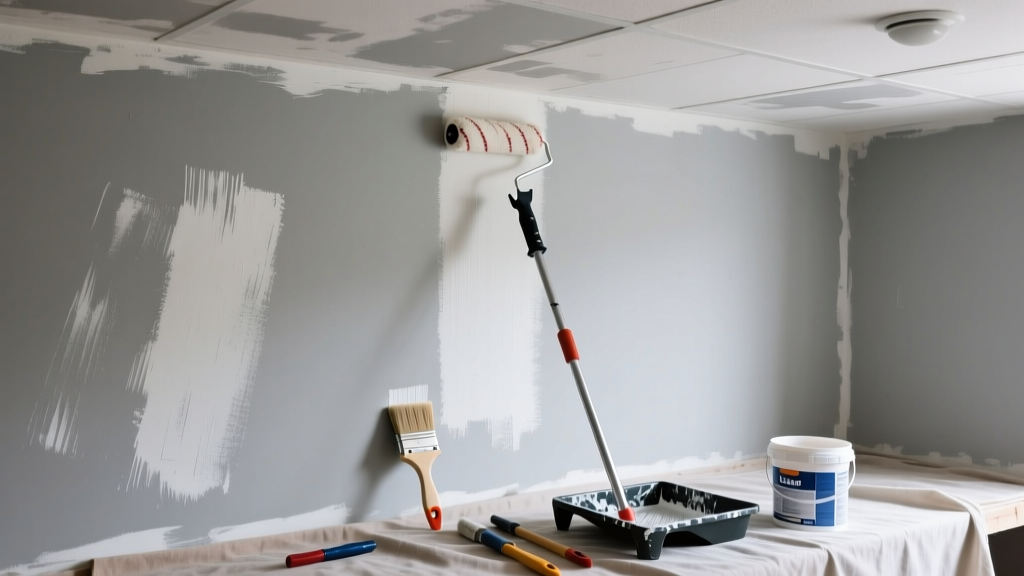
That subtle but maddening texture—streaks, lap marks, or uneven sheen where your roller left behind more than color—isn’t just annoying; it undermines hours of prep work. Roller marks happen to even experienced DIYers, especially on large, flat surfaces like living room walls or drywall ceilings. The good news? Most are fixable without full repainting—if you catch them early and use the right technique.
Quick Diagnosis
Roller marks aren’t random—they’re clues. Here’s what each pattern usually means:
- Visible lap lines: Rolling over partially dried paint instead of maintaining a wet edge
- Stippled or bumpy texture: Using a low-quality roller cover or applying too much pressure
- Glossy streaks on flat paint: Over-rolling or using a synthetic roller with flat or matte finishes
- Shiny patches after drying: Roller nap shedding or inconsistent film thickness
- Vertical ridges: Rolling in one direction only (not crisscrossing) or using a roller wider than your arm span
Tools & Materials Needed
| Item | Purpose | Estimated Cost |
|---|---|---|
| 120-grit sanding sponge | Smooths raised edges without gouging drywall paper | $4–$8 |
| Microfiber roller cover (3/8" nap) | Delivers even, lint-free coverage on smooth surfaces | $6–$12 |
| Paint conditioner (e.g., Floetrol) | Extends open time for smoother blending on large walls | $12–$18 |
| Angle brush (2.5") | Cuts in cleanly so you don’t over-roll near corners or trim | $5–$10 |
| LED work light (5000K) | Reveals subtle texture flaws invisible under standard lighting | $25–$45 |
Step-by-Step Fix
Choose the method based on severity and timing:
- Fresh paint (within 2 hours): Lightly back-roll with a dry microfiber roller using minimal pressure—no new paint. Maintain a consistent crisscross “W” pattern while keeping a wet edge.
- Tacky but not dry (2–6 hours): Dampen a clean microfiber cloth with water (not solvent), lightly press—not rub—over the mark to soften the ridge, then immediately re-roll that section with fresh paint mixed with 10% Floetrol.
- Dry paint (24+ hours): Sand only the raised portion with a 120-grit sanding sponge—never orbital sanders on drywall. Wipe dust, spot-prime, then apply one thin, even coat using a quality roller and proper technique.
- Severe texture mismatch: Feather-sand entire wall section (12" beyond mark), prime, and repaint full wall—partial touch-ups rarely blend on flat or eggshell finishes.
When to Call a Pro
DIY fixes fail when structural or systemic issues are involved. Call a licensed painter if:
- You’ve sanded through drywall paper or exposed joint compound
- The wall has moisture damage, blistering, or efflorescence beneath the paint
- Roller marks appear consistently across multiple coats—even after technique adjustments
- You’re working on vaulted ceilings, stairwells, or popcorn-textured surfaces requiring scaffolding or specialized equipment
According to the Painting and Decorating Contractors of America’s 2022 Field Standards Guide, 68% of “unfixable” roller defects stem from substrate issues—not application error—and require professional assessment before recoating.
Prevention Tips
Roller marks are largely preventable with smart habits:
- Always cut in with an angle brush first—then roll from ceiling to floor in 3' × 3' sections
- Use a roller tray with deep wells to load covers evenly; never squeeze excess paint out with the grid
- Switch to a 3/8" microfiber cover for flat/eggshell paints—it holds less paint but releases it more evenly
- Work in natural light or supplement with 5000K LED task lighting to spot inconsistencies as you go
- Mix all cans of the same paint together (box shading) before starting—slight tint variations worsen lap-line visibility
Can I sand out roller marks without repainting?
Yes—but only if the mark is a slight ridge and you haven’t breached the drywall paper. Use a 120-grit sanding sponge by hand (no power tools), sand *only* the high spot, and wipe with a tack cloth before spot-priming. Skipping primer will cause flashing.
Why do roller marks show up more on flat paint than semi-gloss?
Flat paints have zero light reflectivity, making surface texture differences hyper-visible. Semi-gloss reflects light uniformly, hiding minor inconsistencies. That’s why pros often recommend eggshell for DIY walls—it balances washability and forgiveness.
Does paint quality affect roller marks?
Absolutely. Budget paints contain fewer solids and binders, leading to poor flow and leveling. A 2023 Consumer Reports paint test found that premium interior acrylics (e.g., Benjamin Moore Regal Select, Sherwin-Williams Emerald) reduced visible roller marks by 42% compared to value-tier paints—even with identical technique.
Can I fix roller marks on textured walls?
Only if the texture is light knockdown or orange peel. Heavy textures like popcorn or stucco hide roller marks but make sanding impossible—your only option is full repainting with a thicker-nap roller (3/4") and slower, lighter strokes. Never attempt to sand acoustic texture—it releases asbestos in pre-1980 homes.
Will adding water to paint help reduce roller marks?
No—diluting paint breaks its formulation, reducing coverage, adhesion, and durability. Instead, use a paint conditioner like Floetrol (for latex) or Penetrol (for oil-based). These extend open time without compromising film integrity.
How long should I wait between coats to avoid lap marks?
Follow the manufacturer’s recoat time—but verify with a finger test: gently press a clean fingertip on the surface. If it leaves no impression and feels cool/dry (not tacky), it’s ready. On hot, dry days, this may be as little as 90 minutes; in humid basements, it can stretch to 6+ hours.
Fixing roller marks isn’t about perfection—it’s about understanding how paint behaves on your walls and adjusting your rhythm accordingly. Most marks vanish with one careful re-roll or a light sand-and-spot approach. And once you master the wet-edge technique and invest in a decent 3/8" microfiber roller, you’ll start seeing those smooth, uniform walls you pictured before you ever opened the can. For related issues, see our guides on paint bubbling causes and drywall crack repair.