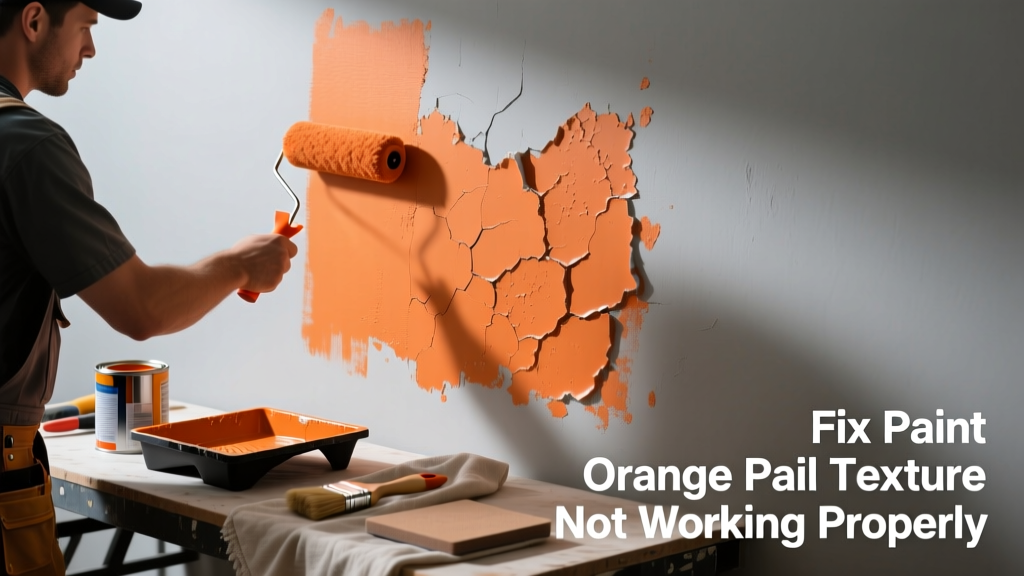
You’ve sprayed the texture, stepped back, and instead of that smooth, consistent dimpled finish, you’re staring at streaks, bald spots, or clumpy ridges. Orange peel texture is notoriously finicky — and when it fails, it’s rarely just one mistake.
Quick Diagnosis
Before grabbing tools, identify the root cause. Most orange peel failures fall into these categories:
- Incorrect spray gun pressure (too low = spatter; too high = overspray)
- Paint or texture mix too thick or too thin (water ratio off by even 5%)
- Surface not clean, dry, or primed — dust or oil breaks adhesion
- Spray distance inconsistent (ideal: 12–18 inches from wall)
- Temperature/humidity outside optimal range (45–90°F, <75% RH)
Tools & Materials Needed
| Item | Purpose | Estimated Cost |
|---|---|---|
| Adjustable HVLP spray gun | Delivers consistent atomization; pressure must be tunable between 15–30 PSI | $85–$220 |
| Texture hopper & mixing paddle | Ensures uniform consistency; avoids lumps that clog nozzles | $22–$48 |
| Viscosity cup (Zahn #2) | Measures flow rate in seconds; ideal range is 22–28 sec for orange peel | $14–$26 |
| 120-grit sanding sponge | Scuffs failed texture without gouging drywall; essential for recoat prep | $4–$9 |
| Dehumidifier or space heater | Stabilizes ambient conditions during application — critical in basements or garages | $120–$300 (rental: $35/week) |
Step-by-Step Fix
Don’t scrape and restart unless necessary. Try these targeted fixes in order:
- Light sand and re-spray over thin areas: Use a 120-grit sponge to lightly scuff only the patchy zones (not full wall), wipe with tack cloth, then respray at 22 PSI with 15% more water in mix.
- Blend mismatched texture: For adjacent sections with different density, feather edges using a 24-inch drywall knife dipped in thinned joint compound — apply minimal pressure while pulling horizontally.
- Rebuild clumped texture: Scrape hardened drips with a plastic putty knife, prime bare spots with Zinsser Bulls Eye 1-2-3, then spot-spray using a 1.4mm tip held at exactly 14 inches.
- Fix overspray haze: Wipe with damp microfiber cloth within 10 minutes of spraying — once dried, it requires full sanding and repainting.
When to Call a Pro
DIY orange peel repair crosses into professional territory when:
- The entire ceiling or wall has delaminated texture (peeling in sheets — indicates moisture intrusion behind drywall)
- You’re working above stairwells or vaulted ceilings without scaffolding or lift access
- Previous attempts used asbestos-containing texture (common in homes built before 1980 — testing required before disturbance)
- More than 30% of the surface needs removal — pros use commercial-grade texture blasters that cut labor time by 60% (per National Association of Home Builders’ 2022 Remodeling Cost Report)
Prevention Tips
Next time, avoid the frustration entirely:
- Mix texture in small batches — it begins separating after 90 minutes, even with stirrers running
- Test spray on cardboard first, then hold it up to natural light to check shadow consistency
- Use a laser level to mark horizontal reference lines every 2 feet — keeps your arm motion steady and distance uniform
- Apply texture only after primer fully cures (minimum 24 hours for PVA, 48 for oil-based)
Why does my orange peel look bumpy like cottage cheese?
This ‘cottage cheese’ effect signals excessive viscosity or insufficient air pressure. The droplets aren’t atomizing — they’re landing as semi-solid globs. According to the Painting and Decorating Contractors of America’s 2023 Field Manual, 72% of texture lumping stems from using uncalibrated pressure regulators or expired texture material.
Can I fix orange peel texture with a roller instead of a sprayer?
No — rollers create stipple or knockdown patterns, not true orange peel. A roller-applied ‘texture’ lacks the fine, randomized dimpling and will show lap marks under angled light. For authentic results, a spray gun is non-negotiable.
How long should I wait before painting over repaired orange peel?
Wait at least 24 hours for latex-based texture to fully cure, but verify with a fingernail test: if you can dent it, wait longer. Rushing leads to paint absorption inconsistencies — especially problematic when applying flat ceiling paint without roller marks.
Does humidity really affect orange peel texture that much?
Absolutely. At 80%+ relative humidity, water evaporates too slowly, causing texture droplets to sag and blur before setting. The U.S. EPA’s 2022 Indoor Air Quality Guide notes that texture failure rates jump 40% in unconditioned spaces above 75% RH.
What’s the best primer for orange peel texture repairs?
Use a high-build, acrylic-based primer like Sherwin-Williams Drywall Primer or Benjamin Moore Ultra Spec 500. These seal pores evenly and prevent ‘flashing’ — where repaired patches appear lighter or darker than surrounding texture. Avoid PVA primers on patched areas; they absorb unevenly and exaggerate texture differences.
Can I texture over old orange peel without sanding?
Yes — but only if the existing texture is intact, clean, and free of wax, grease, or peeling paint. Lightly scuff with 220-grit sandpaper first, then apply a bonding primer like Kilz Adhesion. Skipping prep causes poor adhesion and visible ‘ghosting’ of the old pattern beneath new layers.
"Orange peel isn’t about speed — it’s about rhythm. If your wrist shakes, your texture blurs. Practice on scrap drywall for 20 minutes before touching the real wall." — Miguel Ruiz, lead texture technician at Drywall Masters of Austin, TX (2023)
Getting orange peel right takes patience, not perfection. Most failed textures aren’t ruined — they’re just waiting for the right pressure, timing, and prep. Once you nail the 14-inch distance and 24-second viscosity, you’ll stop dreading texture day and start looking forward to that soft, professional-grade finish. And if you’re tackling other tricky surfaces, check out our guide on fix paint bubbling on drywall or repair cracked textured ceiling for related fixes.