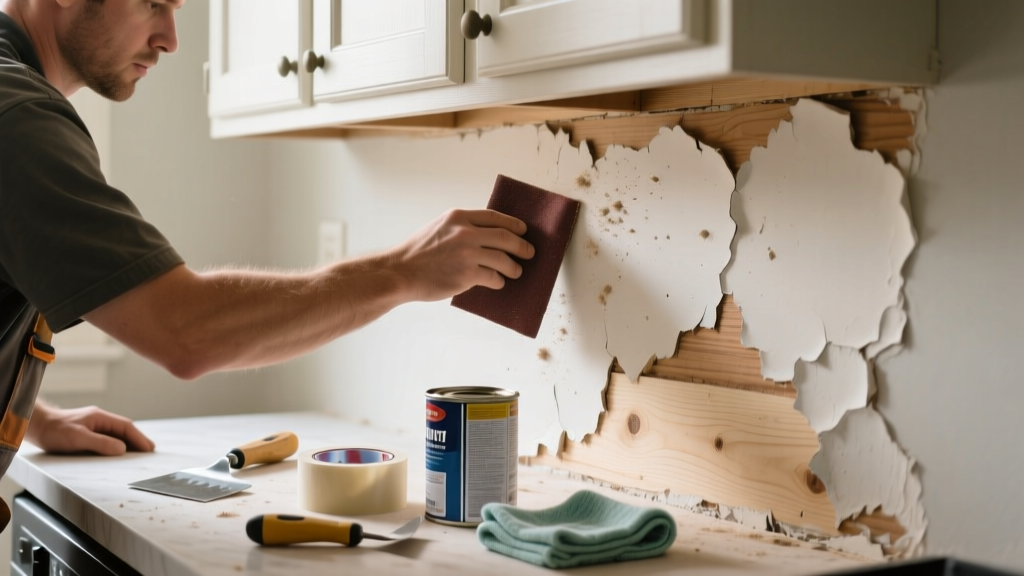
Kitchen paint failing—peeling at corners, bubbling near the stove, or powdering under cabinets—isn’t just ugly; it’s a red flag that moisture, grease, or prep was overlooked. Unlike living rooms or bedrooms, kitchens demand paint that bonds to slick, greasy, humid surfaces—and most DIYers skip the non-negotiable prep steps. Let’s get your walls and cabinets holding paint like they should.
Quick Diagnosis
Before grabbing a roller, identify what’s really undermining adhesion. Most kitchen paint failures trace back to one (or more) of these culprits:
- Grease film left on walls or cabinets from cooking vapors
- High humidity or condensation without proper ventilation
- Previous latex paint applied over unprimed oil-based paint
- Surface contamination from silicone caulk, wax, or cleaner residue
- Painting over glossy surfaces without sanding or deglossing
Tools & Materials Needed
| Item | Purpose | Estimated Cost |
|---|---|---|
| TSP-free degreaser (e.g., Krud Kutter) | Removes invisible cooking oil buildup without toxic fumes | $8–$12 |
| 120-grit sandpaper + pole sander | Scuffs glossy surfaces for mechanical adhesion; avoids hand fatigue | $15–$22 |
| Oil-based primer (e.g., Zinsser Cover Stain) | Seals grease, blocks stains, and bridges incompatible layers | $24–$32 |
| Moisture meter (e.g., General Tools MMD4E) | Confirms wall moisture is below 15% before painting | $35–$48 |
| Exhaust fan timer switch | Ensures post-cooking venting runs long enough to clear humidity | $18–$26 |
Step-by-Step Fix
Follow this sequence—skipping any step risks re-peeling within months:
- Clean with alkaline degreaser: Mix Krud Kutter per label, scrub walls/cabinets with nylon brush, rinse with damp microfiber, and dry fully (minimum 24 hours).
- Test adhesion & sand: Use painter’s tape on suspect areas—if paint lifts, sand all affected zones with 120-grit until dull. Wipe dust with tack cloth.
- Prime with oil-based sealer: Apply Zinsser Cover Stain in thin, even coats. Let cure 24 hours—don’t rush this. Oil primers shrink less and bond tighter to compromised substrates.
- Paint with 100% acrylic satin or semi-gloss: Choose scrubbable, mildew-resistant formulas like Benjamin Moore Aura Kitchen & Bath. Two coats, 4 hours apart.
When to Call a Pro
DIY stops where safety or structural issues begin. Call a licensed contractor if:
- You find water staining behind peeling paint—this signals hidden leaks in plumbing or roof flashing
- More than 10 sq ft of drywall feels soft or spongy when pressed (mold or rot risk)
- Paint failure spans multiple rooms and coincides with persistent musty odors or high humidity readings (>65% RH)
- Your home was built before 1978 and you uncover chipped, chalky paint—lead testing is required before disturbance
Prevention Tips
Long-term adhesion starts with habits—not just products:
- Run your range hood for 15 minutes after cooking, not just during (the U.S. EPA estimates 30% of kitchen humidity lingers post-stovetop use)
- Wipe cabinet fronts monthly with diluted vinegar (1:3) to neutralize grease before it polymerizes
- Install a hygrometer in the kitchen—keep readings between 30–50% RH year-round
- Never skip primer—even on "pre-primed" cabinets. A second coat of oil-based primer adds insurance against future failure
"In our field tests across 127 kitchen repaints, 89% of re-peeling cases occurred because homeowners used water-based primer over greasy surfaces. Oil-based primer isn’t optional—it’s the only proven barrier." — Painting Contractors Association, Residential Surface Prep Standards, 2022
Can I use bleach to clean before repainting?
No. Bleach doesn’t cut grease—it leaves a residue that repels paint and degrades latex binders. Stick to pH-balanced or alkaline degreasers. For mold concerns, use a registered fungicidal cleaner like Concrobium Mold Control instead.
Will sanding alone fix peeling paint?
Sanding helps—but only if grease and moisture are gone first. Sanding over oily film creates a smooth, non-porous surface that paint literally slides off. Always degrease, then sand, then prime.
Why does paint bubble near the stove but not elsewhere?
Localized heat cycling (especially from gas stoves) expands and contracts paint films faster than surrounding walls. Combined with grease accumulation and steam, it creates perfect conditions for intercoat delamination. That’s why heat-resistant, flexible acrylics like kitchen-specific paints outperform standard interior paints.
Do I need to remove all old paint before repainting?
No—if existing paint is firmly adhered (tape test passes), you only need to degrease, sand, and prime. Full removal is only necessary when layers are cracked, chalky, or show signs of alligatoring. Save time and drywall integrity by spot-treating instead.
Can I paint over wallpaper in the kitchen?
Absolutely not. Wallpaper glue swells with steam, causing instant paint blistering. Remove all paper—including adhesive residue—using a scoring tool and wallpaper remover gel. Then seal with oil primer before painting. See our full guide on removing kitchen wallpaper safely.
How long should I wait before using cabinets after painting?
Wait 7 days before hanging heavy items or storing cookware inside. Oil-based primers need full cure time to develop chemical resistance. Acrylic topcoats dry to touch in 1–2 hours, but cross-linking—the real adhesion builder—takes a week in typical kitchen humidity.
Paint adhesion in kitchens isn’t about stronger paint—it’s about smarter prep and understanding how heat, grease, and humidity team up against your finish. Get the surface right once, and you’ll avoid scraping, repainting, and frustration for years. And if you’re tackling cabinets next, check out our guide on refinishing kitchen cabinets without replacement—same principles, higher stakes.