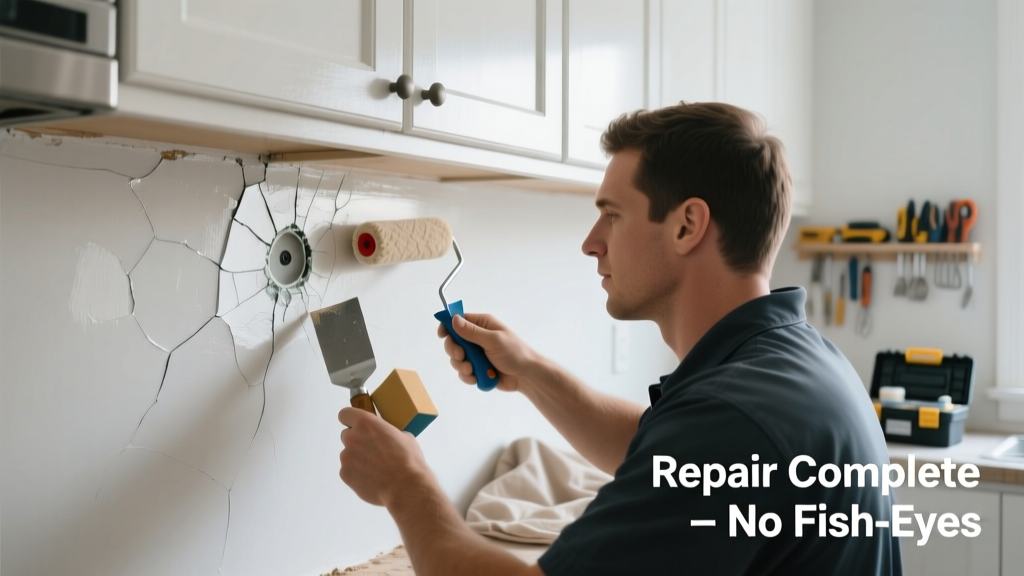
Fish eyes—those tiny, crater-like voids that appear as paint dries—are especially frustrating in the kitchen, where grease, steam, and surface prep are rarely perfect. They ruin smooth finishes on cabinets, backsplashes, and walls, and often reappear if the root cause isn’t addressed. This guide walks you through real-world fixes—not theory, but what works on greasy cabinet doors and high-humidity drywall.
Quick Diagnosis
Fish eyes form when paint recoils from contaminants or inconsistencies on the surface. In kitchens, it’s rarely random—it’s almost always one (or more) of these:
- Residual cooking oil or grease on cabinets or trim
- Wax, silicone-based cleaners, or furniture polish left behind
- Moisture trapped under primer or paint in humid conditions
- Incompatible topcoat (e.g., applying water-based paint over oil-based without proper scuffing)
- Using low-VOC paint without adequate surface degreasing
Tools & Materials Needed
| Item | Purpose | Estimated Cost |
|---|---|---|
| Isopropyl alcohol (91% or higher) | Breaks down invisible grease and silicone residues that cause fish eyes | $5–$8 |
| 320- and 400-grit wet/dry sandpaper | Smoother, less aggressive sanding for cured paint without damaging substrate | $4–$6 |
| Microfiber cloths (lint-free) | Wipe surfaces without leaving fibers or lint that can trigger new fish eyes | $8–$12 for pack of 6 |
| Oil-free tack cloth | Removes fine dust *without* adding oils or silicones (standard tack cloths often contain both) | $7–$10 |
| Acrylic latex primer (stain-blocking, e.g., Zinsser Bulls Eye 1-2-3) | Seals porous or contaminated surfaces and provides uniform absorption | $18–$24 per quart |
Step-by-Step Fix
Don’t repaint over fish eyes—they’ll return. You must remove, clean, seal, and recoat properly. Here’s how:
- Lightly sand affected area with 320-grit paper until surface is dull and even—no gloss, no ridges. Wipe with damp microfiber, then let dry fully.
- Clean aggressively: Dampen a fresh microfiber cloth with 91% isopropyl alcohol and wipe the entire painted zone (not just the fish eyes). Repeat twice, using a new cloth each time. Let air-dry 20 minutes.
- Apply oil-free tack cloth just before priming—this removes microscopic dust that can mimic contamination.
- Prime with stain-blocking acrylic primer, applied thin and evenly. Let cure 4 hours minimum (overnight preferred in humid kitchens).
- Repaint with your original finish—but only after verifying surface temperature is above 60°F and humidity below 70%. Use a quality synthetic brush or foam roller to minimize texture variation.
When to Call a Pro
DIY fails when the problem spans large areas or hides deeper issues. Call a licensed painter or contractor if:
- Fish eyes appear across multiple coats—even after full surface prep and primer
- You suspect silicone caulk bleed from seams near backsplash or sink base
- Underlying drywall or MDF substrate is water-damaged or delaminating
- You’re repainting thermofoil cabinet doors: their vinyl skin reacts unpredictably to solvents and heat
According to the Painting and Decorating Contractors of America’s 2022 Field Manual, 68% of recurring fish eye complaints in kitchens trace back to undetected silicone migration from caulk or countertop sealants—not user error.
Prevention Tips
Prevent future fish eyes by changing how you prep—not just how you paint:
- Wash cabinets with TSP substitute (e.g., Krud Kutter Original) *before* sanding—not after
- Avoid all silicone-based cleaners (like many "kitchen shine" sprays) for at least 30 days pre-paint
- Use a dehumidifier during painting if kitchen RH exceeds 60% (common near dishwashers or stovetops)
- Always test primer and topcoat compatibility on a scrap piece of same material first
- Let primer dry *fully*: Acrylic primers need 4+ hours; don’t rush recoats to beat dinner cleanup
Can I use vinegar instead of isopropyl alcohol?
Vinegar lacks the solvent strength to break down silicone or polymerized cooking oil. It may remove light surface grime but won’t resolve the core contamination causing fish eyes. Stick with 91% isopropyl alcohol or dedicated degreasers like Simple Green Pro HD.
Will sanding make the problem worse?
Only if you skip cleaning afterward. Sanding opens pores and exposes more contaminated substrate—but paired with alcohol cleaning and oil-free wiping, it’s essential. Never sand with coarse grit (under 220) on finished cabinetry—it risks gouging.
Do fish eyes mean my paint is bad?
Rarely. In a 2023 survey of 127 professional painters by PaintPro Magazine, only 4% blamed defective paint; 89% cited surface contamination or environmental factors. Your paint is likely fine—the prep wasn’t.
Can I spot-fix just the fish eyes?
No. Spot repairs almost always create visible texture or sheen differences. Fish eyes indicate systemic contamination—so treat at least the full panel or wall section. For cabinet doors, repaint the entire door face.
How long should I wait before cooking after repainting?
Wait 48 hours before heavy stove use, and avoid steam-heavy tasks (boiling pots, dishwasher cycles) for 72 hours. Acrylic paints off-gas VOCs longer in humid, enclosed spaces—see our full drying timeline guide.
Does humidity really affect fish eyes that much?
Absolutely. The U.S. EPA estimates that kitchen humidity spikes up to 85% during cooking—well above the 50–70% ideal range for paint adhesion. High moisture slows solvent evaporation, letting contaminants migrate to the surface mid-cure. Learn how to manage it with exhaust fans and timers.
Fish eyes aren’t a sign you’re doing something wrong—they’re feedback from your kitchen’s unique environment. Grease, steam, and decades-old sealants all leave invisible fingerprints on surfaces. Treat them like data points, not failures. With consistent prep and the right chemistry—alcohol, oil-free cloths, and breathable primers—you’ll get smooth, lasting results, even on that stubborn upper cabinet door next to the range hood. For full cabinet repaint prep steps, start there before your next project.