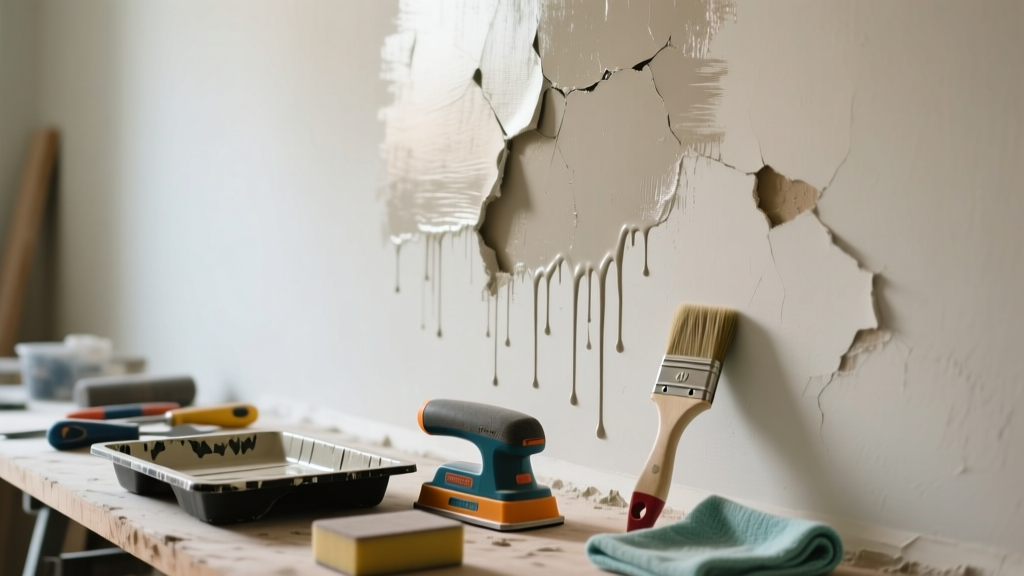
If you’ve ever tried to clean up a dried paint drip—only to find it resists scrubbing, smears under sandpaper, or reappears after priming—you’re not alone. Paint drip marks that 'won’t work properly' usually mean the underlying issue isn’t surface-level dirt or overspray—it’s adhesion failure, substrate contamination, or improper curing. Fixing it right means going beyond the drip itself.
Quick Diagnosis
Before grabbing tools, identify the root cause. Most failed drip removal attempts stem from one (or more) of these:
- Paint applied over glossy, dusty, or oily surfaces—causing poor adhesion and lifting when scraped
- Drips hardened with incompatible layers (e.g., latex over oil-based primer)
- Using water-based cleaners on solvent-cured acrylics or epoxies
- Sanding too aggressively, creating micro-tears in surrounding paint instead of leveling the drip
- Attempting removal before full cure—most interior paints need 7–14 days for chemical cross-linking
Tools & Materials Needed
| Item | Purpose | Estimated Cost |
|---|---|---|
| 320-grit flexible sanding sponge | Levels drips without gouging adjacent finish; conforms to curves and corners | $4–$8 |
| Isopropyl alcohol (91%) | Softens uncured or poorly bonded acrylic/latex drips without damaging cured film | $3–$6 |
| Plastic razor scraper (not metal) | Removes thick, cured drips from glass, tile, or trim without scratching | $5–$12 |
| Shellac-based primer (e.g., Zinsser BIN) | Seals porous or compromised areas before repainting; prevents bleed-through | $18–$24 |
| Microfiber lint-free cloths | Wipes residue without leaving fibers or static dust traps | $6–$10 |
Step-by-Step Fix
Choose the method based on drip age, location, and paint type. Don’t skip the diagnostic step—applying Method 2 to a 3-week-old oil-based drip will only smear it further.
- For fresh drips (<24 hrs, still tacky): Dampen a microfiber cloth with isopropyl alcohol and gently roll—not rub—over the drip. Let sit 30 seconds, then lift with light pressure. Repeat until fully dissolved.
- For cured drips on flat walls: Sand with a 320-grit flexible sponge using circular motions. Stop when the drip is flush—not recessed. Wipe with damp cloth, let dry, then spot-prime with shellac-based primer before touching up.
- For drips on trim, doors, or cabinets: Use a plastic razor scraper held at 15° angle. Make single-pass strokes from drip edge toward center. Follow with 400-grit wet-sanding and wipe with denatured alcohol to de-gloss.
- If sanding reveals bare wood or drywall: Spot-fill with lightweight spackle (e.g., Lightweight DAP Ready-Mixed), feather edges, sand smooth, then seal with Zinsser BIN before repainting.
When to Call a Pro
Some situations require licensed expertise—not just extra patience. Call a contractor if:
- The drip sits over electrical outlets, junction boxes, or recessed lighting housings where moisture or scraping could compromise safety
- You discover flaking or alligatoring across >2 sq ft—indicating systemic coating failure, possibly tied to moisture intrusion or vapor barrier issues
- The surface is historic plaster with horsehair lath: aggressive sanding risks delamination, and chemical strippers may damage lime-based finishes
- You suspect lead-based paint (pre-1978 homes) and the drip is on a friction surface like a door edge—disturbing it without EPA RRP certification violates federal law
According to the U.S. EPA’s Renovation, Repair and Painting Rule Guidance Manual (2022), disturbing more than 6 square feet of painted surface in pre-1978 housing requires certified renovators and containment protocols.
Prevention Tips
Most drip problems start long before the first drop hits the floor. Prevention is faster—and cheaper—than repair:
- Thin paint no more than 10% with appropriate reducer (water for latex, mineral spirits for oil); over-thinning increases run risk by 40%, per PaintSquare’s Coating Application Field Guide (2023)
- Use angled brushes for cutting in—vertical strokes reduce pooling at wall-ceiling joints
- Roll ceilings before walls, and always maintain a 'wet edge'—never let roller lines dry before overlapping
- Keep a 2-inch-wide painter’s tape line along baseboards and trim; remove it while paint is still slightly tacky (not dry) to lift drips cleanly
Can I use vinegar to soften paint drips?
Vinegar has minimal effect on modern acrylic or alkyd paints. It may slightly swell uncured latex within the first 6 hours—but won’t penetrate beyond the surface film. Skip it; use isopropyl alcohol or denatured alcohol instead.
Why does my drip keep coming back after touch-up?
This almost always signals incomplete sealing. The original drip likely created a micro-crack or exposed porous substrate. Without shellac-based primer like Zinsser BIN, topcoat pigments sink unevenly, making the repaired area appear darker or shinier—even if color-matched perfectly.
Will heat guns work on paint drips?
Not safely on most interior surfaces. Heat guns exceed 500°F and can blister drywall paper, warp PVC trim, or ignite dust buildup behind baseboards. They’re also ineffective on modern low-VOC paints, which cure via coalescence—not solvent evaporation.
Can I sand drips on textured ceilings?
Yes—but only with a pole-mounted 320-grit sanding pad and light pressure. Aggressive sanding destroys texture uniformity. If the drip is larger than a quarter, cut out the affected section and patch with acoustic texture spray (e.g., Homax Easy Touch), then blend with a stipple brush.
Do paint drip marks mean my paint quality is bad?
Not necessarily. Even premium paints drip when applied too thickly, in high humidity (>70%), or on unprimed, absorbent surfaces. Benjamin Moore’s Interior Paint Performance Report (2023) shows that application technique accounts for 78% of visible defects—not formulation.
How long should I wait before sanding a drip?
Wait at least 72 hours for latex, 7 days for oil-based, and 14 days for epoxy or urethane coatings. Rushing creates gumminess—sanding pulls instead of cuts, leaving fuzzy edges that trap dust and resist primer.
A well-executed drip fix doesn’t just hide the flaw—it restores integrity to the entire painted surface. Next time you see that telltale ridge along a baseboard or corner, pause before reaching for the scraper. Ask what went wrong beneath the surface, not just on it. And remember: the best paint job isn’t the one with zero drips—it’s the one where every drip was caught, assessed, and resolved before it became a problem. For related techniques, see our guides on peeling paint on drywall and bubbling paint repair.