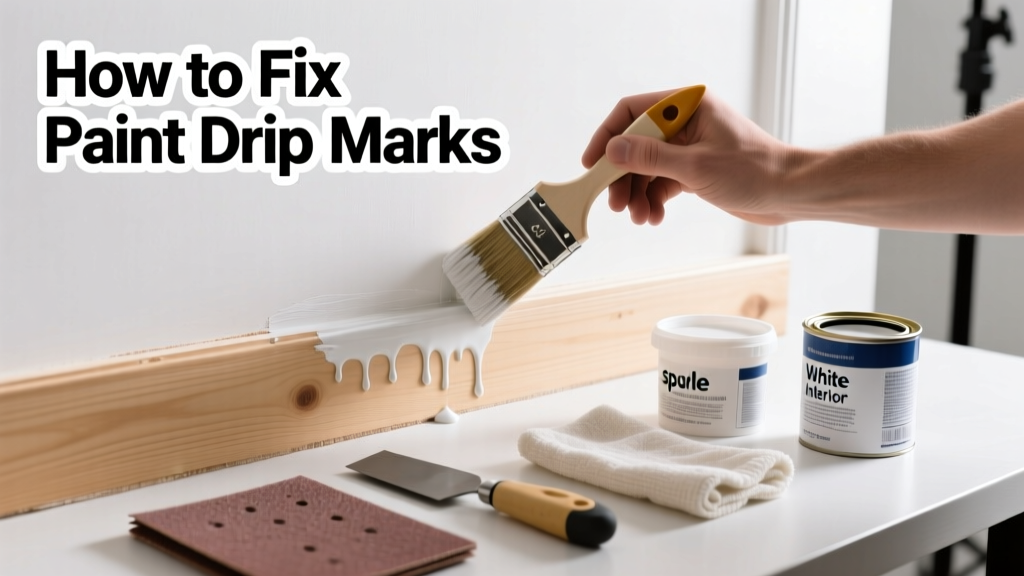
That glossy, vertical streak down your freshly painted wall isn’t a design feature—it’s a paint drip, and it’s more common than you think. Most drips happen during the final coat or near edges where paint pools, especially on trim, ceilings, or stairwell walls. The good news? Over 90% of minor drips can be fixed in under an hour without repainting the entire surface.
Quick Diagnosis
Drips rarely appear out of nowhere. Spotting the cause helps prevent repeats and guides your repair method:
- Applying too much paint in one pass—especially with thick latex or oil-based paints
- Using a worn, low-quality brush or roller that sheds bristles or holds excess paint
- Rushing corners and edges without back-brushing or feathering
- Painting in high humidity (>70%) or cold temperatures (<50°F), which slows drying and encourages runs
- Skipping surface prep—dust, grease, or old gloss layers cause poor adhesion and pooling
Tools & Materials Needed
| Item | Purpose | Estimated Cost |
|---|---|---|
| 150–220-grit sandpaper (or sanding sponge) | Smooths dried drip without cutting into base coat | $4–$8 |
| Microfiber cloth & denatured alcohol | Cleans residue and preps surface for touch-up | $6–$10 |
| Small angled sash brush (1/2") | Precise application for feathered touch-ups | $5–$12 |
| Touch-up paint (same batch, same sheen) | Ensures color and finish match—no visible patch | $8–$18 |
| Utility knife with fresh blade | Carefully slices hardened drips before sanding | $3–$7 |
Step-by-Step Fix
Choose your method based on drip age and severity. Fresh drips (<2 hours) respond best to Method 1; cured drips (24+ hours) need Methods 2–4:
- Blot & Reblend (for wet drips): Gently dab the drip with a clean, dry microfiber cloth—don’t wipe sideways. Then, using your original brush, lightly feather outward from the drip’s edge into surrounding paint while it’s still tacky.
- Cut & Sand (for semi-cured drips): Score the drip’s thickest point with a utility knife held at a shallow 10° angle. Sand gently with 220-grit until flush—stop before you see primer or bare drywall.
- Feathered Touch-Up (for fully cured drips): Clean area with denatured alcohol. Apply thin, tapered strokes of touch-up paint starting at the drip’s center and blending outward over the sanded zone. Let dry 2 hours, then lightly buff with 320-grit.
- Spot Prime + Repaint (for deep gouges): If sanding exposes substrate, apply one coat of drywall primer, let dry 90 minutes, then match and repaint the entire board or section—not just the spot—to avoid haloing.
When to Call a Pro
DIY fixes work well for isolated drips under 1/4" wide and no deeper than the top coat. But call a licensed painter if you encounter:
- Drips covering >3 square feet or spanning multiple wall sections or trim profiles
- Drips that reveal cracking, bubbling, or peeling underneath—signs of moisture or adhesion failure
- Oil-based paint drips on plaster walls built before 1978 (lead testing required before sanding)
- Drips near electrical outlets, ceiling fans, or recessed lighting—risk of dust ignition or contact hazards
According to the National Association of Home Builders’ 2022 Remodeling Impact Report, 68% of homeowners who attempted large-scale paint corrections ended up paying 2.3× more for professional remediation due to mismatched sheens and oversanding damage.
Prevention Tips
Fixing drips is fast—but avoiding them saves even more time and stress. Try these field-tested habits:
- Load brushes only 1/3 full—tap once on the can’s lip, not twice
- Use a paint conditioner like Floetrol (for latex) or Penetrol (for oil) in humid conditions to extend open time and reduce runs
- Always back-brush cut-in areas: after painting the edge, go back with light, overlapping strokes toward the wet field
- Keep a damp (not wet) rag clipped to your belt for instant wipe-downs of accidental runs
- Wait at least 4 hours between coats in rooms below 70°F or above 60% humidity
Can I sand paint drips on wood trim without damaging the stain?
Yes—if you use 320-grit or finer sandpaper and sand *with* the grain only. Stop immediately if you see raw wood or lighter color appearing beneath the finish. For stained or polyurethane-coated trim, test first in an inconspicuous spot. If the drip is thick, scrape lightly with a cabinet scraper before sanding—it removes bulk faster and safer than abrasives alone.
Will touching up with leftover paint from 2 years ago match?
Unlikely. Paint degrades in storage: pigments settle unevenly, solvents evaporate, and sheen shifts. Even sealed cans lose fidelity after 12–18 months. Always stir for 5 full minutes before testing. Better yet, bring a chip to your local paint store for digital matching—most offer free scans and small-batch tinting.
Why does my paint keep dripping near the ceiling line?
This is almost always caused by overloading the brush and failing to “cut in” properly. The ceiling/wall junction creates a natural trough where paint collects. Use a 1.5" angled brush, load lightly, and apply two thin passes: first straight up-and-down along the line, then a second pass angled slightly to feather upward into the ceiling.
Can I use a heat gun to soften and peel off a dried drip?
No—heat guns exceed 500°F and will blister underlying paint, warp vinyl trim, and release toxic fumes from older coatings. Even on modern latex, localized heating causes bubbling and discoloration. Stick to mechanical removal: scrape, sand, and touch-up. Heat is never recommended for interior paint correction.
Do paint drip marks mean my wall has bad prep?
Not necessarily—but they’re a red flag. Drips form most easily over glossy, dirty, or uneven surfaces. If you’re seeing repeated runs in the same spot across multiple coats, inspect for residual cleaner film, silicone caulk bleed, or patched drywall compound that wasn’t primed. A quick swipe with a damp rag and blacklight can reveal invisible contaminants.
How long should I wait before washing the wall after fixing a drip?
Wait at least 72 hours after the final touch-up coat—especially in high-humidity bathrooms or basements. Latex paint needs full cure time (not just dry-to-touch) to resist water damage. Wash gently with pH-neutral soap and a soft microfiber cloth; avoid circular scrubbing, which highlights repaired zones.
A single drip doesn’t ruin a room—but ignoring it invites more. Most repairs take less time than reloading your paint app on your phone. Keep your sandpaper handy, stash a fresh angled brush in your tool drawer, and remember: the smoothest finish starts with patience, not speed. And if you’ve got crown molding with three layers of drips? That’s not a repair—it’s an invitation to call someone who owns a proper spray rig and knows how to use it.