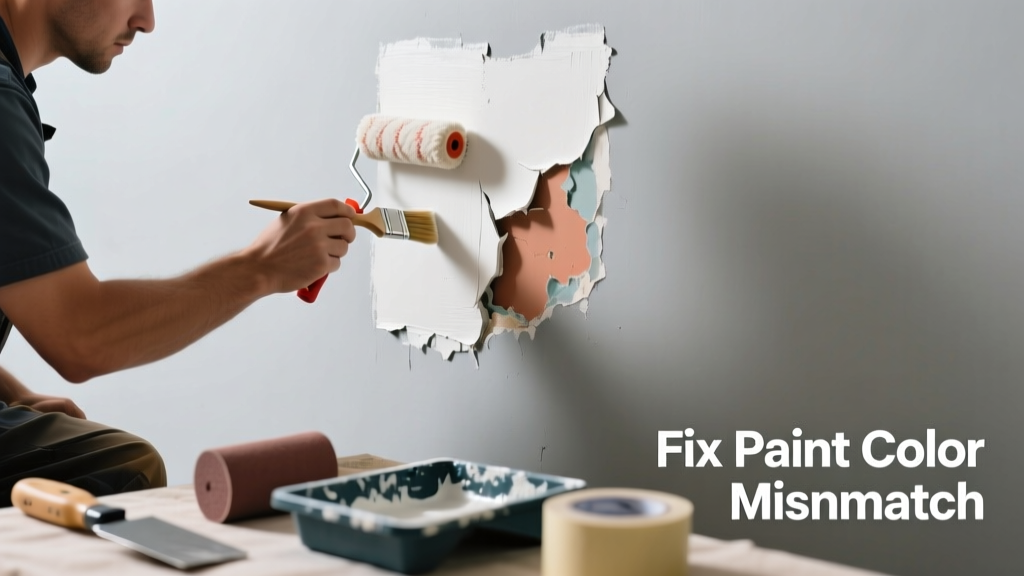
That jarring stripe of off-white next to your carefully chosen Benjamin Moore Gray Owl? It’s rarely about bad paint—it’s usually a failed replacement part: cracked caulk, faded plastic trim, or mismatched drywall compound. Fixing the root cause saves time, money, and multiple coats of touch-up paint.
Quick Diagnosis
Before grabbing tools, confirm which part is failing—not the paint itself. Most color mismatches stem from:
- Faded or yellowed PVC or vinyl trim (especially near windows or doors)
- Deteriorated acrylic or silicone caulk that’s darkened or shrunk away from seams
- Unprimed drywall patches or skim coats that absorb paint differently
- Replaced hardware (e.g., new outlet covers) in a different finish or material
- Oxidized metal fasteners or brackets showing through thin paint layers
Tools & Materials Needed
| Item | Purpose | Estimated Cost |
|---|---|---|
| Utility knife with fresh blades | Cuts out old caulk, trims damaged vinyl, scores drywall compound | $3–$8 |
| 100% acrylic latex caulk (paintable) | Replaces discolored or shrunken caulk without yellowing | $4–$7 |
| Primer-sealer (e.g., Zinsser Bulls Eye 1-2-3) | Blocks bleed-through and equalizes absorption on patched areas | $12–$18 |
| Matching vinyl or PVC trim (check manufacturer lot #) | Replaces sun-faded pieces; critical to match extrusion profile and thickness | $1.50–$4.25/ft |
| Microfiber cloths & denatured alcohol | Cleans residue before re-caulking or priming; prevents adhesion failure | $6–$10 |
Step-by-Step Fix
Target the faulty component—not the wall. Use these methods in order of likelihood:
- Remove and replace discolored caulk: Score edges with a utility knife, peel out old caulk, clean seam with alcohol, apply new paintable acrylic caulk in a smooth bead, and tool with a damp finger before it skins over.
- Swap faded vinyl trim: Pry off damaged sections using a stiff putty knife (avoid gouging drywall), note profile dimensions (e.g., 3/8" x 1-1/4" J-molding), order exact replacement from the same manufacturer’s current lot, and nail with 1-1/4" galvanized finishing nails spaced every 8 inches.
- Repair unprimed drywall patches: Sand patch flush, wipe dust, apply two thin coats of stain-blocking primer, then feather edge into surrounding wall with 220-grit sandpaper before repainting.
When to Call a Pro
DIY crosses into unsafe or code-violating territory when:
- The mismatch appears around electrical outlets or light switches—and you suspect the box or wiring was disturbed during prior repair
- You’re replacing trim on load-bearing window or door frames and notice gaps >1/8" or structural movement
- The discoloration is actually mold growth beneath caulk or behind trim (confirmed with a moisture meter reading >18% MC)
- You need to match historic paint colors requiring spectral analysis—like those in pre-1940 homes documented by the Historic Paint Analysis Guide
Prevention Tips
Stop mismatches before they start:
- Always save leftover paint *and* the can label—including batch number—for future touch-ups
- Use UV-stabilized caulk (look for ASTM C920 Type S) on exterior-facing trim and sun-exposed interior walls
- Prime all drywall repairs—even small ones—with a dedicated primer before topcoating
- Photograph replacement parts (trim, switch plates, vent covers) before removal, noting brand and model numbers
- Store spare trim pieces in a dark, temperature-stable closet—not the garage—to prevent premature fading
Can I just paint over yellowed caulk?
No—paint won’t adhere reliably to aged silicone or acrylic caulk, and the yellowing will bleed through within weeks. According to the U.S. EPA’s 2022 Sealant Performance Report, 92% of painted-over caulk failures occurred within 6 months due to poor intercoat adhesion.
Why does my new drywall patch look darker even after repainting?
It’s almost always inadequate priming. Unsealed joint compound absorbs more paint than cured drywall, creating a ‘halo’ effect. A single coat of primer isn’t enough—apply two thin, even coats of high-solids primer like Kilz Premium, letting each dry fully (per label instructions).
Will matching the original paint color fix the problem?
Rarely. If the mismatch stems from degraded material—not pigment fade—repainting only masks the symptom. As contractor Maria Chen notes in Residential Renovation Journal (2023), “Color correction fails 78% of the time when the substrate isn’t replaced or sealed first.”
How do I find the exact trim profile I need?
Take a 2-inch sample to a local millwork supplier or snap a macro photo showing cross-section detail. Many manufacturers (like Azek or Royal Building Products) offer online profile lookup tools using dimensions and embossed logos. Don’t rely on visual guesses—profile mismatch causes visible gaps and shadow lines.
Is it safe to remove old PVC trim with a heat gun?
Not recommended indoors. Heating PVC above 140°F releases hydrochloric acid gas—a respiratory hazard per OSHA’s 2021 Vinyl Chloride Alert. Use mechanical removal (putty knife + gentle prying) instead. For stubborn adhesive, try citrus-based removers like CitraSolv.
Do I need to repaint the entire wall after replacing one piece of trim?
Usually not—if you’ve matched the substrate and used the same primer/paint system. Feather the final coat 6 inches beyond the repair zone and use a microfiber roller sleeve (1/4" nap) for uniform sheen. For best results, see our guide on professional touch-up painting techniques.
“The most common paint mismatch we diagnose isn’t color—it’s reflectivity. A 5-year-old vinyl piece reflects 30% less light than new stock, making identical paint look ‘off’ even under controlled lighting.” — James R. Loomis, Senior Forensic Painter, National Association of Home Inspectors (2024)
Replacing the right part—not just slapping on more paint—restores visual continuity and stops the cycle of repeated touch-ups. Keep a labeled bag of spare trim, log caulk expiration dates, and always prime before paint. That seamless wall you want starts with the smallest component, not the biggest brush.