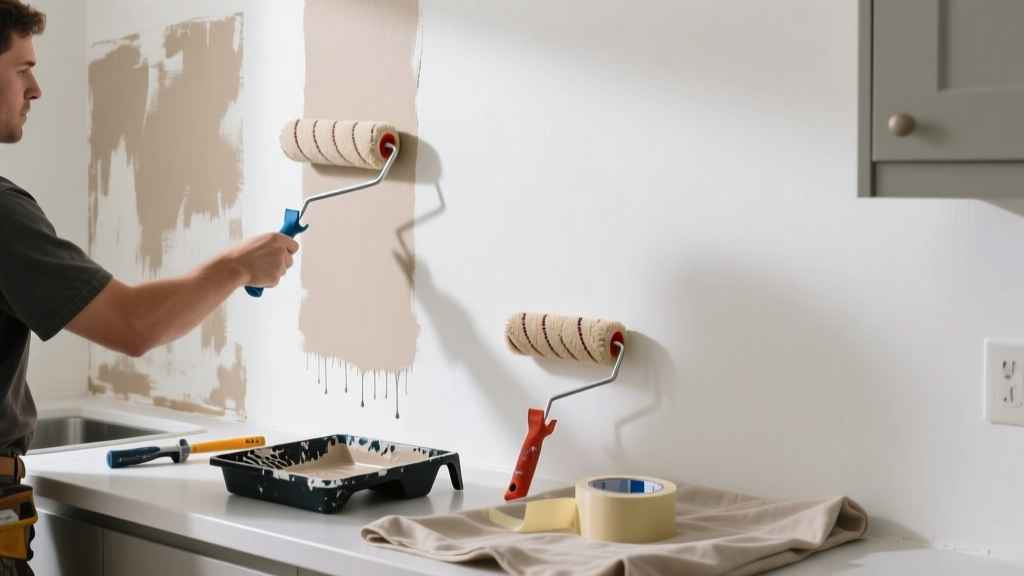
You’re wiping down cabinets after dinner and catch it—a glaring stripe of off-white near the stove that doesn’t match the rest of your kitchen wall. Paint color mismatch isn’t just annoying; it undermines the whole room’s cohesion, especially where light hits at multiple angles and surfaces reflect differently.
Quick Diagnosis
Before grabbing a roller, pinpoint the cause. Most kitchen paint mismatches stem from one or more of these:
- Touch-up paint applied without stirring or using the original batch
- Paint stored for >6 months—pigments separate and fade unevenly
- Using flat paint on one wall and eggshell on another (sheen differences exaggerate color shifts)
- Repainting only part of a wall after appliance removal or cabinet repositioning
- Applying new paint over grease- or moisture-stained drywall without proper priming
Tools & Materials Needed
| Item | Purpose | Estimated Cost |
|---|---|---|
| Original paint can (with batch number) | Ensures exact pigment and sheen match; critical for seamless blending | $0–$35 (if you still have it) |
| Color-matching spectrophotometer scan | Used at paint stores to digitally analyze existing wall color—even under kitchen lighting | $0 (free at Sherwin-Williams, Benjamin Moore, Home Depot) |
| High-hide primer (e.g., Zinsser Bulls Eye 1-2-3) | Blocks grease stains and prevents undertones from bleeding through new coats | $18–$24 |
| Microfiber roller covers (3/8" nap) | Delivers smooth, even sheen—critical in kitchens where light reveals texture flaws | $4–$9 per cover |
| Angle sash brush (2" synthetic bristle) | For precise cutting-in along backsplashes, soffits, and cabinet edges | $7–$12 |
Step-by-Step Fix
Choose the method based on mismatch severity and surface condition:
- Small spot mismatch (≤2 sq ft): Clean area with TSP substitute, lightly sand, then apply original paint *stirred for 90 seconds* using a foam brush—blend outward in feathered strokes.
- Sheen-only mismatch (same color, wrong finish): Lightly scuff entire wall section with 220-grit sandpaper, wipe dust, then apply one coat of matching sheen paint—no primer needed if base is sound.
- Full-wall mismatch (e.g., post-renovation patch): Prime with stain-blocking primer, then apply two full coats of newly matched paint—roll entire wall top-to-bottom, not just the patched zone.
- Grease-affected mismatch: Wash wall with Krud Kutter Original, rinse, let dry 24 hrs, prime with oil-based Kilz Original, then repaint with kitchen-grade acrylic (e.g., Behr Premium Plus Ultra).
When to Call a Pro
DIY can backfire—and cost more—if any of these apply:
- The mismatch spans >3 walls and includes textured plaster or popcorn ceilings
- You suspect lead paint (homes built before 1978) and haven’t tested with an EPA-certified kit
- There’s visible water staining or blistering beneath the paint—indicating active moisture intrusion behind cabinets or above sink
- Your kitchen has custom-mixed metallic or pearlescent finishes (e.g., Benjamin Moore Aura Bath & Spa with mica)—these require calibrated spray equipment
According to the National Association of Home Builders’ 2022 Remodeling Impact Report, 68% of homeowners who attempted full-kitchen wall repainting without prep failed a second time—often due to skipped primer or unaddressed substrate issues.
Prevention Tips
Stop future mismatches before they start:
- Label every paint can with date opened, wall location, and batch number—use masking tape + permanent marker
- Store leftover paint in airtight quart cans (not original buckets), upside-down, in a cool, dry basement—not next to the stove or dishwasher
- Always cut in first with a brush, then roll—never reverse the order in kitchens, where temperature swings cause inconsistent drying
- Photograph your kitchen walls under three lighting conditions (daylight, LED, incandescent) before touching up—color perception shifts dramatically
Can I use leftover bathroom paint to fix a kitchen wall?
No—bathroom paints are formulated for humidity resistance but often lack the scrubbability and grease-blocking additives required in kitchens. Using them risks premature chalking, yellowing near stovetops, and poor adhesion over grease films. Stick with paints labeled "kitchen & bath" or "high-traffic interior."
Why does my touch-up look darker even though it’s the same can?
It’s likely drying time and application thickness. Kitchen airflows (range hoods, open windows) accelerate drying, causing thinner coats to appear lighter and thicker spots darker. Always apply two thin coats—not one heavy one—and maintain wet-edge continuity across 3-foot sections.
Will LED lighting make the mismatch worse?
Yes—especially cool-white LEDs (5000K+). They amplify blue undertones and expose subtle sheen variations. Test your matched paint under your actual kitchen lights for 48 hours before committing. Warm-white (2700K–3000K) bulbs mask minor mismatches better.
How long should I wait between coats in a humid kitchen?
Minimum 4 hours—but check the paint can: most kitchen-grade acrylics require 2–4 hours at 70°F and 50% RH. In summer, when humidity exceeds 60%, extend to 6 hours. Use a hygrometer—learn how to measure kitchen humidity accurately.
Can I repaint over peel-and-stick backsplash residue?
Only after complete removal and degreasing. Residue blocks adhesion and causes bubbling or peeling within weeks. Use Goo Gone Pro Power on a microfiber cloth, then wash with diluted vinegar, rinse, and let dry 24 hours before priming. See our full peel-and-stick removal guide.
Is it okay to mix two partial cans of the same color?
Only if both were opened within 30 days, stored identically, and stirred vigorously for 2 minutes each. Even then, test the blend on cardboard first. Pigment settling varies by storage angle and temperature—older cans may have oxidized binders affecting sheen.
A well-executed fix doesn’t just hide the problem—it restores visual rhythm to your kitchen. That stripe near the stove? It’s not a flaw waiting to be covered. It’s a cue to slow down, match intentionally, and treat your walls like the high-traffic, light-bathed surfaces they are. Take the time to prep right, and the result won’t just match—it’ll hold up through breakfast rush, dinner prep, and everything in between.