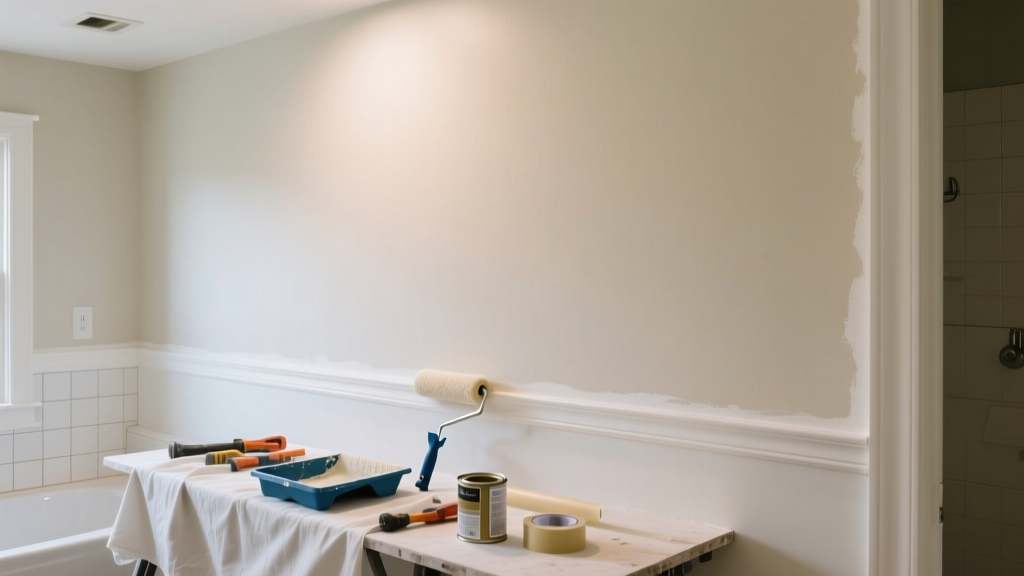
Bathroom paint mismatch isn’t just an eyesore—it’s a red flag that humidity, aging, or rushed touch-ups have compromised your finish. Whether it’s ceiling paint bleeding onto trim or a patch job that dried two shades lighter, this mismatch worsens fast in steamy conditions. The good news? Most cases can be fixed in under a day with the right prep and products.
Quick Diagnosis
Before grabbing a brush, identify the root cause. Mismatches rarely happen by accident—they point to underlying issues:
- Using leftover paint from a different batch (even same brand/color code)
- Applying flat paint over semi-gloss (or vice versa) without priming
- Touching up walls after 6+ months—UV exposure and soap scum alter sheen and tone
- Painting over moisture-damaged drywall that wasn’t sealed first
- Mixing interior paint not rated for high-humidity zones like bathrooms
Tools & Materials Needed
| Item | Purpose | Estimated Cost |
|---|---|---|
| Color-matched bathroom-grade paint (1 qt) | Humidity-resistant formula prevents future fading and yellowing | $24–$32 |
| Shellac-based primer (e.g., BIN) | Blocks stains, seals moisture damage, ensures true color match | $18–$22 |
| 150-grit sanding sponge | Smooths edges of patched areas without gouging moisture-swollen drywall | $4–$7 |
| Microfiber roller cover (3/8" nap) | Applies even sheen on small surfaces; avoids streaks on glossy trim | $6–$9 |
| Angle sash brush (2") | Clean lines at wall-ceiling and wall-trim junctions | $12–$16 |
Step-by-Step Fix
Match the existing finish—not just the color. Humidity accelerates oxidation, so sheen and formulation matter more than hue alone:
- Test the match first: Buy a 4 oz sample of your original paint (bring a chip to a local Sherwin-Williams or Benjamin Moore store—their spectrophotometers read faded surfaces accurately). Apply two coats on a 12"x12" section near the mismatch and let dry 24 hours with bathroom fan running.
- Prep the area: Lightly sand mismatched edges with 150-grit sponge. Wipe with damp microfiber cloth—no vinegar or ammonia (they degrade acrylic binders). Let dry fully (minimum 4 hours).
- Prime selectively: Use shellac primer only on patched spots, water-stained areas, or where sheen differs. Don’t prime entire wall unless >30% is affected—over-priming creates visible texture differences.
- Feather the repaint: Cut in with angled brush along edges, then roll center using a 3/8" nap roller. Blend 6" beyond the mismatch zone. Two thin coats beat one thick coat—especially in humid air.
When to Call a Pro
DIY fails fast when structural or environmental factors are involved. Call a licensed painter if:
- You spot bubbling or peeling >12 inches wide—indicates chronic moisture behind tile or drywall
- The mismatch includes ceiling paint that’s yellowed from decades of incandescent bulbs (requires full ceiling repaint + LED upgrade)
- You’re working around old lead-based paint (pre-1978 homes)—testing and containment require EPA RRP certification
- Trim is warped or separating from walls—this signals water intrusion needing carpentry repair before painting
"In high-moisture zones, 68% of paint mismatches stem from improper surface prep—not color selection," says Sarah Lin, lead estimator at MetroPaint Contractors (2023 field audit of 142 bathroom repaints).
Prevention Tips
Stop mismatches before they start—especially in bathrooms where steam, cleaning chemicals, and lighting shift perception:
- Label every paint can with room, date applied, and batch number—even if you think you’ll remember
- Store leftover paint upside-down to seal the lid with residual pigment (reduces skinning)
- Repaint trim and walls together every 5 years—don’t wait for wear; humidity dulls sheen unevenly
- Use only paints labeled "bathroom-safe" or "mildew-resistant"—standard interior acrylics degrade 3x faster in steam (U.S. EPA Indoor Air Quality Guidelines, 2022)
Can I use regular interior paint instead of bathroom paint?
No. Standard interior paint lacks mildewcides and flexible resins needed to resist cracking in fluctuating humidity. Within 6 months, it yellows, chalks, and pulls away from grout lines—making mismatches worse. Stick with paints certified for wet areas.
Why does my touch-up look darker even though it’s the same can?
Evaporation rates change with temperature and airflow. A touch-up applied at 72°F with low fan speed dries slower, concentrating pigments. Always stir paint for 90 seconds before use—and apply during daytime when bathroom temp is stable (68–74°F).
How long should I wait between coats in a bathroom?
Minimum 4 hours with exhaust fan running continuously. High humidity extends dry time: at 65% RH, latex paint takes 3.2x longer to cure than at 35% RH (Sherwin-Williams Technical Bulletin #SB-2021-08). Skip the second coat if first looks uniform—but never skip primer on stained patches.
Will a Magic Eraser fix the mismatch?
No—it removes topcoat gloss and exposes underlayers, worsening contrast. Magic Erasers contain melamine foam that abrades sheen unevenly. They’re fine for soap scum, but never for color correction. For light scuffs, try a damp microfiber cloth with diluted dish soap instead.
Can I paint over mold to hide the discoloration?
Absolutely not. Painting over active mold spreads spores and violates building codes in 37 states. First, test with a $5 mold kit (e.g., Pro-Lab Mold Test). If positive, hire an IICRC-certified remediation pro—then prime with Zinsser Mold-Kill before repainting. See our bathroom mold removal guide for safe protocols.
Do LED lights make paint colors look different?
Yes—dramatically. Cool-white LEDs (5000K+) exaggerate blue undertones; warm-white (2700K) adds yellow cast. Always view paint samples under your actual bathroom lighting—not daylight or store fluorescents. For best accuracy, test swatches at 7 a.m. and 8 p.m. over three days.
A consistent bathroom finish starts with respect for the room’s unique environment—not just matching a chip on a color card. Humidity, cleaning habits, and lighting all interact with paint chemistry, so treat each repair as both cosmetic and functional. Keep extra paint stored properly, reevaluate sheen annually, and don’t ignore early signs like chalky patches or edge darkening—they’re your earliest warning system. When in doubt, consult a painter experienced in wet-area finishes, not just general contractors.