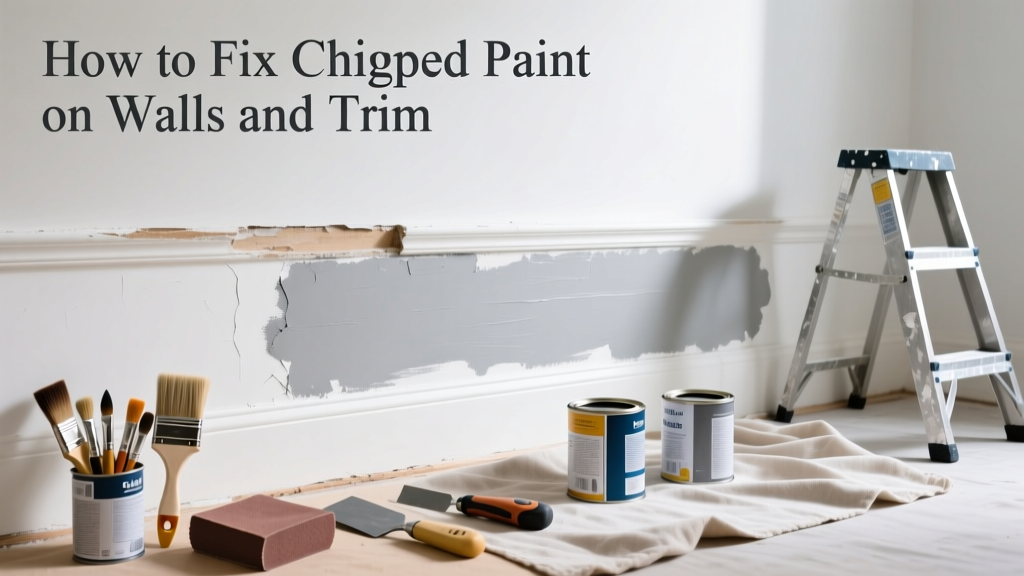
Chipped paint isn’t just ugly—it’s a red flag for moisture, poor prep, or aging surfaces. Left unaddressed, it can worsen into peeling, bubbling, or even wood rot behind trim or drywall. The good news? Most chips are quick, low-cost fixes if caught early.
Quick Diagnosis
Before grabbing supplies, identify the root cause. This determines whether your repair will last—or fail in weeks.
- Moisture exposure (bathrooms, basements, leaky windows)
- Poor surface prep before original painting (dust, grease, or glossy finish left untreated)
- Physical impact (furniture bumps, door handles, kids’ toys)
- Low-quality or expired paint (especially interior latex older than 5 years)
- Temperature/humidity swings causing substrate expansion and contraction
Tools & Materials Needed
| Item | Purpose | Estimated Cost |
|---|---|---|
| 120- and 220-grit sandpaper (or sanding sponge) | Smooth chip edges and feather surrounding paint without damaging intact layers | $3–$8 |
| Painter’s tape (blue, 1.5" width) | Protect adjacent surfaces and create clean lines during touch-up | $5–$12 |
| Acrylic latex primer (stain-blocking) | Seal bare substrate and prevent bleed-through; essential over patched drywall or wood grain | $12–$22 |
| Matching paint (same sheen and batch if possible) | Ensures color and texture continuity—use leftover paint or bring a chip to the store for scanning | $0–$35 |
| Small angled sash brush (1/2") or fine-tip foam brush | Controlled application in tight areas like corners, baseboards, and window frames | $4–$10 |
Step-by-Step Fix
Match the method to your chip’s size, location, and substrate. Don’t skip priming—even on small spots—unless you’re touching up an already-primed, fully cured wall.
- Clean and assess: Wipe area with damp microfiber cloth. Check for softness (sign of water damage) or powdery residue (chalky paint failure). If substrate feels spongy or crumbles, stop and read water damage signs.
- Sand and feather: Lightly sand chip edges with 120-grit until smooth, then blend outward 1–2 inches with 220-grit. Wipe away dust with tack cloth—not a paper towel, which leaves lint.
- Prime exposed surface: Apply thin coat of stain-blocking primer only to bare substrate. Let dry 90 minutes (not “to the touch”—full cure matters). According to the U.S. EPA, 14% of household water usage is from leaks that often go unnoticed until paint fails—so check for hidden moisture first.
- Touch up: Use brush (not roller) to apply 1–2 thin coats of matching paint. Feather edges outward while wet. Wait 2 hours between coats. For best results, use paint from the same can—and stir thoroughly before each use.
- Optional final polish: After full cure (24+ hours), lightly buff with 0000 steel wool for seamless sheen match on semi-gloss or satin finishes.
When to Call a Pro
Some chips signal deeper issues no amount of touch-up can hide. Skip the DIY if you see any of these:
- Chips covering >2 sq. ft. on drywall—especially with hairline cracks radiating outward (possible structural settling)
- Multiple chips concentrated around windows, doors, or plumbing fixtures (likely chronic condensation or undetected leaks)
- Paint lifting in sheets—not just chips—with chalky residue or blistering (lead paint hazard if home built before 1978)
- Chips exposing rust on metal doors, railings, or HVAC ducts (corrosion requires specialized primers and coatings)
"Over 60% of paint failures traced to improper surface prep—not product quality," says contractor Maria Lin in the National Association of Home Builders' 2022 Renovation Trends Report.
Prevention Tips
Fixing chips is easy. Preventing them takes habit and attention to detail:
- Always de-grease and lightly sand glossy surfaces before repainting—never rely on "paint-and-prime" products for adhesion-critical areas.
- Install door stoppers and felt pads on furniture legs—impact accounts for nearly 30% of trim chipping in homes under 10 years old (NAHB 2023).
- In high-moisture zones, use mold-resistant primer and 100% acrylic paint rated for humidity—standard latex yellows and fails faster.
- Touch up scuffs and nicks within 48 hours—delaying invites moisture infiltration beneath edges.
Can I use bleach on this?
No. Bleach degrades latex binders and weakens surrounding paint film. It also doesn’t address underlying causes like moisture or poor adhesion. For mold-related chipping, use a registered fungicidal cleaner like Concrobium Mold Control instead—and confirm ventilation and source control first.
Will spackle fix chipped paint on wood trim?
Only if the chip exposes raw wood and is deeper than 1/16". Use lightweight vinyl spackle (not drywall compound) for wood—it sands smoothly and won’t shrink. Prime immediately after sanding; bare wood absorbs primer unevenly if left exposed.
Why does my touch-up look shiny or dull compared to the wall?
Sheen mismatch is almost always due to applying too-thick a coat or skipping primer on porous substrate. Thin coats, proper drying time, and using the exact same paint batch (not just color code) resolve 95% of cases.
Do I need to repaint the whole wall?
Not unless the wall is heavily faded, stained, or has multiple touch-ups across its surface. A well-executed chip repair should be invisible at 3 feet. If you’re seeing halos or texture differences, your brush technique or paint viscosity needs adjustment—not a full repaint.
Is chipped paint dangerous for kids or pets?
Yes—if your home was built before 1978. Lead-based paint chips are a serious ingestion hazard. Don’t sand or scrape suspected lead paint without EPA-certified containment. Test kits like LeadCheck Swabs (available at hardware stores) give reliable on-site results.
Can I fix chipped paint on cabinets myself?
Absolutely—but cabinet surfaces demand extra prep. Clean with TSP substitute (e.g., Krud Kutter), sand with 220-grit only, and use bonding primer like Zinsser Bulls Eye 1-2-3. Cabinet paint must withstand abrasion, so top with water-based polyurethane after curing.
A few minutes of focused effort today stops a tiny chip from becoming a costly patch job tomorrow. Keep a touch-up kit in your utility closet: small brush, leftover paint in labeled jars, and sandpaper. That way, you’re never more than 10 minutes from a flawless fix—and one less thing distracting you from what really matters at home.