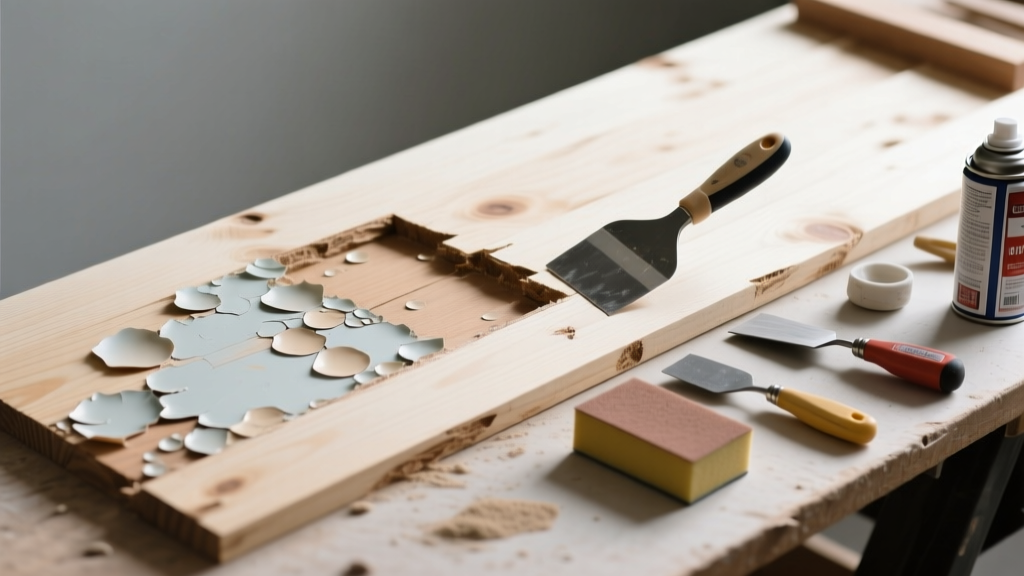
That bubbly, peeling mess on your wall or trim isn’t just ugly—it’s a red flag screaming that something went wrong during painting or underneath the surface. Blistering that persists after a 'quick fix' usually means you’re treating symptoms, not the root cause. Let’s get it right—starting with what’s really going on.
Quick Diagnosis
Paint blistering isn’t random. It’s physics: trapped moisture or gas expanding under the film. Before grabbing a scraper, rule out these top culprits:
- Moisture intrusion behind walls (leaky pipes, roof leaks, or high indoor humidity)
- Painting over damp, dirty, or glossy surfaces without proper prep
- Using interior paint outdoors—or latex over oil-based paint without primer
- Applying paint in direct sun or when surface temps exceed 90°F or drop below 50°F
- Trapped solvents from fast-drying paints or improper ventilation during curing
Tools & Materials Needed
| Item | Purpose | Estimated Cost |
|---|---|---|
| 3-in scraper with carbide blade | Removes loose, compromised paint without gouging substrate | $12–$18 |
| Moisture meter (pin-type) | Confirms if drywall or wood is holding >15% moisture—critical before repainting | $45–$85 |
| Oil-based primer (e.g., Zinsser Cover Stain) | Seals porous, stained, or marginally damp substrates better than latex | $24–$32/gal |
| 120-grit sandpaper + pole sander | Smooths edges and feathered areas; avoids dust-heavy orbital sanders near electrical outlets | $8–$15 |
| Exterior-grade acrylic latex paint (if outdoors) | Resists UV degradation and thermal expansion/contraction cycles that trigger blisters | $35–$55/gal |
Step-by-Step Fix
Don’t repaint over failure. Follow this sequence—skipping steps guarantees recurrence:
- Test for moisture: Use a pin-type moisture meter on blistered and adjacent areas. If readings exceed 15% in drywall or 19% in wood, stop here and address the water source first.
- Remove all compromised paint: Scrape *beyond* visible blisters into sound paint—minimum 2 inches past each edge. Sand smooth with 120-grit, then wipe with TSP substitute (e.g., Krud Kutter) to remove chalk and residue.
- Prime with oil-based or stain-blocking primer: Apply one full coat to bare patches and feathered edges. Let cure 24 hours—not just “dry to touch.” This seals tannins, moisture vapor, and uneven porosity.
- Repaint with compatible, climate-appropriate paint: Use 100% acrylic exterior paint for siding; interior walls need low-VOC, breathable flat or eggshell. Apply at 60–85°F, with 40–60% relative humidity.
When to Call a Pro
Some blistering signals deeper structural or environmental problems beyond DIY scope:
- Blisters appear only on ceilings or upper walls in multiple rooms—could indicate attic condensation or roof leak
- Paint blisters *and* you smell mildew or see black staining behind baseboards—likely hidden mold requiring containment and remediation
- Blistering recurs within 3 months despite correct prep—points to chronic moisture migration through foundation or slab
- You find blistering on stucco, EIFS, or masonry veneer—these systems require specialized inspection per ASTM E283 testing protocols
Prevention Tips
Blistering is 90% preventable with discipline—not product magic. Here’s how:
- Always test surface moisture before priming. The U.S. EPA estimates that 30% of premature paint failures stem from undetected substrate moisture (Home Performance with ENERGY STAR Technical Bulletin, 2022).
- Wait 72 hours after rain before painting exterior surfaces—even if it looks dry.
- Use a dehumidifier in bathrooms and basements year-round; maintain indoor RH between 30–50%.
- Never thin paint beyond manufacturer specs—over-thinning reduces film integrity and increases solvent entrapment.
- Apply paint at recommended spread rates (e.g., 350–400 sq ft/gal). Going too thick traps solvents and slows drying.
Can I use bleach to clean blistered areas before repainting?
No—bleach doesn’t remove the organic matter or salts that feed blistering, and it leaves residues that interfere with primer adhesion. Instead, use a phosphate-free cleaner like Simple Green House & Siding Cleaner, followed by thorough rinsing and drying. For mold-affected areas, use a registered fungicide like Concrobium Mold Control—not bleach.
Will sanding alone fix blistering without scraping?
Sanding only smooths the surface—it doesn’t remove the weak, compromised layer beneath. Blistered paint has zero adhesion. You’ll sand down to sound substrate, but skipping scraping risks leaving undermined edges that lift again within weeks. Always scrape first, then sand.
Why does blistering happen more on south-facing walls?
Southern exposure creates rapid, extreme temperature swings—especially in climates with hot days and cool nights. This thermal cycling expands and contracts the paint film faster than moisture can escape, forcing blisters. According to the American Coatings Association’s 2021 Field Failure Survey, south- and west-facing surfaces account for 68% of recurrent blistering cases.
Can I spot-prime just the blistered areas?
Yes—but only if the surrounding paint is fully sound, clean, and lightly sanded. However, mismatched primer absorption often causes visible flashing (shiny/dull patches). For best results, prime a full wall section or use a tinted primer that matches your topcoat’s base.
Does using a roller instead of a brush cause blistering?
Not directly—but rollers hold more paint and apply thicker films, especially with cheap nap sleeves. Thick application + poor ventilation = trapped solvents. Use a 3/8-inch microfiber roller for smooth walls, and always back-roll brushed edges to ensure even film thickness.
How long should I wait between primer and topcoat?
Check the primer’s technical data sheet—not the can label. Oil-based primers like Kilz Original need 24 hours minimum; newer shellac-based primers (e.g., BIN) require only 45 minutes, but demand full ventilation. Latex primers vary widely: some claim 1-hour recoat, but real-world conditions (humidity, temp, substrate porosity) often push that to 3–4 hours. When in doubt, do the fingernail test: if you can’t dent it, it’s ready.
"Blistering isn’t a paint problem—it’s a moisture or adhesion problem wearing paint’s clothing." — Dave Mowery, Master Painter & Instructor, Painting Contractors Association (PCA), 2023
Fixing blistering isn’t about slapping on new color—it’s about listening to what the bubbles are telling you. Moisture, heat, or chemistry is out of balance. Once you identify which one, the repair becomes predictable—and repeatable. And next time, you’ll spot the warning signs before the first bubble forms. For related issues, see our guides on peeling paint on ceiling and how to paint over mold-treated surfaces.