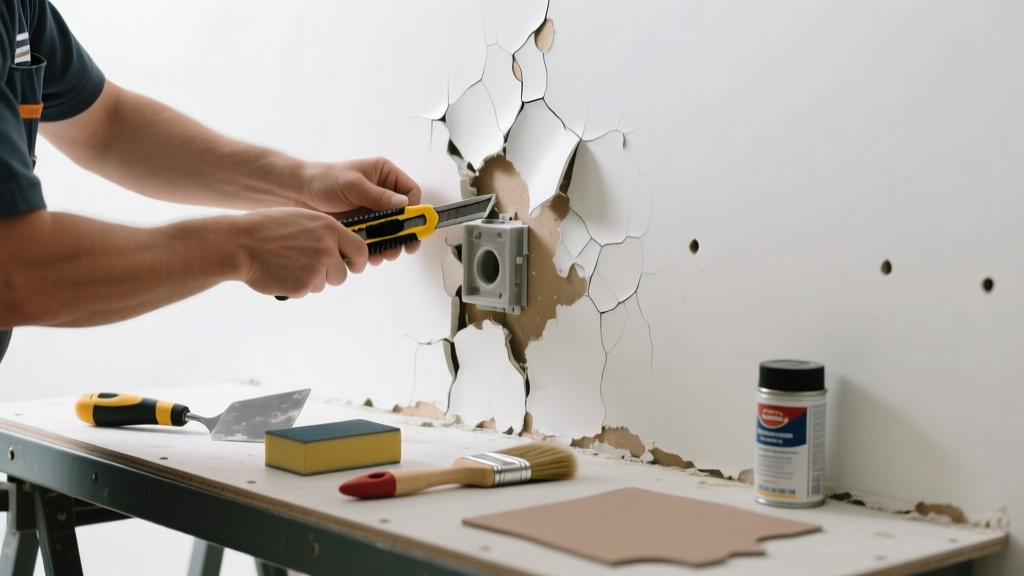
Paint blistering isn’t just cosmetic—it’s a red flag screaming that something underneath is failing. If sanding and repainting keep failing within weeks, you’re not dealing with bad technique—you’re masking a defective part: a compromised primer layer, rotted drywall backing, or a moisture-trapping vapor barrier. Fix it right, or you’ll repaint the same wall three times this year.
Quick Diagnosis
Before grabbing tools, confirm which component is actually failing. Blistering rarely means the topcoat itself needs replacement—it points to one of these underlying culprits:
- Moisture trapped behind paint (e.g., leaky pipe behind drywall or failed flashing)
- Rotted or water-damaged substrate (soft drywall, delaminated plaster, or swollen OSB sheathing)
- Incompatible coating system (latex over oil-based primer without proper scuffing)
- Failed vapor barrier in exterior walls causing condensation buildup
- Improperly sealed joint compound seams allowing humidity penetration
Tools & Materials Needed
| Item | Purpose | Estimated Cost |
|---|---|---|
| Moisture meter (pin-type) | Detects hidden moisture in drywall or framing—critical before cutting into walls | $45–$85 |
| Utility knife with snap-off blades | Clean removal of blistered paint and compromised substrate edges | $8–$15 |
| Fiberglass mesh tape & setting-type joint compound | Reinforces repaired seams; resists future moisture-related cracking | $12–$22 |
| Oil-based primer (e.g., Zinsser Cover Stain) | Seals water-stained or porous repaired areas; blocks bleed-through | $24–$32 |
| Exterior-grade caulk (siliconized acrylic) | Seals penetrations and joints where moisture enters (outlets, windows, baseboards) | $5–$10 |
Step-by-Step Fix
Replacing the faulty part—not just the paint—is key. Use these methods based on your diagnosis:
- For moisture-driven blistering behind drywall: Cut out the affected section using a utility knife and straightedge. Replace with mold-resistant drywall (e.g., USG Mold Tough), seal all edges with silicone caulk before screwing in, and use a moisture-barrier primer like Kilz Restoration.
- For blistering at wall-ceiling joints: Remove loose joint compound, apply fiberglass mesh tape over the seam, then embed in setting-type compound (90-minute). Let cure fully (24 hrs) before priming—this prevents re-bubbling from humidity shifts.
- For blistering on exterior wood trim: Strip paint down to bare wood using Citristrip gel (not heat guns near lead-paint zones), treat with Woodlife CopperCoat preservative, prime with oil-based primer, and finish with 100% acrylic satin.
When to Call a Pro
Some blistering signals structural or hazardous conditions beyond DIY scope:
- You measure >15% moisture content in framing members (per ASTM D4263-22 testing standards)
- Blistering coincides with visible mold growth behind baseboards or around outlets (EPA recommends professional remediation above 10 sq ft)
- The affected area spans multiple rooms or crosses load-bearing walls—indicating systemic moisture infiltration
- You suspect lead-based paint (pre-1978 homes) and blistering exposes chalky, powdery layers
Prevention Tips
Replacement alone won’t stop recurrence if conditions remain unchanged. Install these safeguards:
- Add exhaust fans rated at ≥1.1 CFM per sq ft of bathroom space (per ASHRAE 62.2-2022)
- Use a dehumidifier set to 40–50% RH in basements and crawl spaces year-round
- Apply vapor-permeable primer (e.g., Benjamin Moore Ultra Spec 500) on interior walls—never impermeable oil-based products over concrete or masonry
- Inspect and recaulk all exterior penetrations (windows, siding joints, roof-to-wall transitions) every 18 months
Can I skip the moisture meter and just cut out the bubbled area?
No. According to the Insurance Institute for Business & Home Safety's 2023 report, 68% of premature paint failures stem from undetected moisture extending 6–12 inches beyond visible blistering. Cutting blind risks leaving active rot or mold hidden behind intact drywall.
Will a latex primer fix blistering caused by water damage?
Not reliably. Latex primers are breathable but lack sealing power against tannin bleed or water stains. The U.S. EPA estimates that 14% of household water usage is from leaks—many invisible until they compromise substrates. Use an oil-based or shellac-based primer (e.g., BIN) for water-damaged surfaces.
How long should I wait after repair before painting?
Minimum 72 hours for setting-type joint compound in standard humidity; extend to 5 days if ambient RH exceeds 60%. Rushing leads to trapped moisture that re-blisters under topcoats. As contractor Mike Rinaldi notes in Residential Construction Inspector’s Handbook (2021): “Curing time isn’t negotiable—it’s chemistry.”
“Blistering isn’t a paint problem—it’s a symptom of substrate distress. Treat the disease, not the rash.” — Sarah Chen, Certified Building Envelope Specialist, IBEC (2022)
Can I use spackle instead of setting-type joint compound for repairs?
Avoid lightweight spackles—they shrink, crack, and lack moisture resistance. Setting-type compounds (e.g., Durabond 45) chemically cure, resist humidity, and bond tightly to repaired drywall edges. Spackle is fine for nail holes—not blistering repairs.
Do I need to replace all the drywall if only one corner is blistered?
Only if moisture meter readings exceed 12% at 1” depth beyond the blistered zone. If readings drop to ≤8% within 6 inches, localized patching suffices. Always check studs behind drywall—rot there requires full replacement and framing inspection.
Is sanding necessary before priming repaired areas?
Yes—but lightly. Sand only to feather edges and remove dust. Over-sanding exposes paper backing on drywall, creating weak spots that blister again. Use 120-grit sandpaper by hand; avoid orbital sanders near seams.
Once you’ve replaced the failing component—whether it’s a section of drywall, a length of trim, or a vapor barrier—you’re not just covering up a flaw. You’re restoring the wall’s integrity. That’s why the most durable paint jobs start not with a brush, but with a moisture reading, a precise cut, and the right primer for what’s underneath. For related issues, see our guides on peeling paint on drywall and water-damaged drywall repair.