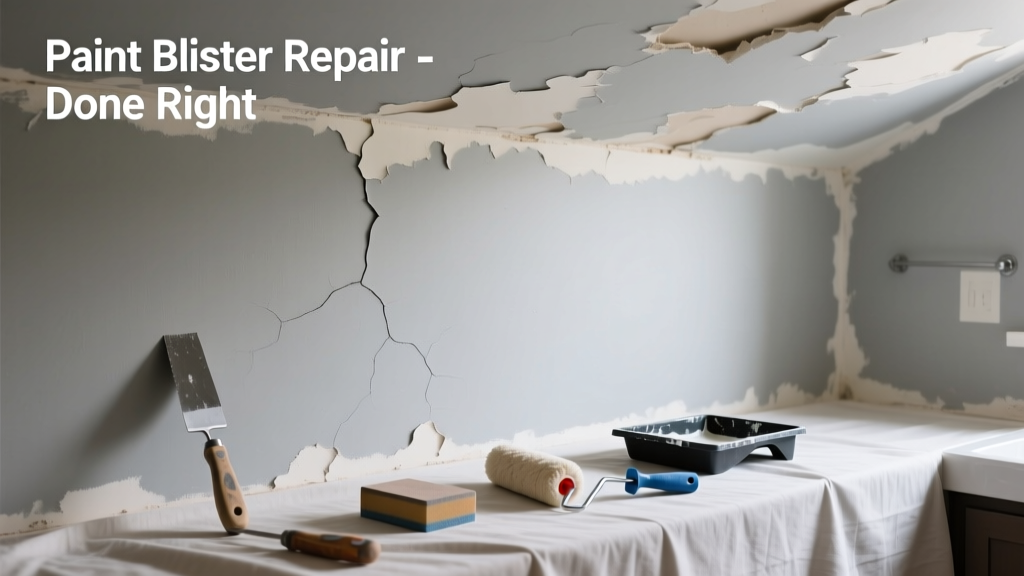
Bathroom paint blisters aren’t just ugly—they’re a red flag for trapped moisture, poor prep, or incompatible materials. Left unaddressed, they’ll spread, peel, and potentially hide mold or substrate damage beneath. This guide walks you through real-world fixes—not theory—based on what actually works in high-humidity spaces.
Quick Diagnosis
Before grabbing tools, identify the root cause. Blisters form when paint loses adhesion, usually due to one or more of these:
- Moisture infiltration behind walls or under paint (most common)
- Applying latex paint over oil-based primer or existing oil paint without proper scuff-sanding
- Painting over damp or improperly cleaned surfaces (soap scum, mineral deposits)
- Using interior-only paint in a steam-heavy bathroom
- Insufficient ventilation—ASHRAE recommends 50–100 CFM exhaust for most bathrooms
Tools & Materials Needed
| Item | Purpose | Estimated Cost |
|---|---|---|
| 120-grit sandpaper (sponge or sheet) | Smooths blistered edges and roughens surface for recoat adhesion | $4–$8 |
| 3-in-1 moisture meter (pin-type) | Measures wood or drywall moisture content; >15% indicates active water intrusion | $45–$75 |
| Oil-based primer (e.g., Zinsser Cover Stain) | Seals porous, stained, or moisture-prone substrates better than latex | $22–$32 |
| Mold-resistant, mildew-resistant paint (100% acrylic) | Withstands humidity and resists microbial growth per ASTM D3273 testing | $35–$55/gal |
| Exhaust fan timer switch | Ensures post-shower ventilation runs long enough—U.S. EPA estimates 60% of bathroom fans are underused | $18–$28 |
Step-by-Step Fix
Choose the method that matches your blister severity and underlying cause:
- Surface-level blisters (small, isolated, no soft substrate): Scrape loose paint with a plastic putty knife, sand edges smooth with 120-grit, wipe with TSP-free cleaner, prime with oil-based primer, then apply two coats of bathroom-rated paint.
- Widespread blisters with soft drywall or spongy texture: Cut out damaged drywall (minimum 2" beyond blistering), replace with mold-resistant green board, tape/joint with setting-type compound, prime with oil-based sealer, then paint.
- Blisters near ceiling corners or shower walls: Check grout and caulk integrity first. Re-caulk with 100% silicone rated for wet areas, then follow Method #1—but only after confirming wall moisture is ≤12% via meter.
When to Call a Pro
DIY stops where structural or health risks begin. Call a licensed contractor or moisture remediation specialist if you find any of these:
- Moisture readings above 18% in framing or subfloor (per ASTM D4263-22 standards)
- Visible black mold colonies larger than 10 sq. ft. or behind tile/mirror backsplash
- Water stains spreading upward from baseboard or around tub flange
- Cracked or bowed drywall, especially near plumbing penetrations
"Over 70% of bathroom paint failures stem from inadequate ventilation—not bad paint," says building scientist Dr. Sarah Lin in the IBHS Residential Moisture Management Guide (2023).
Prevention Tips
Fixing blisters is half the battle—the other half is stopping recurrence. Prioritize these proven strategies:
- Install a timer or humidity-sensing exhaust fan that runs at least 20 minutes after each shower
- Use only paints labeled "bathroom-specific" and "mildew resistant"—check for EPA Safer Choice certification
- Prime all bare drywall, patches, and patched joints with oil-based primer before topcoating
- Wipe down walls weekly with vinegar-water solution to remove soap film buildup that traps moisture
- Keep shower doors or curtains open post-use to improve air circulation
Can I use bleach to clean blistered areas before repainting?
No. Bleach doesn’t penetrate porous drywall or kill mold roots—and it degrades latex binders in paint, worsening adhesion. Use a hydrogen-peroxide-based cleaner like Concrobium Mold Control instead, which meets EPA List N criteria for surface disinfection.
Why does paint blister only on the ceiling but not the walls?
Ceilings collect rising steam and condensation, especially without adequate insulation or vapor barriers. Cold attic air meeting warm, humid bathroom air causes micro-condensation on the backside of drywall—trapping moisture between layers. Adding R-30 insulation and sealing attic bypasses often resolves this.
Will a dehumidifier fix bathroom paint blistering?
Not reliably. Portable dehumidifiers reduce ambient humidity but don’t address point-source moisture like steam infiltration behind tile or poor exhaust duct routing. They’re supplemental—not a substitute for fixing ventilation or leaks. For context, the U.S. EPA estimates that 14% of household water usage is from leaks—including hidden ones feeding blistering.
Can I paint over blistered areas without scraping?
Only if blisters are microscopic (<1mm) and completely stable—rare in bathrooms. Otherwise, adhesion fails again within weeks. Skipping prep is the #1 reason DIY repairs fail. Always scrape, sand, and seal properly—or risk peeling within 3 months.
Is there a paint that won’t blister in high-moisture bathrooms?
No paint is immune—but 100% acrylic, zero-VOC, mold-resistant paints like Benjamin Moore Aura Bath & Spa or Sherwin-Williams Duration Home perform best. They breathe while resisting hydrolysis, unlike older vinyl-acrylic formulas. Still, they require proper substrate prep and ventilation to hold up.
Do I need to replace drywall if blisters pop easily with finger pressure?
Yes—if the drywall feels soft, crumbles, or leaves residue on your finger, the gypsum core is compromised. That’s not just cosmetic: it’s a structural liability and mold incubator. Replace with 5/8" mold-resistant drywall and use hot-dipped galvanized screws spaced 7" apart along edges per best practices for wet areas.
Avoid treating blistering as a paint problem alone—it’s almost always a symptom of moisture management failure. Fix the environment first, then the finish. With consistent ventilation, proper priming, and moisture monitoring, your bathroom walls can stay smooth and sealed for 7–10 years—even with daily showers.