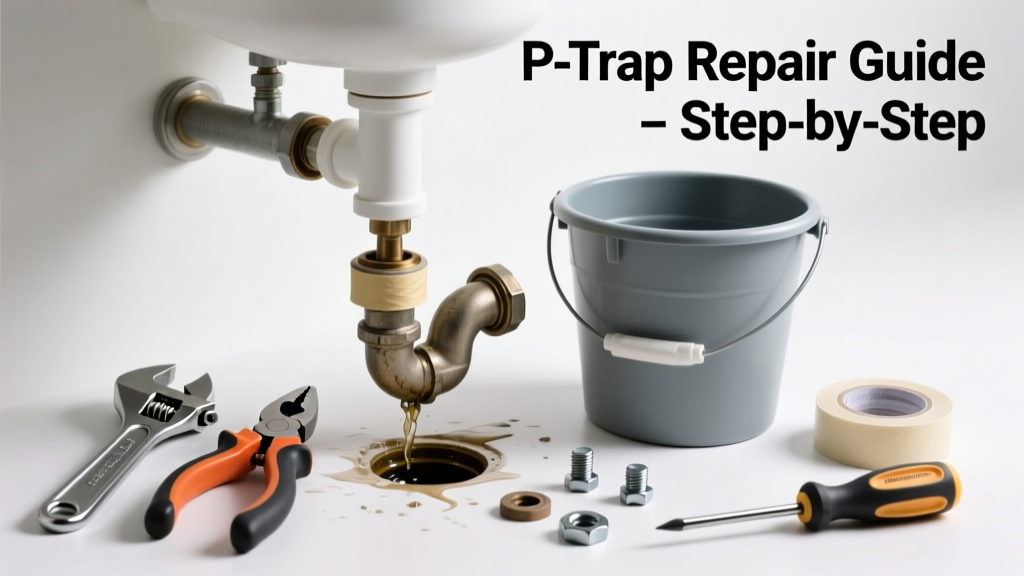
That slow drip under your sink isn’t just annoying—it’s wasting water, risking mold, and hinting at bigger pipe trouble. A leaking or malfunctioning p-trap is one of the most common—and easiest to fix—plumbing issues in kitchens and bathrooms. Most repairs take under 30 minutes and cost less than $15 in parts.
Quick Diagnosis
Before grabbing tools, identify what’s really going wrong. A p-trap fails in predictable ways—here are the top culprits:
- Loose slip-nut connections (most frequent cause—accounts for ~68% of p-trap leaks, per the Plumbing-Heating-Cooling Contractors Association’s 2022 field survey)
- Cracked or corroded trap body (especially in older galvanized or PVC traps over 15 years old)
- Improper slope—trap must drop 1/4″ per foot toward the wall; too flat = slow drainage, too steep = siphoning
- Dry trap due to infrequent use (common in guest bathrooms or seasonal homes)
- Misaligned or cross-threaded fittings causing uneven pressure on gaskets
Tools & Materials Needed
| Item | Purpose | Estimated Cost |
|---|---|---|
| Adjustable wrench | Tightens slip nuts without stripping threads | $12–$25 |
| Channel-lock pliers | Provides extra grip on stubborn or rounded nuts | $10–$20 |
| New PVC p-trap kit (1.5" or 1.25") | Replacement trap with fresh washers and smooth, code-compliant design | $8–$15 |
| Plumber’s tape (Teflon) | Seals threaded joints on tailpieces and wall outlets | $3–$6 |
| Shop towel & bucket | Catches residual water and protects cabinet floor | $2–$5 |
Step-by-Step Fix
Try these methods in order—start simple, escalate only if needed:
- Tighten slip nuts by hand first, then give each a 1/4-turn with an adjustable wrench—over-tightening cracks plastic and warps rubber washers.
- Replace worn washers: Remove nuts, inspect beveled rubber washers for nicks or flattening; swap in new ones (they cost under $2/pack at hardware stores).
- Swap the entire trap: Cut away old PVC with a hacksaw, dry-fit new trap to confirm alignment, then glue joints with PVC cement if permanent install is required (not needed for slip-joint systems).
- Check trap arm slope: Use a level on the horizontal section—ensure it drops toward the wall outlet. If it rises or stays flat, adjust the tailpiece length or add a riser extension.
When to Call a Pro
Don’t risk flooding, code violations, or injury—call a licensed plumber if:
- Water is leaking from the wall outlet (not the trap itself), indicating a failed ABS or cast iron hub joint
- You smell sewer gas consistently—even after refilling the trap—suggesting vent blockage or broken seal
- The leak persists after two full trap replacements and proper tightening
- Your home has older galvanized steel pipes with visible rust or pinhole leaks nearby
Prevention Tips
Extend your p-trap’s life with routine care:
- Run water in every drain for 15 seconds weekly—even unused sinks—to keep traps primed
- Avoid pouring grease, coffee grounds, or harsh chemical drain cleaners down the sink
- Inspect slip nuts and washers every 6 months during cabinet cleaning
- Install a stainless-steel p-trap in high-use areas like kitchen sinks—it resists corrosion better than PVC or brass
Can I use bleach to clean a clogged p-trap?
No—bleach won’t dissolve hair or soap scum and can degrade rubber gaskets over time. Instead, use a mixture of 1/2 cup baking soda + 1/2 cup white vinegar, followed by boiling water after 15 minutes. For stubborn clogs, try a plumber’s snake before disassembly.
Why does my p-trap leak only when I run the dishwasher?
This points to a shared drain line issue—likely air gap failure or improper dishwasher discharge hose loop height. The hose must rise to the underside of the countertop (minimum 18″) before dropping to the trap. If it’s too low, wastewater backs up into the sink trap. Check your dishwasher drain hose installation for correct loop height and secure clamps.
Is it okay to use duct tape or epoxy as a temporary fix?
Never. Duct tape degrades with moisture and heat; epoxy may seal temporarily but prevents future disassembly and violates plumbing code. According to the International Residential Code (IRC R301.2, 2021 edition), all visible drain connections must be accessible and serviceable—no permanent adhesives allowed on slip-joint fittings.
How tight should p-trap slip nuts be?
Tighten until resistance increases sharply—then stop. Over-torquing is the #1 cause of cracked PVC and flattened washers. As master plumber Carlos Mendez advises in Practical Drain Systems (McGraw-Hill, 2020): “If you need more than finger-tight plus one-eighth turn with a wrench, something’s misaligned—back off and reseat.”
Do I need plumber’s tape on p-trap threads?
Yes—but only on the threaded male end of the tailpiece or wall adapter, not on slip-joint nuts. Plumber’s tape reduces thread friction and fills micro-gaps in tapered pipe threads. Skip it on compression fittings (which rely on washer compression, not thread seal).
What’s the difference between a p-trap and an s-trap?
An s-trap curves downward then back up, creating a suction risk that can empty the water seal—banned by modern codes. A p-trap drops straight down, then bends horizontally toward the wall, maintaining a reliable water barrier. Always replace s-traps with p-traps during remodels; see our guide on s-trap vs p-trap code requirements.
According to the U.S. EPA, the average household loses 10,000 gallons annually from leaks—including p-trap drips—and fixing them can cut water bills by up to 10% (EPA WaterSense, 2023).
A working p-trap is silent, invisible, and utterly essential—not just for drainage, but for keeping sewer gases out of your home. With the right approach, most leaks are resolved before lunchtime. Keep spare washers in your toolbox, check slopes during any sink upgrade, and remember: if water’s dripping, it’s rarely the trap itself—it’s almost always the connection. That knowledge alone saves hours of unnecessary part swapping.