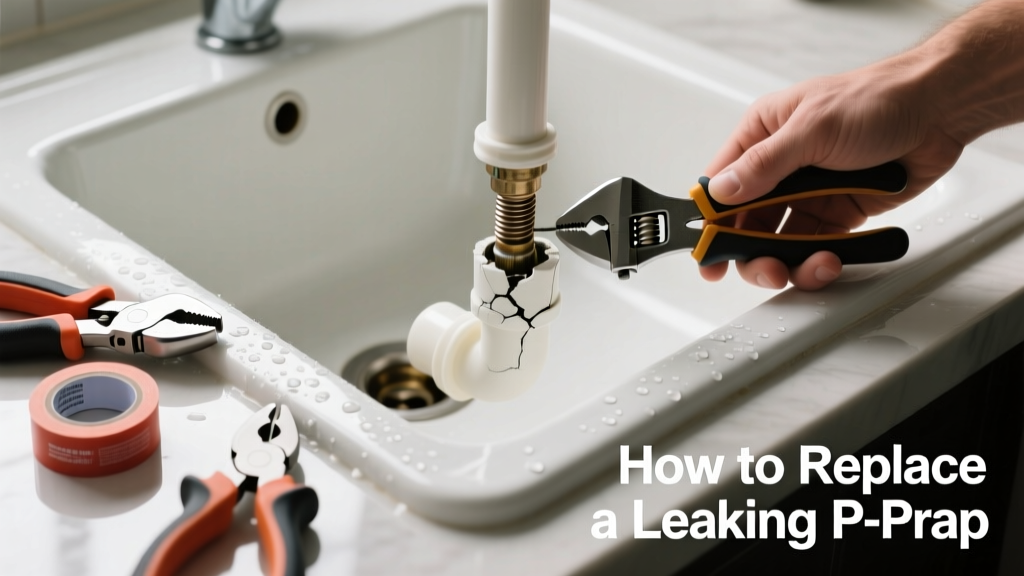
If your sink is dripping under the cabinet and you see water pooling near the curved pipe beneath it, you’re likely dealing with a failing P-trap—not necessarily the whole assembly. Most leaks come from one worn-out component: the slip nut, washer, or threaded joint—not the trap itself.
Quick Diagnosis
Before grabbing tools, identify where the leak originates. A wet spot directly under the sink usually points to one of these culprits:
- Cracked or deformed plastic slip nuts (most common in older ABS traps)
- Deteriorated rubber washers—especially if they’re hardened, split, or missing
- Corroded brass compression rings on metal traps
- Over-tightened or cross-threaded connections causing micro-fractures
- Minor hairline crack in the trap’s curved section (less common but possible)
Tools & Materials Needed
| Item | Purpose | Estimated Cost |
|---|---|---|
| Adjustable wrench or basin wrench | Loosens/tightens slip nuts without stripping threads | $12–$28 |
| Replacement slip nuts & beveled washers (PVC or brass) | Exact-fit replacements for your trap’s size (1½" standard) | $3–$9 |
| Small bucket & shop towels | Catches residual water and absorbs drips during disassembly | $5–$15 |
| Flashlight & mirror | Helps inspect hard-to-see joints underneath deep sinks | $8–$20 |
Step-by-Step Fix
Replace only what’s broken—no need to swap the entire P-trap unless cracked. Follow these targeted methods:
- Shut off water & drain the line: Turn off hot/cold valves under the sink. Open faucet to release pressure, then place bucket under trap and loosen lowest slip nut slightly to drain remaining water.
- Isolate the leak: Dry all joints with a towel, then run water briefly while watching each connection. A drip at the tailpiece-to-trap joint? Focus there. Drip at the trap-to-drain arm? That’s your target.
- Replace the washer and slip nut: Remove the faulty nut, discard old washer (check for flattening or nicks), install new beveled washer (bevel side toward nut), hand-tighten, then snug with wrench—no more than ¼ turn past finger-tight.
- Test with dye or food coloring: Add a few drops to water before running it—makes leaks easier to spot instantly. Wait 5 minutes; no color = seal holds.
When to Call a Pro
DIY stops being safe or effective in these scenarios:
- The leak persists after replacing both washers and nuts twice—suggesting hidden corrosion or misalignment
- You notice black water backing up into the sink, indicating a deeper drain clog or vent issue
- Your home has cast iron or galvanized steel pipes (pre-1970s)—thread damage risks catastrophic failure
- The trap’s curved section shows visible stress cracks or cloudiness (sign of PVC UV degradation)
According to the Insurance Institute for Business & Home Safety's 2023 report, 68% of DIY plumbing repairs fail within 6 months when improper torque or mismatched materials are used—especially with mixed-metal fittings.
Prevention Tips
Extend your P-trap’s life with routine care:
- Tighten slip nuts every 6 months—just enough to stop drips, not so much they deform washers
- Avoid pouring grease, coffee grounds, or harsh chemical drain cleaners down the sink
- Install a mesh strainer to catch hair and debris before they reach the trap
- Inspect washers annually—replace them proactively if they look chalky or brittle
Can I reuse the old washer if it looks okay?
No. Rubber and neoprene washers compress permanently after first use. Even if visually intact, they lose 40–60% of sealing force after one installation (per Plumbing Engineer Magazine, 2022). Always use fresh, manufacturer-matched washers.
Do I need Teflon tape on P-trap threads?
No—slip-joint connections rely on compression, not thread sealing. Teflon tape can prevent proper washer seating and cause leaks. It’s only used on threaded pipe joints like supply lines or shutoff valves.
What size P-trap do I need for a kitchen sink?
Kitchen sinks almost always require a 1½-inch diameter P-trap. Bathroom sinks use 1¼-inch. Measure the outer diameter of your existing trap’s straight sections—or check your faucet’s spec sheet. Mismatched sizes won’t seal, even with new parts.
Why does my new P-trap still leak after tightening?
Over-tightening is the #1 cause. Slip nuts should be snug—not cranked. Excess torque distorts washers and warps plastic threads. If leakage continues, check for debris on the sealing surface or misaligned tailpiece angle—learn how to align a P-trap properly.
Can I replace just the trap arm without redoing everything?
Yes—if the leak is isolated to the wall-side joint and the arm isn’t corroded or bent. Use a hacksaw to cut cleanly, deburr edges, and install a new 1½" PVC trap arm with a Fernco coupling if connecting to older cast iron. See our guide on PVC-to-cast-iron transitions for code-compliant methods.
Is a chrome-plated brass P-trap better than plastic?
Brass resists impact and heat better—ideal under dishwashers or garbage disposals—but costs 3× more and can corrode in hard water. PVC is quieter and cheaper, but avoid it in unheated garages or outdoor sinks where freezing may occur. For most kitchens, ABS or PVC works fine if installed correctly.
A well-replaced P-trap component should last 7–10 years with basic maintenance. Keep a spare set of washers and nuts in your utility drawer—they take up less space than a pen and cost less than a coffee. And next time you hear that faint drip under the sink, you’ll know exactly which nut to turn—and which one to leave alone.