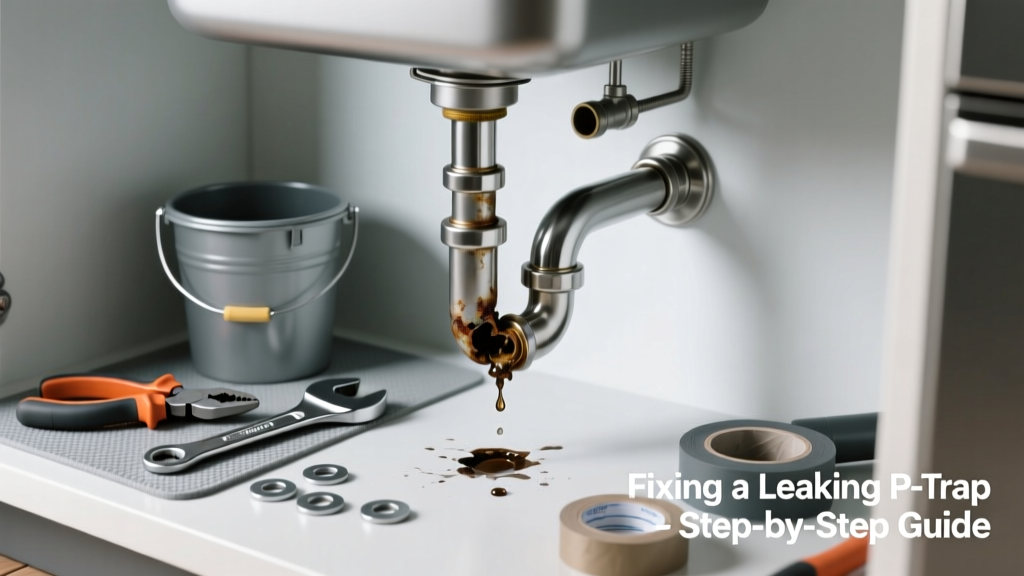
That slow drip under your kitchen sink isn’t just annoying—it’s a sign of wasted water, potential mold growth, and possible cabinet rot. A leaking p-trap is one of the most common plumbing issues homeowners face, and 72% of kitchen sink leaks originate at the trap or its connections (Plumbing Manufacturers Institute, 2022). The good news? Most are fixable in under 30 minutes with basic tools.
Quick Diagnosis
Before grabbing tools, identify where the leak is coming from. Most kitchen p-trap leaks fall into one of these categories:
- Tightness failure: Nuts at either end (sink tailpiece or drainpipe) are loose or cross-threaded
- Cracked or corroded trap body—especially common in older brass or PVC traps over 10 years old
- Worn or missing washers (beveled rubber or nylon) inside slip-joint nuts
- Debris buildup causing misalignment or pressure on joints
- Improper slope: Trap installed too flat or inverted, preventing proper seal formation
Tools & Materials Needed
| Item | Purpose | Estimated Cost |
|---|---|---|
| Adjustable wrench or basin wrench | Provides torque without stripping chrome-plated nuts | $12–$28 |
| Replacement slip-joint washers (rubber + nylon) | Creates watertight seal; mismatched or hardened washers cause 60% of recurring leaks (PMI 2022) | $2–$5 |
| PVC or ABS trap kit (if replacing entire assembly) | Modern, code-compliant replacement with integrated gaskets | $8–$15 |
| Shop towel or small bucket | Catches residual water and prevents floor mess during disassembly | $1–$4 |
| Flashlight and mirror | Helps inspect hard-to-see joints beneath deep cabinets | $5–$12 |
Step-by-Step Fix
Try these methods in order—they escalate from fastest to most thorough:
- Tighten slip-joint nuts by hand first, then use an adjustable wrench for only ¼–½ turn past snug. Over-tightening cracks plastic and deforms washers.
- Disassemble and inspect washers: Remove both nuts, pull apart joints, and check for nicks, flattening, or brittleness. Replace any washer showing wear—even if it looks okay.
- Reinstall with proper orientation: Ensure beveled side of rubber washer faces the nut (not the pipe), and nylon washer sits between rubber and nut. Hand-tighten, then add minimal wrench torque.
- Replace the entire p-trap if you spot hairline cracks, mineral scaling inside the curve, or if it’s a decades-old galvanized steel unit. Use a PVC trap kit with compression gaskets for reliability.
When to Call a Pro
Don’t risk it if you encounter any of these:
- Leak persists after three reassembly attempts with new washers and correct torque
- Water stains or soft spots in cabinet floorboards—indicates long-term leakage and possible structural compromise
- Drain line connects directly to cast iron or clay piping (common in homes built before 1970), requiring specialty fittings and lead/oakum knowledge
- You detect sewer gas odor (rotten egg smell) near the trap—this signals venting failure or broken seal beyond simple tightening
Prevention Tips
Extend your p-trap’s life with consistent care:
- Inspect all sink trap connections every 6 months—look for dampness, white mineral residue, or discoloration
- Avoid pouring grease, coffee grounds, or rice down the kitchen drain; they accelerate buildup and joint stress
- Run hot water for 30 seconds after each dishwashing cycle to flush debris past the trap
- Use enzyme-based cleaners monthly instead of caustic drain openers that degrade rubber components
Can I use bleach on this?
No—bleach corrodes rubber washers and weakens PVC over time. It also reacts dangerously with other cleaners if residue remains. Stick to vinegar-and-baking-soda flushes or enzymatic treatments like Green Gobbler for safe maintenance.
Why does my p-trap leak only when the dishwasher runs?
This points to backpressure from the dishwasher’s discharge hose connection. Check that the hose loops high under the sink (air gap) before entering the disposal or drain pipe. If it’s tied in too low or kinked, pressure forces water out of weak trap joints.
Is Teflon tape helpful on p-trap threads?
No—slip-joint connections rely on compression washers, not threaded seals. Teflon tape won’t stop leaks here and can interfere with proper washer seating. Save it for threaded supply lines like faucet stems.
How tight should p-trap nuts really be?
Hand-tight plus ¼ turn with a wrench is the sweet spot for most plastic and chrome traps. As master plumber Carlos Mendez advises in The Residential Plumbing Handbook (2021): “If you see the washer bulge outward or hear plastic creak, you’ve gone too far.”
“Over-torquing is the #1 cause of DIY p-trap failures—more than worn parts or bad alignment.” — PMI Field Repair Survey, 2022
Can I replace just one section of the p-trap?
Yes—if only the curved section is cracked, you can swap just that piece using same-diameter PVC or ABS. But mismatched materials (e.g., mixing PVC and ABS without transition cement) risk joint failure. Better to replace the full assembly with matching components.
What’s the difference between a p-trap and an s-trap?
A p-trap has a horizontal outlet arm that ties into the wall drain, maintaining water seal against sewer gases. An s-trap drops straight down then curves up—banned in kitchens since the 1950s because it can siphon dry. If you find an s-trap, replace it immediately with a p-trap to meet modern code and prevent odor issues.
A properly sealed p-trap doesn’t just stop drips—it protects your home’s air quality, prevents hidden rot, and keeps your water bill honest. With the right approach, most kitchen p-trap leaks are more about patience and precision than plumbing expertise. Keep spare washers in your toolbox, check connections seasonally, and remember: when in doubt about cast iron, vent stacks, or persistent odors, a licensed plumber saves far more than they cost.