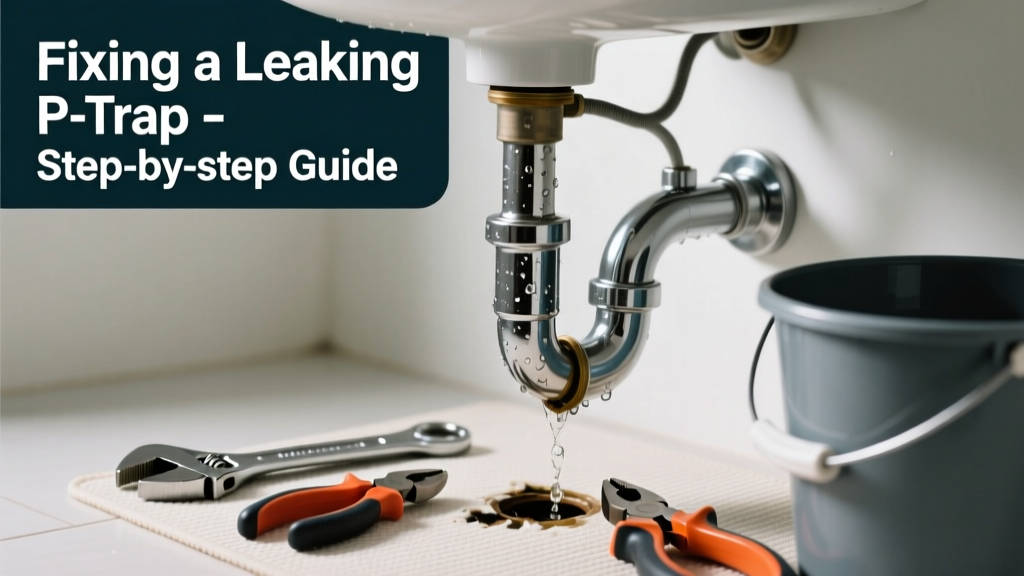
That slow drip under your bathroom sink isn’t just annoying—it’s wasting water, risking mold, and potentially damaging cabinetry. A leaking p-trap is one of the most common—and easiest—plumbing issues to fix, especially if you catch it early. Most repairs take under 30 minutes and cost less than $15 in parts.
Quick Diagnosis
Before grabbing tools, confirm the leak source. Not all drips come from the p-trap itself—some appear to leak there but originate higher up. Check these five likely culprits first:
- Tightness of slip-nut connections (most frequent cause)
- Cracked or corroded trap body (especially in older brass or PVC units)
- Worn or misaligned rubber washers inside slip nuts
- Improper slope—trap must be level or slightly tilted toward the wall pipe
- Debris buildup causing pressure or misalignment
Tools & Materials Needed
| Item | Purpose | Estimated Cost |
|---|---|---|
| Adjustable wrench or channel-lock pliers | Tightens or loosens slip nuts without stripping threads | $8–$22 |
| Replacement p-trap kit (PVC or chrome) | Includes new trap, washers, and nuts; matches standard 1.25" sink drain size | $6–$18 |
| Plumber’s tape (Teflon tape) | Seals threaded joints on tailpiece or wall adapter, not slip joints | $3–$5 |
| Small bucket and rags | Catches residual water and absorbs drips during disassembly | $2–$7 |
| Flashlight | Reveals hidden cracks or moisture trails behind the trap | $5–$15 |
Step-by-Step Fix
Work methodically—don’t overtighten. Over-torquing is the #1 cause of repeat leaks. Follow these four targeted approaches, starting with the simplest:
- Retighten slip nuts by hand first, then give each nut a 1/4-turn with pliers—no more. Test with paper towels wrapped around joints.
- Replace worn slip-joint washers: Remove nuts, inspect rubber or fiber washers for flattening, cracking, or compression. Swap in identical-size replacements (1.25" for standard bathroom sinks).
- Swap the entire p-trap if it’s cracked, bent, or heavily corroded. Cut old PVC cleanly with a utility knife; use a hacksaw for metal. Install new trap with fresh washers and proper alignment—ensure the outlet points straight into the wall stub.
- Check tailpiece and wall adapter: If water appears at the top of the trap, the leak may be where the tailpiece meets the sink strainer or where the trap connects to the wall pipe. Re-seat and re-tape threaded connections (not slip joints).
When to Call a Pro
DIY stops where safety or code compliance begins. Call a licensed plumber if:
- You spot black water or sewage odor—this signals a broken seal or vent issue, not just a loose nut
- The wall stub pipe is cracked, rotted, or set too far back, requiring drywall repair and pipe extension
- Your home has cast-iron drain lines with leaded joints (common in pre-1950s homes)—these require specialized tools and soldering
- Leak persists after three repair attempts with new traps and washers
"Over 68% of 'leaky p-trap' service calls we handle are resolved with washer replacement or reseating—not part replacement." — Roto-Rooter Plumbing Report, 2022
Prevention Tips
Maintain your p-trap like any other high-use component. These habits extend its life and prevent surprise leaks:
- Flush the trap monthly with boiling water + ½ cup baking soda + ½ cup vinegar to dissolve soap scum buildup
- Avoid pouring grease, paint thinner, or harsh chemical drain cleaners down the sink—they degrade rubber washers and PVC over time
- Inspect washers every 12–18 months during routine cleaning—replace proactively if they feel brittle or lose elasticity
- Ensure cabinet airflow: seal gaps around plumbing access panels to reduce condensation, but don’t fully enclose pipes in insulation without ventilation
Can I use bleach on this?
No. Bleach accelerates rubber washer degradation and can embrittle PVC over time. It also reacts dangerously with ammonia-based cleaners sometimes left in drains. Use vinegar or enzyme-based cleaners instead—how to clean bathroom drains safely.
Why does my p-trap leak only when I run hot water?
Thermal expansion causes slight movement in metal traps and softens aged washers. Hot water also melts built-up grease that temporarily seals micro-cracks—once cooled, the leak resumes. Replace washers and check for hairline fractures in chrome traps.
Is it okay to use duct tape or epoxy as a temporary fix?
Not recommended—even short-term. Duct tape fails under moisture and heat; epoxy doesn’t bond reliably to wet, greasy PVC or chrome surfaces. It also masks underlying corrosion, increasing risk of sudden failure. A $7 replacement trap is safer and faster.
Do I need to shut off the water supply before fixing the p-trap?
No—the p-trap is downstream of the shutoff valves, so no water will flow from above while you work. But always open the faucet first to drain residual water from the tailpiece, and keep a bucket ready for the 4–6 oz that pools in the trap.
What’s the right tightness for slip nuts?
Snug by hand, then 1/4-turn with pliers. If you see distortion in the washer or thread stripping, you’ve gone too far. A properly seated washer should compress just enough to fill the joint—no visible gap, no bulging.
Can a clogged drain cause p-trap leakage?
Indirectly, yes. Severe clogs create backpressure that forces water past compromised seals, especially in aging washers. Clear the drain first using a plumber’s snake before diagnosing the trap itself.
A leaking p-trap rarely means disaster—just a small mechanical failure in a simple, accessible part. With the right prep and restraint (no gorilla-tightening!), you’ll restore a dry cabinet and save $120+ on a service call. And once you’ve done it once, you’ll spot the signs—damp rags, mineral streaks, or that faint gurgle—long before the next drip starts.