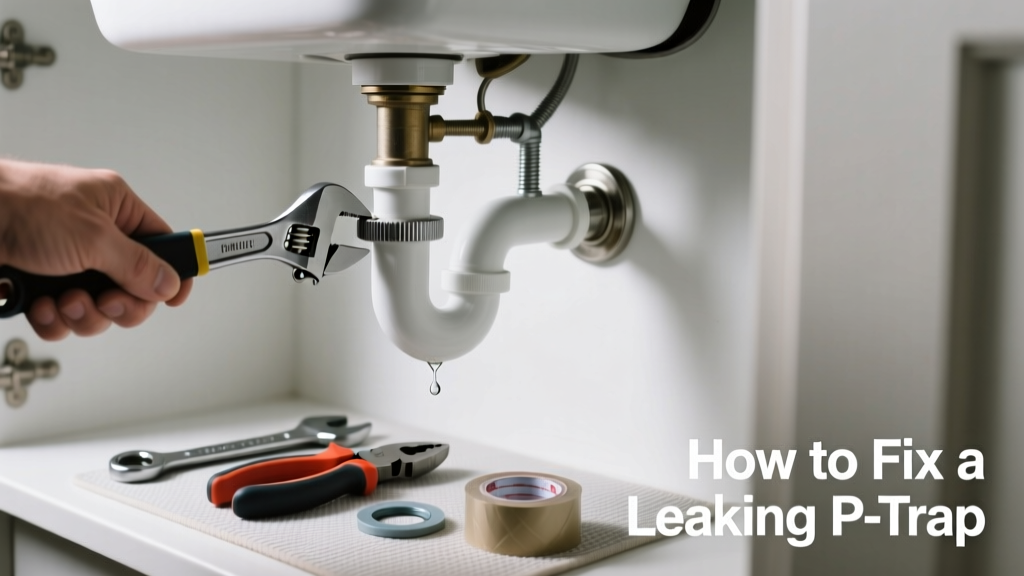
A slow drip or steady stream under your sink isn’t just annoying—it’s a sign of wasted water, potential mold growth, and possible structural damage. P-trap leaks are among the most common plumbing issues homeowners face, and over 60% of under-sink leaks originate at the slip-joint nuts or corroded pipes (Insurance Institute for Business & Home Safety, 2023). The good news? Most can be fixed in under 30 minutes with basic tools.
Quick Diagnosis
Before grabbing tools, identify the source:
- Leak at the slip-joint nut (most common—loose or worn washer)
- Cracked or corroded pipe section (especially in older galvanized or PVC)
- Warped or cross-threaded nut (often from over-tightening)
- Failed compression gasket (common in plastic traps after 5+ years)
- Improper slope—trap not holding water seal, causing intermittent drips
Tools & Materials Needed
| Item | Purpose | Estimated Cost |
|---|---|---|
| Adjustable wrench | Tightens or loosens slip-joint nuts without stripping threads | $12–$25 |
| Plumber’s grease (silicone-based) | Lubricates washers and threads to prevent binding and ensure seal | $4–$8 |
| Replacement P-trap kit (PVC or ABS) | Includes new tailpiece, trap, washers, and nuts—replaces aged components | $8–$18 |
| Bucket and towels | Catches residual water; absorbs spills during disassembly | $0–$5 |
| Flashlight | Illuminates tight cabinet space where leaks hide | $5–$20 |
Step-by-Step Fix
Try these methods in order—start simple, escalate only if needed:
- Tighten slip-joint nuts by hand first, then use an adjustable wrench for one-quarter turn max. Over-tightening cracks plastic and distorts rubber washers.
- Replace worn slip-joint washers: Remove nuts, discard old flat or cone-shaped washers, install new ones (match size: 1¼" for standard kitchen sinks), apply plumber’s grease to both sides.
- Swap out the entire P-trap: Shut off water, drain lines, unscrew all joints, dry parts, assemble new trap with fresh washers, and reattach—ensure vertical tailpiece aligns with horizontal trap arm (no kinks).
- Check trap alignment and slope: The trap must sit level with a slight downward pitch toward the wall drain (1/4" per foot minimum). Use a small level and shim if needed.
When to Call a Pro
DIY stops where safety or code compliance begins:
- Leak originates behind the wall or inside floor joists—not accessible from under sink
- You see green corrosion on copper pipes or white powder (efflorescence) on nearby drywall—signs of chronic leakage
- Drain line connects to cast iron or older hub-and-spigot systems requiring specialized tools
- Your local building code prohibits homeowner replacement of drainage piping (e.g., some NYC co-op buildings)
Prevention Tips
Extend your P-trap’s life with smart habits:
- Inspect washers and nuts every 6 months—replace rubber components every 3 years
- Never pour grease, coffee grounds, or harsh chemical drain cleaners down the sink
- Run hot water for 30 seconds after using dish soap to flush residue that degrades rubber
- Install a leak detector near the trap to catch drips early
- Use stainless steel slip-joint nuts instead of plastic—they resist cracking and hold torque better
Can I use bleach on this?
No. Bleach accelerates rubber washer degradation and can cause micro-cracks in PVC. It also reacts dangerously with ammonia or acids left in drains. Stick to mild dish soap and warm water for cleaning.
Why does my P-trap leak only when I run the dishwasher?
This points to a shared drain line with insufficient venting or a partial clog downstream. When the dishwasher pumps out, pressure forces water past a weak seal—check the air gap and clean the garbage disposal flange.
Do I need Teflon tape on P-trap threads?
No. Slip-joint connections rely on compression washers—not threaded seals. Teflon tape won’t help and may interfere with proper washer seating. Save it for threaded pipe joints like supply lines.
Is it okay to use duct tape as a temporary fix?
Not even temporarily. Duct tape fails fast in damp, greasy environments and offers zero pressure resistance. A better stopgap is a rubber pipe repair clamp sized for 1½" pipe—if you’re waiting for parts.
How tight should the slip-joint nuts really be?
Tight enough to stop dripping—but no more. Hand-tight plus ⅛ to ¼ turn with a wrench is ideal. If you hear cracking or see bulging plastic, back off immediately. As master plumber Carlos Mendez advises in Practical Residential Plumbing (2022): “A leaky joint is safer than a shattered one—and far easier to fix.”
What’s the difference between a P-trap and an S-trap?
An S-trap curves down then back up, creating a siphon risk that can break the water seal and allow sewer gas into your home. P-traps drop straight down, then curve horizontally—meeting modern code requirements. If you find an S-trap, replace it immediately.
According to the U.S. EPA, household leaks waste over 1 trillion gallons of water annually—enough to supply 11 million homes. A single dripping P-trap can waste 3,000+ gallons per year.
Fixing a leaking P-trap isn’t about perfection—it’s about consistency, observation, and knowing when a quarter-turn makes the difference between a drip and dry. Keep spare washers in your toolbox, check under sinks quarterly, and treat each repair as practice for the next. You’ll spend less on water bills, avoid mold remediation, and gain real confidence handling what’s hidden behind the cabinet door.