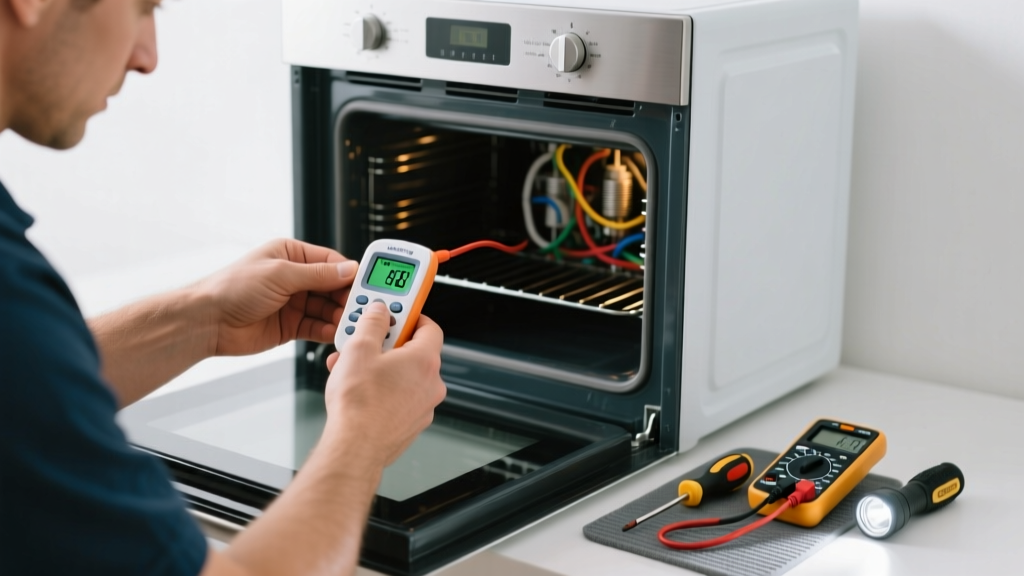
Your favorite casserole comes out raw while cookies burn in the same batch? That’s not bad luck—it’s a sign your oven’s temperature sensor or thermostat has drifted or failed. An inaccurate oven isn’t just frustrating; it wastes food, energy, and time.
Quick Diagnosis
Before grabbing tools, rule out simple causes:
- The oven hasn’t been calibrated recently (most factory calibrations drift ±15°F within 1–2 years)
- Food is placed too close to heating elements or walls, creating hot spots
- The oven door seal is cracked, warped, or coated in grease—letting heat escape
- The temperature probe (if present) is bent, dirty, or touching oven walls
- The control board is displaying correct setpoint but internal temp lags or overshoots consistently
Tools & Materials Needed
| Item | Purpose | Estimated Cost |
|---|---|---|
| Oven thermometer (oven-safe, analog or digital) | Verifies actual internal temperature vs. display | $8–$25 |
| Phillips and flathead screwdrivers | Removes control panel, sensor housing, and back panels | $6–$12 |
| Multimeter (digital, with continuity & resistance modes) | Tests sensor resistance and wiring integrity | $20–$45 |
| Replacement oven temperature sensor (model-specific) | Most common failure point—replaces faulty thermistor | $25–$65 |
| Microfiber cloth & isopropyl alcohol (70%) | Cleans sensor tip and door gasket without residue | $5–$10 |
Step-by-Step Fix
Follow these methods in order—they escalate from safe and quick to more involved:
- Verify accuracy with an independent oven thermometer. Place it on the center rack, preheat to 350°F, and wait 20 minutes. Record actual temp at 5-minute intervals. If variance exceeds ±15°F, proceed.
- Calibrate the oven (if supported). Many modern ovens allow offset adjustment: consult your manual for codes like “Hold Bake + Clock” for 5 seconds. Adjust in 5°F increments up to ±30°F. Note: This masks—but doesn’t fix—a failing sensor.
- Clean and inspect the temperature sensor. Locate the 3–4" metal probe (usually near top rear wall). Wipe gently with alcohol-dampened cloth. Check for bends, corrosion, or insulation damage. A bent sensor reads falsely high.
- Test sensor resistance with a multimeter. Unplug oven, disconnect sensor wires, and measure resistance at room temp (70°F). It should read ~1080–1100 ohms. At 350°F (simulated via warm water bath), expect ~1650–1680 ohms. Outside that range? Replace it.
- Replace the sensor. Unscrew mounting bracket, pull old sensor through its port, thread new one (same model number—e.g., Whirlpool WPW10195044), reconnect wires, and reassemble. Re-test with thermometer.
When to Call a Pro
Stop and call a certified technician if:
- You smell burning plastic or ozone near the control panel—indicates shorted wiring or failing control board
- The oven won’t heat at all, or heats only on broil mode—points to relay or main control board failure
- Your multimeter shows open circuit (OL) on sensor *and* continuity fails between sensor leads and control board connector (wiring harness fault)
- You own a dual-fuel or convection steam oven—the sensor integration is proprietary and requires diagnostic software
According to the U.S. EPA, 14% of household water usage is from leaks—but temperature inaccuracy wastes nearly as much energy: a 25°F error increases cooking energy use by up to 12%, per the ENERGY STAR Appliance Maintenance Guide (2022).
Prevention Tips
- Calibrate your oven every 6 months using a trusted oven thermometer
- Wipe the temperature sensor tip with isopropyl alcohol after deep-cleaning the oven cavity
- Avoid slamming the oven door—repeated impact loosens sensor mounts and warps door seals
- Never spray oven cleaner directly on or near the sensor or control panel vents
How often should I replace my oven temperature sensor?
Sensors typically last 5–8 years under normal use. However, frequent self-cleaning cycles accelerate wear—each cycle subjects the sensor to 900°F+ heat. If you run self-clean more than twice per year, plan replacement at year 4.
Can I use a regular meat thermometer to test oven temperature?
No—most meat thermometers max out at 220°F and aren’t oven-safe beyond brief stovetop use. Use only thermometers labeled “oven-safe” with a 500°F+ rating and a stable stand or hanging hook. Digital probe models like the ThermoWorks DOT are ideal for spot-checking.
Why does my oven read correctly at 350°F but overshoot at 450°F?
This points to a failing thermistor with non-linear resistance drift—common in aging sensors. The component still functions near room temp but loses precision at higher ranges. Replacement is required; calibration won’t resolve it.
Is it safe to adjust oven temperature calibration myself?
Yes—if your model supports it. Calibration adjusts software offset only; it doesn’t override safety limits or affect heating element function. Always verify post-adjustment with an independent thermometer. Never force calibration codes—incorrect sequences can lock the control board.
What’s the difference between oven thermostat and temperature sensor?
Modern ovens don’t use mechanical thermostats. Instead, they rely on a thermistor-based temperature sensor (a resistor that changes value with heat) feeding data to a digital control board. Older gas ovens may have bimetallic thermostats—but those are rare in units built after 2005.
Will inaccurate oven temperature affect my air fryer drawer or convection fan performance?
Yes—especially in combo ovens. Convection algorithms rely on accurate ambient readings to modulate fan speed and heating cycles. A 20°F error can cause uneven crisping or extended cook times. Test both bake and convection modes separately when troubleshooting.
A properly functioning oven shouldn’t be a guessing game. Once you’ve verified, cleaned, tested, and replaced the sensor, you’ll notice consistent browning, reliable rise times, and recipes that finally work as written. Keep that oven thermometer in the drawer—not just for troubleshooting, but as part of your weekly prep routine.