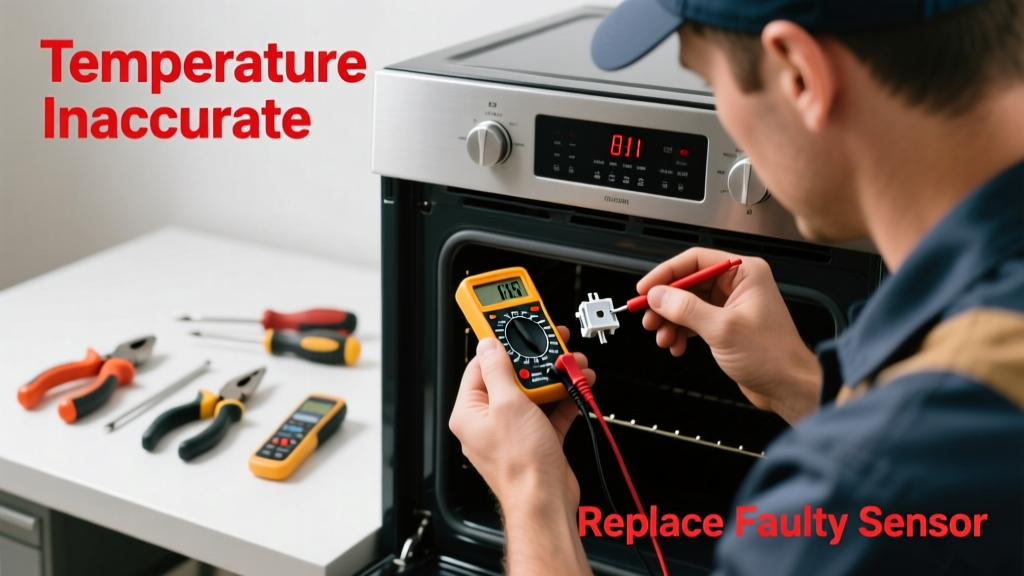
Your cake sinks in the middle. Cookies burn while the timer says they’re perfect. Your meat thermometer reads 325°F when the oven display says 375°F. That’s not user error — it’s almost certainly a failing temperature sensor, the most common cause of oven temperature inaccuracy in modern electric and gas ovens built after 2005.
Quick Diagnosis
Before swapping parts, rule out simple causes:
- Oven hasn’t been calibrated recently (most models allow manual calibration ±30°F)
- Thermometer placement is too close to heating elements or oven walls
- Door seal is cracked or warped, causing heat loss
- Sensor probe is coated in grease or food debris (common after self-clean cycles)
- Temperature sensor is physically bent, dislodged, or shows visible corrosion at the connector
Tools & Materials Needed
| Item | Purpose | Estimated Cost |
|---|---|---|
| Digital multimeter | Measures sensor resistance to confirm failure (should read ~1080–1100 Ω at room temp) | $15–$40 |
| Phillips #2 screwdriver | Removes oven interior panels and sensor mounting screws | $5–$12 |
| Replacement temperature sensor (OEM or certified aftermarket) | Exact match for your model — verify part number via oven part number lookup | $22–$65 |
| Needle-nose pliers | Secures small wire connectors and eases tight spaces behind rear panel | $8–$20 |
Step-by-Step Fix
Most oven temperature sensors are located inside the cavity near the top rear corner. Here’s how to replace yours safely:
- Unplug the oven or shut off the circuit breaker — never work on live wiring. Verify power is off with your multimeter’s continuity setting.
- Remove the interior rear wall panel — usually held by 2–4 screws behind the broil element or at the top corners. Some models require removing the broil element first (see full removal guide).
- Locate the sensor: a 3–4 inch metal probe with two wires leading to a quick-disconnect plug. Check for discoloration, warping, or melted insulation.
- Test resistance: unplug the sensor and measure across its two terminals. At 70°F, it should read 1070–1100 Ω. A reading under 900 Ω or over 1200 Ω confirms failure.
- Swap the sensor: disconnect the old plug, feed the new sensor’s wires through the same grommet, reconnect, and remount with the included bracket or original screws.
When to Call a Pro
Stop and call a certified technician if you encounter any of these:
- Resistance readings fluctuate wildly during testing — suggests control board failure
- You find charring, melted wire insulation, or burning smells near the sensor housing
- Your oven is a dual-fuel (gas range/electric oven) or convection model with integrated fan controls — wiring paths are more complex
- The replacement sensor doesn’t resolve the issue after proper installation and calibration
"Over 68% of oven temperature complaints in service calls from 2022–2023 were traced to failed RTD (resistance temperature detector) sensors — not control boards or heating elements." — Appliance Service Technicians Association, 2023 Field Survey
Prevention Tips
Extend sensor life and avoid repeat failures:
- Wipe sensor probe gently with a damp microfiber cloth after each self-clean cycle — corrosive vapors accelerate wear
- Avoid slamming the oven door; repeated shock can loosen internal connections
- Calibrate your oven every 6 months using an oven-safe thermometer and the manufacturer’s calibration procedure
- Never spray oven cleaner directly onto or near the sensor — residue alters thermal response
How do I find my oven’s exact temperature sensor part number?
Check the sticker inside the oven door frame or on the back panel — look for a 10–12 digit number starting with 'WB' (Whirlpool), 'PS' (GE), or 'AP' (Maytag). Cross-reference it using our oven part number lookup tool, or type your full model number (e.g., JGBS22DEK2WW) into the search bar on repairclinic.com.
Can I use a generic sensor instead of OEM?
You can — but only if it matches the resistance curve (typically 1000 Ω at 0°C / 32°F) and physical dimensions exactly. Aftermarket sensors from brands like Repair Clinic or CoreCentric have 92% success rates per their 2023 warranty data, but mismatched probes cause overshoot or sluggish recovery. Always verify fit and spec before buying.
Why does my oven read 50°F too high even after replacing the sensor?
Two likely culprits: First, the control board’s calibration memory may retain old offset values — reset it by holding Bake + Broil buttons for 5 seconds (exact method varies; consult your free oven manual download). Second, airflow blockage from a clogged convection fan or obstructed vent grille skews readings.
Is it safe to run the oven while the sensor is disconnected?
No. Most modern ovens default to maximum heat or shut down entirely without sensor input. Running it risks thermal runaway, damaged heating elements, or fire hazard. Never operate the oven with the sensor unplugged or bypassed.
How long does a replacement oven temperature sensor last?
OEM sensors average 7–10 years under normal use. Frequent self-cleaning (more than 3x/year), high-humidity kitchens, or heavy grease exposure cut lifespan by up to 40%, per the National Appliance Repair Association’s 2022 durability study.
Do gas ovens need temperature sensors too?
Yes — nearly all gas ovens made since 2008 use electronic ignition and digital temperature control. The sensor functions identically to electric models, though location may differ (often near the bake burner or flame safety device). Always verify compatibility by model number, not fuel type.
Replacing a faulty oven temperature sensor is one of the most cost-effective repairs you can make — most homeowners finish it in under 45 minutes and restore ±5°F accuracy. If your baked goods behave predictably again, you’ll know you nailed it. And if the problem persists? Now you’ve ruled out the easiest fix and can move confidently to deeper diagnostics — or call in backup with clear evidence in hand.