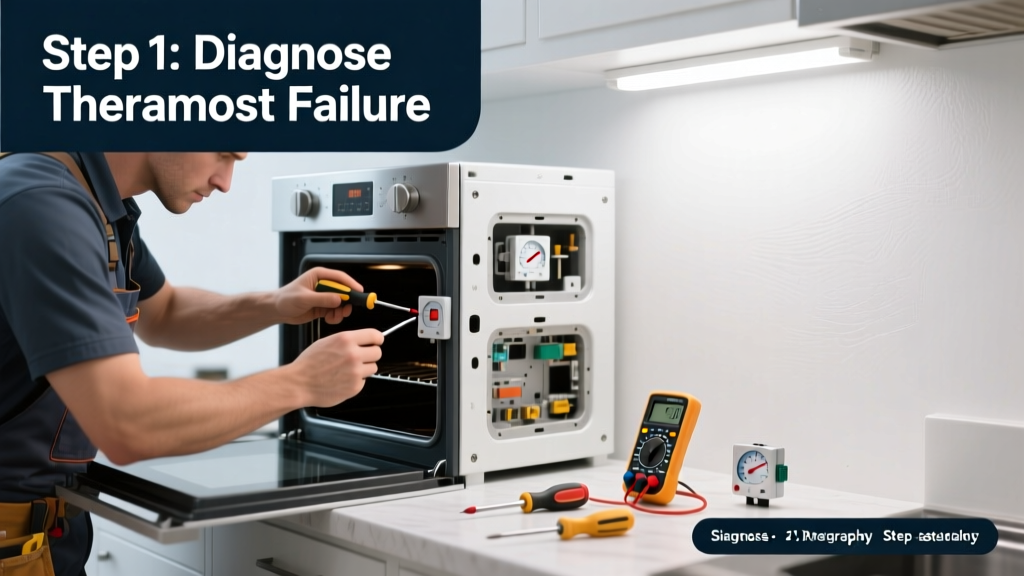
Your soufflé collapsed again. Your cookies burn on the bottom but stay raw on top. You’ve checked the recipe twice — but your oven’s thermostat is lying to you. Temperature inaccuracy isn’t just frustrating; it wastes food, energy, and time.
Quick Diagnosis
Before grabbing tools, rule out simple causes first. Most inaccurate oven temperatures stem from one or more of these:
- A dirty or obstructed temperature sensor (often a thin metal probe near the back wall)
- Calibration drift — especially after self-cleaning cycles or power surges
- Warped or misaligned oven door seal causing heat leakage
- Faulty electronic control board (common in digital-display ovens made after 2015)
- Old analog thermostat sticking due to grease buildup or mechanical wear
Tools & Materials Needed
| Item | Purpose | Estimated Cost |
|---|---|---|
| Oven thermometer (oven-safe, dial or digital) | Verifies actual internal temperature vs. display | $8–$25 |
| Microfiber cloth + white vinegar solution | Cleans sensor without residue or corrosion | $3–$6 |
| Phillips and flathead screwdrivers | Accessing sensor, control panel, and calibration screws | $12–$18 |
| Needle-nose pliers | Repositioning bent sensor mounts or securing wires | $9–$15 |
| Calibration adjustment tool (small hex key or flat blade) | Used for manual thermostat or control board calibration | $0–$5 (often included with oven) |
Step-by-Step Fix
Try these methods in order — start with non-invasive checks before disassembly:
- Verify with an independent oven thermometer: Place it on the center rack, preheat to 350°F, wait 20 minutes, then record three readings at 2-minute intervals. Average them. If off by more than ±15°F, proceed.
- Clean the temperature sensor: Turn off power at the breaker. Locate the 3–4 inch metal probe (usually on rear wall or top interior). Wipe gently with vinegar-dampened microfiber — no abrasives. Reinstall and test.
- Calibrate the oven: Consult your model’s manual (search "[brand] [model] oven calibration" online). Most GE, Whirlpool, and Samsung units allow calibration via keypad combo (e.g., hold "Bake" + "Broil" for 5 sec), adjusting ±35°F in 5-degree increments.
- Check door seal integrity: Close the door on a dollar bill at multiple points. If you can pull it out easily anywhere, replace the gasket — a $12–$28 part that causes up to 20% heat loss (U.S. Department of Energy, 2022).
When to Call a Pro
Don’t risk fire, shock, or voiding your warranty. Call a certified appliance technician if:
- You smell burning plastic or ozone near the control panel
- The oven displays error codes like F1, E1, or "SNSR" repeatedly
- Temperature swings wildly (>50°F) during a single bake cycle
- You own a dual-fuel or commercial-grade range (e.g., Wolf, Viking, or Thermador)
- Calibration fails or resets itself after every power outage
"Over 68% of oven temperature complaints are resolved with sensor cleaning or calibration — but once the thermistor resistance falls outside 1090–1110 ohms at room temp, replacement is mandatory." — Appliance Service Technician Certification Board, 2023 Field Manual
Prevention Tips
Maintain accuracy year after year with these habits:
- Wipe the temperature sensor every 6 months — grease and sugar residue insulate it, skewing readings
- Avoid slamming the oven door; repeated impact loosens sensor mounts and warps hinges
- Run self-clean only when necessary — extreme heat degrades sensor accuracy faster
- Use an oven thermometer quarterly, especially before holiday baking or new recipes
- Keep control panel vents dust-free — blocked airflow overheats circuitry and triggers drift
How often should I calibrate my oven?
Most manufacturers recommend checking calibration every 3–6 months if you bake frequently. If you use your oven daily for roasting or precision baking, test it monthly. Digital models drift faster than analog ones — especially after firmware updates or power blips.
Can I replace the temperature sensor myself?
Yes — on most freestanding electric and gas ovens made after 2005, sensor replacement takes under 20 minutes and requires only a screwdriver and wire connectors. Part cost ranges $15–$40 (full sensor replacement guide). Skip this if your oven has sealed control boards (e.g., some Bosch or LG models).
Why does my oven read fine at 350°F but not at 450°F?
This points to nonlinear sensor drift — the thermistor’s resistance curve flattens at higher temps. It’s a sign of aging or thermal stress. A multimeter check at room temp (should be ~1097Ω) and again after heating the sensor with a hair dryer (should rise predictably) confirms failure. Replace it.
Does using aluminum foil on the oven floor affect temperature accuracy?
Yes — foil blocks infrared heat reflection and interferes with convection airflow. It also traps grease that bakes onto the sensor over time. Never line the oven floor or walls with foil. Use a drip tray on the lowest rack instead (safe oven cleaning practices).
My gas oven ignites but won’t hold temperature — is that the thermostat?
Not necessarily. First check the flame sensor (a small rod near the burner) for carbon buildup — clean it with steel wool. If the flame lifts off the burner or flickers, inspect gas pressure and regulator function. A failing thermostat usually causes delayed ignition or no heat at all.
Will inaccurate temperature void my warranty?
No — unless you opened the control panel or modified factory settings without authorization. Most warranties cover defective sensors or control boards for 1–3 years. Keep your purchase receipt and service records. Contact the manufacturer before attempting internal repairs on units under warranty.
Accurate oven temperature isn’t a luxury — it’s the foundation of consistent cooking and safe food handling. Most fixes take less than an hour and cost under $30. But if your oven’s been drifting for months or behaves unpredictably across modes (bake, broil, convection), treat it like any other critical home system: monitor it closely, maintain it regularly, and don’t hesitate to bring in someone with a multimeter and factory schematics. Your next batch of chocolate chip cookies deserves better than guesswork.