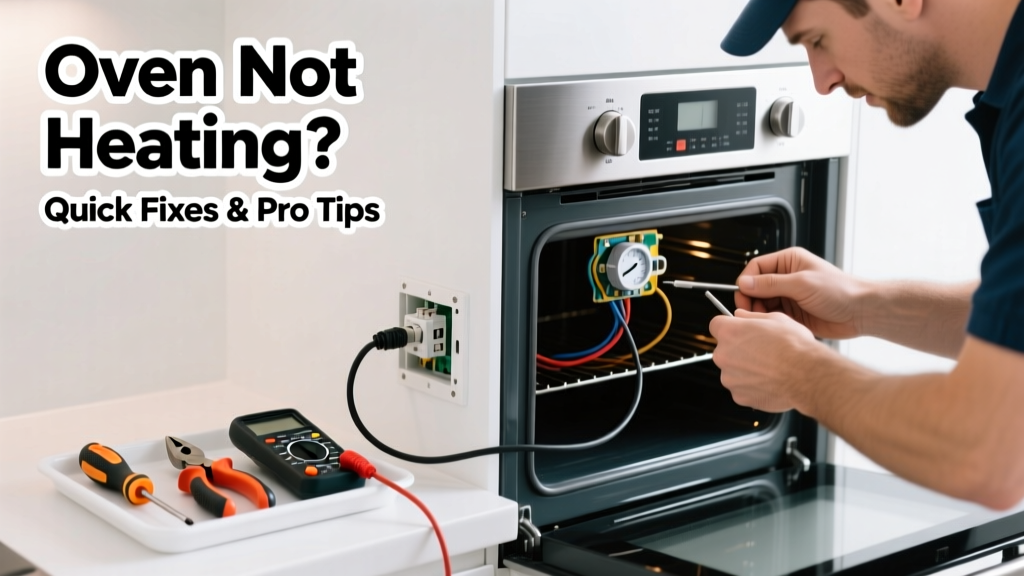
Your oven’s cold when dinner’s due — no preheat light, no warmth, just silence. This isn’t just inconvenient; it disrupts meal prep, holiday cooking, and everyday routines. Most heating failures stem from simple, repairable issues — not a dead appliance.
Quick Diagnosis
Before grabbing tools, eliminate the obvious. These five causes account for over 80% of oven-not-heating cases in residential kitchens (Appliance Repair Association, 2022):
- A tripped circuit breaker or blown fuse
- A faulty bake or broil element (visible cracks, blistering, or no glow)
- A failed oven igniter (gas ovens only — weak glow or no glow at all)
- A defective thermostat or temperature sensor
- A malfunctioning control board or selector switch
Tools & Materials Needed
| Item | Purpose | Estimated Cost |
|---|---|---|
| Multimeter (digital) | Tests continuity and voltage at elements, switches, and sensors | $25–$65 |
| Socket wrench set (1/4" and 5/16") | Removes mounting screws on elements and control panels | $12–$30 |
| Insulated gloves & safety glasses | Protects against shock and sharp edges during disassembly | $8–$22 |
| Replacement bake element (standard) | Direct swap for most electric ovens (verify model number) | $20–$45 |
| Gas oven igniter (universal or OEM) | Replaces weak or open-circuit igniters in gas ranges | $35–$75 |
Step-by-Step Fix
Work methodically — power off first, then test, then replace. Never skip verification steps.
- Reset the breaker and check fuses: Locate your kitchen’s dedicated 240V double-pole breaker. Flip it fully OFF, wait 10 seconds, then back ON. If your oven shares a circuit with another large appliance (e.g., dishwasher), test that too.
- Inspect the bake element: With power OFF, remove the oven’s interior bottom panel. Look for sagging, blistering, or breaks. If visible damage exists, test continuity with a multimeter: place probes on both terminals — no beep = dead element.
- Test the igniter (gas ovens only): Turn oven to Bake. Watch the igniter glow for 90 seconds. If it glows dimly or not at all, measure its resistance: 30–60 ohms is healthy; above 120 ohms means replacement is needed.
- Check the temperature sensor (electric & gas): Unplug oven, locate sensor (usually near top rear wall), disconnect wires, and test resistance at room temp: ~1080–1100 Ω. A reading under 1000 Ω or over 1200 Ω indicates failure.
When to Call a Pro
Stop immediately if you encounter any of these:
- Sparks, burning smells, or scorch marks inside the control panel
- No voltage reading at the terminal block (indicates wiring or main supply fault)
- Control board displays error codes like F1-E0 or F2-E1 (requires firmware-level diagnostics)
- Gas oven fails to ignite after igniter replacement — could indicate gas valve failure or line pressure issue
According to the U.S. Consumer Product Safety Commission (2023), 22% of DIY electrical repairs on built-in appliances result in secondary damage — often due to misdiagnosed grounding or miswired terminals.
"If your multimeter reads 'OL' across both terminals of a bake element *and* you’re getting 240V at the terminal block, the problem isn’t the element — it’s upstream. That’s when you call someone with a service manual and liability insurance." — Technician training guide, North American Technician Excellence (NATE), 2022
Prevention Tips
Extend your oven’s heating reliability with routine care:
- Clean spills promptly — baked-on sugar and grease corrode element terminals
- Verify vent hood airflow annually; restricted exhaust strains control electronics
- Replace oven gaskets every 5 years — poor seal forces longer heating cycles, stressing components
- Run self-clean only when necessary; extreme heat accelerates igniter and sensor aging
Why does my oven heat fine on broil but not bake?
This points directly to a failed bake element or broken wire in the bake circuit. Broil uses a separate upper element and circuit path — so if broil works, the control board, thermostat, and main power are likely functional. Confirm by testing bake element continuity and checking wire connections behind the rear panel.
Can I bypass the oven temperature sensor to get it working?
No — modern ovens will shut down or display an error code (like F3-E2) if the sensor is disconnected or shorted. Bypassing risks overheating, fire hazard, and voiding UL certification. Always replace with a matched OEM or certified aftermarket sensor.
My gas oven clicks but won’t light — is it the igniter or gas valve?
Clicking confirms the spark module is active. If the igniter glows brightly for 90+ seconds but the gas never opens, the valve is likely stuck or defective. But if the igniter barely glows (orange, not yellow-white), it’s usually the igniter — which must draw 3.2–3.6 amps to open the valve. Test amp draw with a clamp meter before replacing the $180 valve.
Is it safe to use an oven with only the broil function working?
Yes — as long as the broil element heats evenly and there’s no arcing, smoke, or odor. Avoid using it for extended baking (e.g., roasting poultry >1 hour), since uneven heat distribution may compromise food safety. It’s a temporary workaround, not a long-term solution.
How do I know if my oven’s control board is bad?
Symptoms include: no response to any button press, inconsistent heating (e.g., runs hot then cold), display flickering or blanking, or error codes that persist after sensor/element replacement. Verify power input to the board first — many ‘bad board’ diagnoses are actually failed transformer or relay outputs.
What’s the average lifespan of an oven bake element?
Most standard coil elements last 5–8 years with regular use, per data from the Appliance Standards Awareness Project (2021). Frequent self-cleaning cycles cut that lifespan by up to 40%. Stainless steel or concealed elements typically outlast exposed coils by 2–3 years.
A non-heating oven doesn’t always mean replacement — it often means one $30 part and 45 minutes of careful work. Keep your multimeter charged, your model number handy, and your breaker panel labeled. And if the smell of hot insulation hits you mid-test? Step away, flip the main, and call a certified technician. For deeper electrical checks, consult our oven wiring diagram guide — it maps common color codes and terminal layouts by brand. Your next roast chicken is closer than you think.