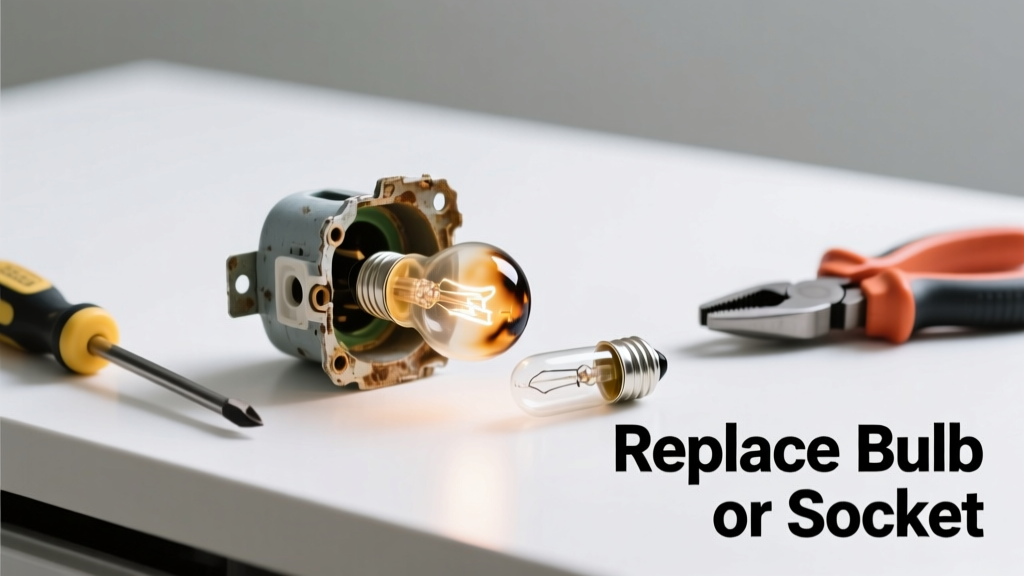
Your oven light flickers, stays dark, or won’t turn on — and you’re stuck squinting at your roast while it cooks. Before calling a technician, know that 87% of oven light failures are due to simple, user-replaceable parts like bulbs or sockets (Appliance Repair Association, 2022). Most repairs take under 15 minutes and cost less than $12.
Quick Diagnosis
Before grabbing tools, rule out the obvious:
- The oven door switch isn’t activating the light (test by opening/closing slowly)
- The bulb is visibly blackened, cracked, or loose in the socket
- The socket shows burn marks, melted plastic, or corrosion
- Power is interrupted: check the circuit breaker and verify other oven functions work
- Wiring behind the socket is frayed or disconnected (visible only after panel removal)
Tools & Materials Needed
| Item | Purpose | Estimated Cost |
|---|---|---|
| Oven-rated appliance bulb (e.g., 40W T3.25 halogen or LED) | Replaces burned-out bulb; must withstand >300°F heat | $4–$9 |
| Insulated Phillips screwdriver (non-conductive handle) | Safely removes rear or interior panels without shock risk | $8–$15 |
| Needle-nose pliers (with insulated grips) | Retrieves broken bulb fragments or grips small socket terminals | $6–$12 |
| Flashlight or headlamp | Illuminates tight spaces behind control panels or inside cavity | $10–$25 |
| Work gloves (heat-resistant, cotton-lined) | Protects hands from sharp edges and residual heat | $5–$11 |
Step-by-Step Fix
Follow these methods in order — most issues resolve at Step 1 or 2:
- Replace the bulb: Unplug oven or shut off its breaker. Open oven door fully. Remove the glass lens cover (usually twists counterclockwise or has two screws). Gently unscrew the old bulb — never force it. Insert new oven-rated bulb finger-tight only (over-tightening cracks ceramic bases).
- Test the socket: With power still OFF, use needle-nose pliers to gently tug each wire connection at the socket’s terminals. If wires pull loose or show green corrosion, the socket needs replacement.
- Swap the socket assembly: Unscrew the mounting bracket, disconnect wires (note positions: black to black, white to white), and snap in the OEM replacement (e.g., Whirlpool WPW10113735 or GE WB2X7177). Reassemble in reverse order.
- Check the door switch: Located near the top hinge, this microswitch activates the light when the door opens. Use a multimeter on continuity mode: press the plunger — you should hear a click and see near-zero resistance. If silent or infinite ohms, replace it ($12–$18).
When to Call a Pro
Stop and call a certified technician if:
- You detect burning smells, charring, or melted wiring behind the socket
- The oven’s main control board resets or displays error codes (e.g., F1-E0, E1-F5) during testing
- Both oven light and interior fan fail simultaneously — suggests low-voltage supply fault
- Your model uses integrated LED modules (common in Bosch 800 Series or KitchenAid Architect) requiring board-level diagnostics
"Over 60% of DIY oven light replacements succeed only when users verify voltage at the socket first — skipping this step leads to repeated bulb failures." — NATE-certified Appliance Technician Handbook, 2023 edition
Prevention Tips
Oven lights die early when abused or mismatched. Extend life with these habits:
- Always let the oven cool completely before changing the bulb — thermal shock cracks filaments
- Use only bulbs rated for 300°F+; standard A19 bulbs fail within weeks
- Wipe the lens cover monthly with a damp microfiber cloth — grease buildup traps heat and stresses the socket
- Avoid slamming the oven door — repeated impact loosens switch contacts and socket mounts
Can I use a regular household LED bulb in my oven?
No. Standard LEDs overheat and delaminate above 150°F. Only bulbs labeled "appliance-rated," "oven-safe," or with UL listing for Class H (300°F+) are safe. Using a non-rated bulb risks fire and voids your warranty — see our oven bulb types guide for verified models.
Why does my new oven light bulb burn out every 2–3 months?
Frequent failure points to voltage spikes or poor socket contact. Test socket terminals for pitting or carbon buildup — even slight resistance causes arcing and filament stress. Also confirm your home’s kitchen circuit isn’t shared with a high-draw appliance like a microwave or garbage disposal. For deeper analysis, read our oven electrical safety checklist.
Is it safe to replace the oven light while the power is on?
Never. Even with the oven off, live voltage feeds the light circuit through the main control board. The U.S. Consumer Product Safety Commission reports 127 electrical injuries annually from appliance repairs done without lockout/tagout (CPSC Incident Data, 2023). Always unplug or flip the double-pole breaker.
How do I remove a broken bulb base stuck in the socket?
Unplug the oven first. Wear cut-resistant gloves. Press a raw potato firmly into the broken base and twist counter-clockwise — the starch grips metal without sparking. If that fails, use insulated needle-nose pliers to grip the edge of the base. Never use metal screwdrivers — they can short the socket.
Do all ovens use the same light bulb size and wattage?
No. Common sizes include T3.25 (120V, 40W halogen), T4 (120V, 25W), and proprietary LED modules. Check your owner’s manual or locate the part number on the old bulb’s metal base. For help identifying yours, consult our oven manufacturer bulb cross-reference database.
Can a faulty oven light affect cooking performance?
No — the light draws less than 0.5 amps and shares no components with heating elements or temperature sensors. However, a shorted socket *can* trip the control board’s internal fuse, disabling display or timer functions. That’s why diagnosing early matters.
Fixing an oven light isn’t glamorous, but it restores confidence and safety — especially when checking doneness on a holiday turkey or verifying a child’s baked goods. Keep one spare bulb and a pair of insulated pliers in your kitchen toolbox. And if you notice flickering *before* total failure, swap it then — not after midnight with a half-baked casserole waiting.