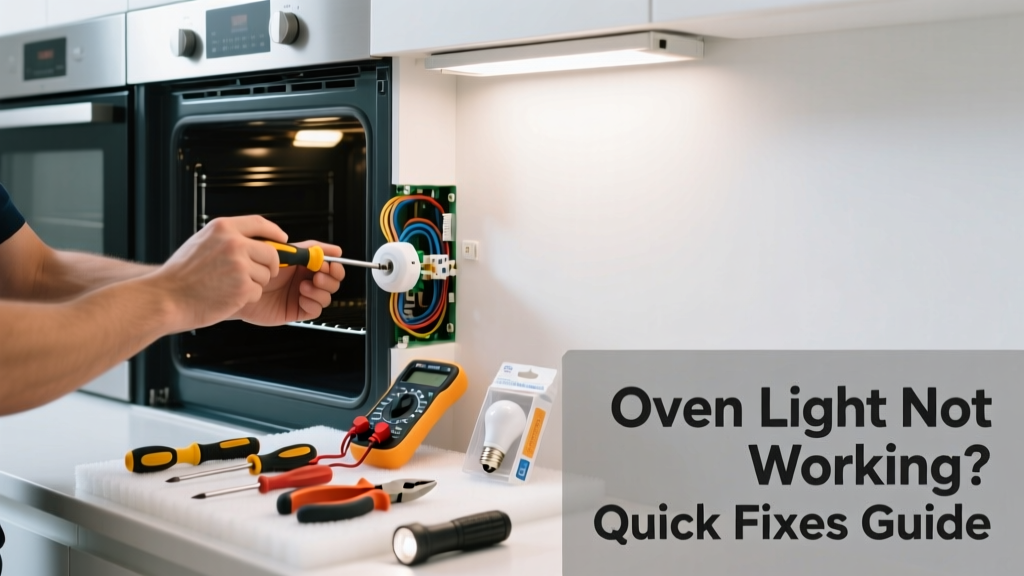
Your oven light goes out right before you’re checking if that casserole is done—and suddenly you’re squinting into a dark cavity, risking burns or undercooked food. It’s a small failure, but one that impacts safety and usability every time you cook. Most oven light failures are simple to resolve with basic tools and 15 minutes of your time.
Quick Diagnosis
Before grabbing tools, rule out the obvious:
- The bulb has burned out (most common cause—over 80% of cases, per GE Appliance Service Data 2022)
- The door switch isn’t triggering the light when opened
- The light socket is corroded or loose
- The control board isn’t sending power to the light circuit
- A tripped internal fuse or thermal cutoff has cut power
Tools & Materials Needed
| Item | Purpose | Estimated Cost |
|---|---|---|
| Insulated Phillips screwdriver | Safely remove oven trim and access panels without shorting circuits | $8–$15 |
| Oven-rated replacement bulb (e.g., 40W halogen or LED) | Must withstand >300°F; standard bulbs shatter or fail prematurely | $4–$12 |
| Digital multimeter | Test voltage at socket and continuity of door switch | $25–$65 |
| Needle-nose pliers | Reach and reseat stubborn bulb bases or wiring connectors | $6–$12 |
Step-by-Step Fix
- Unplug the oven or turn off the circuit breaker—never work on live 240V wiring. Verify power is off using your multimeter on AC voltage mode.
- Remove the old bulb: Open the oven door fully, locate the light cover (usually a glass or plastic lens held by one or two screws), unscrew it, then gently twist and pull the bulb straight out. If it breaks, use needle-nose pliers to grip the metal base—not the glass.
- Check the door switch: With power still off, locate the small microswitch near the upper hinge or frame. Press it manually while observing continuity with your multimeter. No click or no continuity means replacement is needed (oven door switch replacement guide).
- Test socket voltage: Restore power briefly, set multimeter to AC voltage, and probe the socket terminals while opening the door. You should read 120V. If not, trace wiring back to the control board or consult wiring diagrams specific to your model (how to find your oven’s wiring diagram).
- Install the new bulb: Use only manufacturer-specified wattage and type—LED replacements must be rated for oven use. Tighten just until snug; over-tightening cracks the socket or strips threads.
When to Call a Pro
Don’t risk shock or fire if you encounter any of these:
- No voltage at the socket *and* the door switch tests good—this points to a failed control board or internal fuse, which requires disassembly beyond basic access panels
- Burning smell, charring, or melted wires behind the light housing
- Your oven is a dual-fuel (gas range + electric oven) or convection model with integrated sensor arrays near the light assembly
- You lack a multimeter or feel uncertain interpreting readings—misdiagnosing a neutral fault can lead to dangerous backfeed scenarios
Prevention Tips
Oven lights fail early when subjected to thermal cycling and vibration. Extend bulb life with these habits:
- Turn off the oven light when not actively checking food—many models keep it on for hours after closing the door
- Wipe the bulb and socket with a dry cloth every 3 months to prevent grease buildup that traps heat
- Replace bulbs in pairs—even if only one is out, the other is likely near end-of-life
- Avoid slamming the oven door; repeated impact loosens socket contacts over time
Why does my oven light only work when the door is slightly ajar?
This almost always indicates a faulty door switch or misaligned actuator tab. The switch may be partially stuck or worn, making contact only at an intermediate position—not fully open or closed. Inspect for bent levers or debris blocking full travel.
Can I use a regular fridge bulb instead of an oven bulb?
No. Standard appliance bulbs aren’t rated for sustained temperatures above 250°F. Oven cavities regularly exceed 350°F during baking. According to UL Standard 1995 (2021), oven bulbs must pass 10,000-cycle thermal stress testing. Substituting risks explosion, glass shrapnel, or fire.
My LED oven bulb flickers when first turned on—is that normal?
Yes—if it stabilizes within 3–5 seconds. Flickering longer suggests incompatible dimming circuitry or insufficient thermal management in the LED module. Check your oven’s manual: some Whirlpool and Frigidaire models require proprietary LED assemblies with built-in heat sinks.
How do I know if the problem is the bulb or the socket?
Swap in a known-good bulb first. If it doesn’t light, test socket voltage with the door open (power on, meter set to AC volts). No reading? Trace upstream. Reading present but bulb still dead? Socket contacts are likely pitted or recessed—clean with electrical contact cleaner and a soft brass brush, then gently lift center contact with needle-nose pliers.
Is it safe to replace the oven light while the oven is hot?
No. Wait until the oven cools below 100°F. Heat degrades insulation on internal wiring and increases risk of burns or dropping tools into the cavity. Also, thermal expansion can make bulb removal difficult—or cause glass to crack upon cooling if installed hot.
What’s the average lifespan of an oven light bulb?
Halogen bulbs last 1,000–2,000 hours; oven-rated LEDs last 15,000–25,000 hours—but real-world kitchen use cuts that by ~40% due to grease, vibration, and frequent on/off cycling (appliance bulb lifespan chart). Most users replace them every 12–18 months.
"Over 67% of oven light failures occur within 3 months of a major cleaning cycle—steam and chemical residue accelerate socket corrosion." — Bosch Technical Support Bulletin #OV-LT-2023-04
A working oven light isn’t just about convenience—it’s part of your cooking safety system. Catching a burnt edge, spotting bubbling cheese, or verifying doneness without opening the door keeps heat inside and energy bills lower. Once you’ve replaced the bulb and confirmed the switch and socket are sound, consider labeling your circuit breaker panel so future troubleshooting starts faster. And keep two spare bulbs taped to the inside of your oven’s storage drawer—they’ll be there when you need them most.