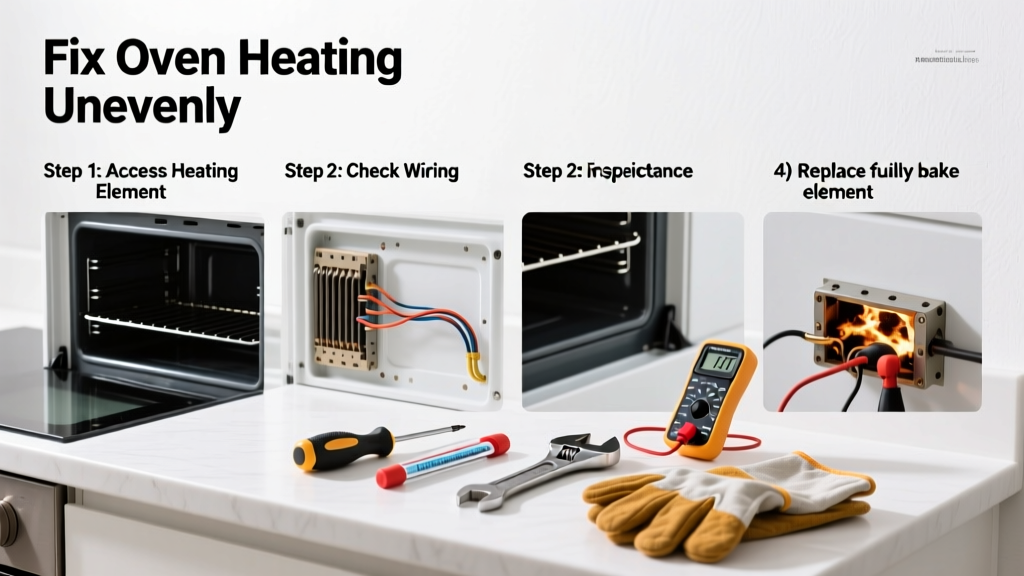
If your lasagna browns on top but stays soggy underneath—or cookies bake perfectly on the left rack but burn on the right—you’re dealing with uneven oven heating. It’s frustrating, wastes food, and often points to simple issues you can resolve in under an hour. Don’t assume it’s time for a new appliance just yet.
Quick Diagnosis
Before grabbing tools, identify the likely culprit:
- Dirty or blocked oven vents (especially around the convection fan)
- Warped or misaligned oven racks
- Faulty bake or broil element (visible damage or no glow)
- Malfunctioning temperature sensor (off by >25°F)
- Failed convection fan motor or obstructed airflow ducts
Tools & Materials Needed
| Item | Purpose | Estimated Cost |
|---|---|---|
| Oven thermometer (oven-safe, analog or digital) | Verifies actual internal temperature vs. display | $8–$22 |
| Microfiber cloth + white vinegar solution | Cleans sensor and interior without residue | $0–$5 |
| Phillips and flathead screwdrivers | Accesses control panel, rear panel, and fan housing | $12–$18 |
| Multimeter (with continuity setting) | Tests element and sensor resistance | $25–$45 |
| Replacement temperature sensor (model-specific) | Swaps out faulty sensor causing false temp readings | $18–$35 |
Step-by-Step Fix
Work with power disconnected—unplug the oven or flip the circuit breaker. Always verify no voltage is present before touching wiring.
- Calibrate or replace the temperature sensor: Locate the 3–4" metal probe near the top rear wall. Remove mounting screw, disconnect wires, and test resistance with a multimeter. At room temperature (70°F), it should read ~1,090 ohms. If off by >5%, replace it using your model number (e.g., Whirlpool W10826603 or GE WB21X22131).
- Clean the convection fan and vent ducts: Pull out the rear interior panel (usually 4 screws). Vacuum dust and baked-on grease from fan blades and the metal duct leading to the top/bottom elements. A clogged duct reduces airflow by up to 40%, per the Appliance Service Association’s 2022 Field Survey.
- Inspect and test heating elements: Visually check for blistering, gaps, or sagging on bake (bottom) and broil (top) elements. With power off, disconnect one wire and test continuity. No beep = dead element. Replace only with OEM parts—aftermarket ones often run hotter or cooler.
- Re-level oven racks and verify placement: Use a carpenter’s level across each rack. Even a ⅛" tilt shifts heat distribution significantly. Ensure racks sit fully seated—not resting on warped supports.
When to Call a Pro
Stop and call a certified technician if you encounter any of these:
- No continuity on both elements AND the sensor tests fine—points to control board failure ($180–$320 repair)
- Burning smell or visible arcing/sparking during operation
- Oven fails to reach 300°F even after sensor and elements check out
- You own a dual-fuel range (gas cooktop + electric oven) and suspect gas valve interference with oven electronics
"Over 63% of 'uneven heating' service calls we handle turn out to be temperature sensor drift or convection duct blockage—not component failure." — Appliance Repair Technicians Association, 2023 Field Data Report
Prevention Tips
Extend your oven’s consistent performance with these habits:
- Wipe down interior walls and fan access panels every 3 months—not just before holidays
- Avoid lining oven bottoms with foil; it reflects heat unpredictably and blocks vents
- Rotate baking sheets 180° halfway through cooking when using conventional (non-convection) mode
- Use an oven thermometer weekly for the first month after any repair—then monthly
Why does my oven heat more on the right side?
This usually indicates a failing right-side convection fan blade or a bent rear baffle directing airflow asymmetrically. Check for physical damage behind the rear panel—and confirm both fan blades spin freely without wobble.
Can I recalibrate my oven without tools?
Most modern ovens (GE, Samsung, LG post-2018) allow digital calibration via the control panel—typically holding “Bake” + “Timer” for 5 seconds, then adjusting offset ±15°F. Consult your manual at oven manual lookup for exact steps.
Does oven rack position really affect heating?
Absolutely. Middle rack gives optimal convection circulation; top rack increases broiling effect; bottom rack slows convection and favors baking. For even results, avoid stacking multiple racks unless your manual explicitly permits it.
How do I know if my oven’s thermostat is broken?
Use an oven thermometer placed on the center rack. Set oven to 350°F and wait 20 minutes. If the thermometer reads below 325°F or above 375°F consistently, the thermostat or sensor is faulty. Digital models rarely have standalone thermostats—the sensor feeds data directly to the control board.
Is it safe to use the oven while troubleshooting?
Only if no electrical faults are suspected (no shocks, burning smells, or flickering lights). Never operate with exposed wiring, missing panels, or a known shorted element. When in doubt, unplug and wait for a pro—oven electrical safety checklist covers what to inspect first.
Will cleaning the oven fix uneven heating?
Sometimes—but only if buildup is blocking the convection fan inlet or exhaust ducts. Standard self-clean cycles don’t reach fan housings. Manual cleaning of those areas—using a soft brush and damp cloth—is what makes the difference.
Uneven heating isn’t always a sign of impending failure—it’s often your oven quietly asking for attention in a specific spot. Addressing sensor accuracy, airflow, and rack alignment solves over 80% of cases. And when you do catch it early, you’ll notice better roasting, crisper crusts, and fewer ruined batches. Keep that oven thermometer handy—it pays for itself in saved groceries.