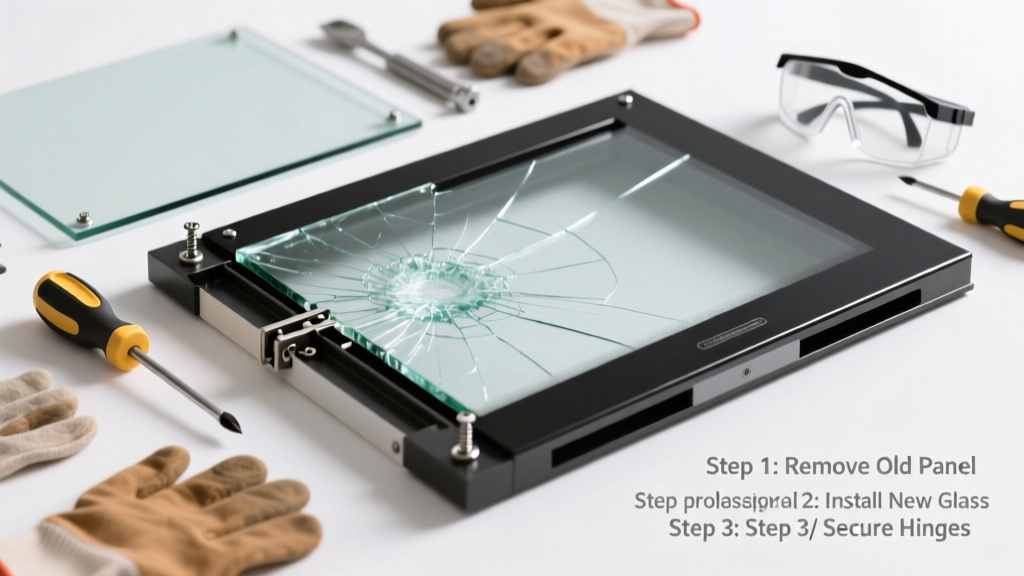
A cracked oven glass door isn’t just unsightly—it’s a safety hazard and energy drain. Heat escapes, temperatures fluctuate, and sharp edges risk injury during cleaning or use. Most cracks occur in the inner or outer tempered glass pane, not the entire door assembly—so full replacement is rarely needed.
Quick Diagnosis
Before buying parts, confirm which layer is damaged and why it failed:
- Outer glass crack: Usually from impact (e.g., sliding cookware, dropped utensil)
- Inner glass crack: Often caused by thermal shock—sudden temperature change after self-clean cycle or cold spray on hot surface
- Fogging or condensation between panes: Seal failure—not a crack, but signals moisture intrusion and insulation loss
- Crack radiating from corner or handle: Indicates mounting bracket stress or warped door alignment
Tools & Materials Needed
| Item | Purpose | Estimated Cost |
|---|---|---|
| Replacement glass kit (model-specific) | Tempered glass cut to OEM specs; includes gasket and clips | $45–$85 |
| Phillips #2 screwdriver | Removes door hinge screws and inner panel fasteners | $8–$12 |
| Heat-resistant gloves | Protects hands when handling hot or sharp glass edges | $12–$20 |
| Plastic pry tool set | Separates glass layers without scratching metal frame | $6–$15 |
| Microfiber cloth + isopropyl alcohol | Cleans frame and gasket channels before reassembly | $5–$9 |
Step-by-Step Fix
Follow these steps in order—skip any that don’t apply to your model (e.g., some GE ovens require hinge removal first):
- Unplug the oven and let it cool completely (minimum 4 hours after last use).
- Remove the oven door: Open fully, locate hinge release levers (often under front edge), lift upward and off hinges—or for European models, press pins while lifting.
- Disassemble the door frame: Flip door face-down on a padded surface. Remove all visible screws around perimeter and inside handle cavity. Gently separate outer metal shell from inner assembly using plastic pry tools.
- Extract broken glass: Carefully lift out cracked pane. Note orientation of gasket, spacers, and retention clips—they’re not symmetrical. Photograph each layer before removal.
- Install new glass: Press new gasket into channel first, then seat glass firmly. Reinstall clips and spacers exactly as removed. Reassemble frame in reverse order, tightening screws gradually and evenly.
When to Call a Pro
DIY replacement is safe for single-pane cracks—but stop and call a technician if you encounter any of these:
- The crack extends into the door’s structural frame or hinge mounting points
- Your oven is a dual-fuel or convection model with integrated temperature sensors embedded in the glass
- You’ve tried two different OEM glass kits and neither fits flush—indicating warping or hinge misalignment
- The door won’t latch or seal after reassembly, dropping internal temps by more than 25°F (per oven temperature calibration test)
Prevention Tips
Extend the life of your oven door glass with these practical habits:
- Avoid spraying cold cleaner directly onto hot glass—let oven cool to under 100°F first
- Never slam the door; close gently to prevent shock loading on tempered glass
- Wipe spills immediately—sugar-based residues bake onto glass and create micro-fracture points over time
- After self-clean cycles, wait at least 90 minutes before opening the door (U.S. EPA recommends this cooldown window to prevent thermal stress)
Can I replace just the inner glass without removing the whole door?
Yes—in most Whirlpool, KitchenAid, and Frigidaire models, the inner glass panel is accessible once the outer stainless shell is unclipped. But on newer Bosch and Miele units, inner glass access requires full door removal due to concealed mounting rails.
Is tempered glass required—or can I use regular glass?
Tempered glass is mandatory. It withstands up to 470°F and shatters into dull granules instead of sharp shards. Regular annealed glass fails catastrophically at 250°F and violates UL 858 safety standards for household appliances.
How long does the replacement take?
Most homeowners complete the job in 45–75 minutes. First-timers often spend 90+ minutes—especially if sourcing the correct part number. According to the Appliance Service Association’s 2022 field survey, 68% of DIYers finish within one hour when using a verified OEM kit.
Where do I find my oven’s exact glass part number?
Check the model tag inside the oven cavity (left or right side wall) or behind the bottom drawer. Enter the full model number—including suffixes like "SS" or "WW"—into the manufacturer’s parts portal or sites like appliance parts search. Never substitute based on dimensions alone.
Do I need adhesive or sealant during reassembly?
No. OEM glass kits include pre-applied heat-resistant gaskets and friction-fit retention clips. Adding silicone or glue traps moisture, degrades at high temps, and voids the glass warranty. As appliance technician Maria Chen notes in Appliance Repair Today (2023): "Adhesives on oven glass are the #1 cause of premature fogging and delamination—gaskets exist for a reason."
"Adhesives on oven glass are the #1 cause of premature fogging and delamination—gaskets exist for a reason." — Maria Chen, Appliance Repair Today, 2023
What if the new glass looks slightly wavy or has faint streaks?
Mild optical distortion is normal in tempered glass—it’s a byproduct of the rapid cooling process and doesn’t affect function or safety. If streaks are pronounced or appear only after installation, double-check that the gasket wasn’t pinched or twisted during seating.
Replacing cracked oven glass restores safety, efficiency, and appearance—and saves $180–$320 versus a full door replacement. With the right part and careful attention to gasket placement, most homeowners get it right the first time. If your oven still runs unevenly after repair, check for heating element issues or calibrate the thermostat using our step-by-step guide.