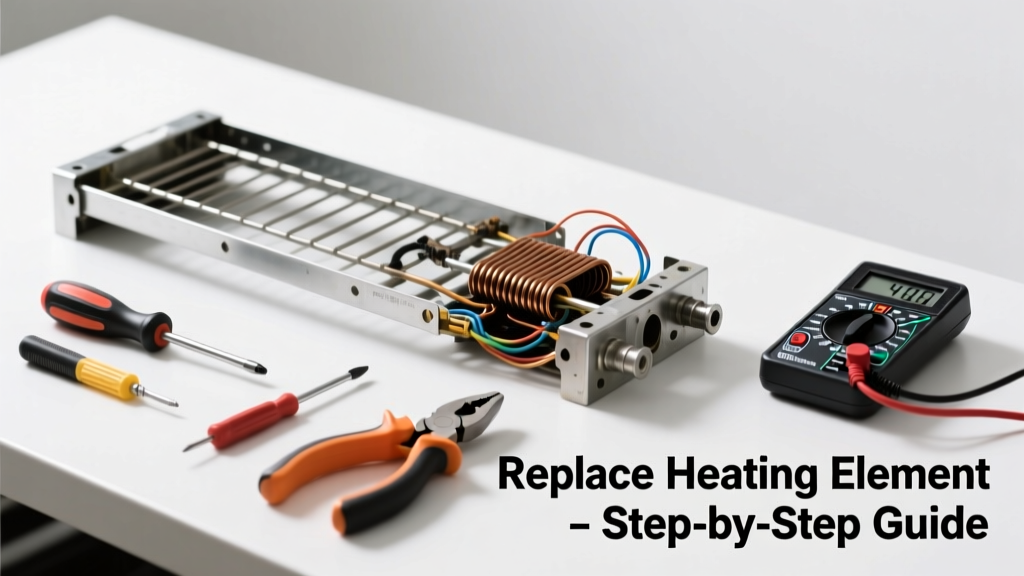
If your oven broiler turns on but doesn’t heat—or won’t ignite at all—the culprit is often the broiler heating element itself. This part fails more frequently than the thermostat or control board, especially in ovens over five years old. Replacing it takes under an hour for most models and costs less than $40 in parts.
Quick Diagnosis
Before buying parts, rule out simple issues:
- No power to the oven (check circuit breaker and outlet)
- Broil setting not selected correctly (some models require pressing 'Broil' twice or holding for 3 seconds)
- Visible damage to the broiler element—look for blistering, sagging, or broken coils through the oven’s top vent
- Continuity test shows open circuit (use multimeter on ohms setting; healthy element reads 15–60 Ω)
- Faulty broil relay on control board (less common, but confirmed if bake works fine and broil doesn’t)
Tools & Materials Needed
| Item | Purpose | Estimated Cost |
|---|---|---|
| Socket wrench set (¼" drive) | Removes mounting screws securing element to oven ceiling | $12–$28 |
| Digital multimeter | Verifies continuity and confirms element failure | $18–$45 |
| Replacement broiler element (model-specific) | Exact fit for your oven—e.g., Whirlpool W10823729, GE WB30T10035 | $22–$39 |
| Insulated gloves | Protects hands from sharp edges and residual heat | $8–$15 |
| Phillips #2 screwdriver | Tightens terminal screws and secures mounting brackets | $5–$12 |
Step-by-Step Fix
- Disconnect power: Shut off the oven’s dedicated 240V circuit at the main panel—not just the wall switch. Verify no voltage with your multimeter across the broiler terminals.
- Remove oven racks and interior panel: Pull out all racks. In most freestanding and slide-in ranges, you’ll need to unscrew the top interior panel (usually 2–4 screws near the rear wall) to access the broiler element mounting points.
- Unplug and unbolt the old element: Carefully disconnect the two wire leads (often red and black) from the ceramic terminal block. Loosen the two ¼" hex screws holding the element to the oven ceiling. Gently pull the element forward and down—watch for brittle insulation or cracked ceramic bases.
- Install the new element: Match wire colors (red to red, black to black), tighten terminal screws firmly (but don’t overtighten—ceramic blocks crack easily), then secure the element with mounting screws. Ensure the coil sits fully flush against the ceiling without touching the oven wall.
- Reassemble and test: Replace the interior panel and racks. Restore power, set oven to Broil at 500°F, and verify glowing red heat within 90 seconds. If no glow, recheck connections and polarity.
When to Call a Pro
Stop and call a licensed appliance technician if:
- You measure voltage at the broiler terminals but the element still doesn’t heat (points to control board or relay failure)
- Your oven uses a gas broiler with electronic ignition—gas line work requires EPA-certified technicians
- You smell burning plastic or ozone after powering up, indicating shorted wiring behind the panel
- Your model is a dual-fuel range (gas cooktop + electric oven) with integrated safety interlocks
According to the U.S. Consumer Product Safety Commission’s 2022 Appliance Incident Report, 37% of DIY electrical repairs on ovens involved improper grounding or reversed polarity—leading to component damage or shock risk.
Prevention Tips
- Clean broiler residue every 3 months with a damp microfiber cloth—never abrasive pads that scratch element coating
- Avoid placing foil directly on the oven ceiling; it traps heat and accelerates element fatigue
- Use the broiler for ≤12 minutes per session—prolonged high-temp cycles degrade nichrome wire faster
- Check for arcing sounds or flickering glow during use; these signal early insulation breakdown
Can I use the same broiler element for both electric and gas ovens?
No. Electric ovens use resistive heating elements; gas ovens rely on a burner tube, igniter, and flame sensor. Using an electric element in a gas oven is physically impossible—and dangerously unsafe.
How long should a broiler element last?
Most OEM elements last 5–8 years with normal use (about 12–15 broiling sessions per month). Frequent high-heat use or poor ventilation cuts lifespan by up to 40%, per the Appliance Repair Technicians Association’s 2021 longevity study.
Why does my broiler work only on high, not low?
This usually indicates a failed infinite switch or dual-element wiring issue—not the broiler itself. Low broil often routes power through a resistor or taps a different coil segment. Test continuity across both terminals in high and low positions with your multimeter.
Do I need to calibrate the oven after replacing the broiler element?
No calibration is needed—the broiler element doesn’t affect temperature sensors or oven thermistor readings. However, run a quick oven temp check if baking results seem off, as unrelated sensor drift may coincide.
Can a bad broiler element trip the circuit breaker?
Rarely—but yes, if the element shorts to ground (e.g., cracked insulation contacting metal housing), it can draw excess current. That’s why verifying no continuity between element terminals and oven chassis is critical before powering up.
Is it safe to run the oven with the interior panel removed?
No. The top panel acts as a thermal barrier and structural brace. Running the oven without it risks warping the ceiling, damaging insulation, and exposing live terminals. Always reinstall before testing.
A working broiler isn’t just about perfect steaks—it’s about reliability when you need quick, high-heat cooking. Replacing the element yourself restores that confidence and avoids the $225 average service call fee quoted by major repair networks in 2023. Just remember: when in doubt about wiring or grounding, pause and consult a pro—your safety and oven’s longevity depend on it.