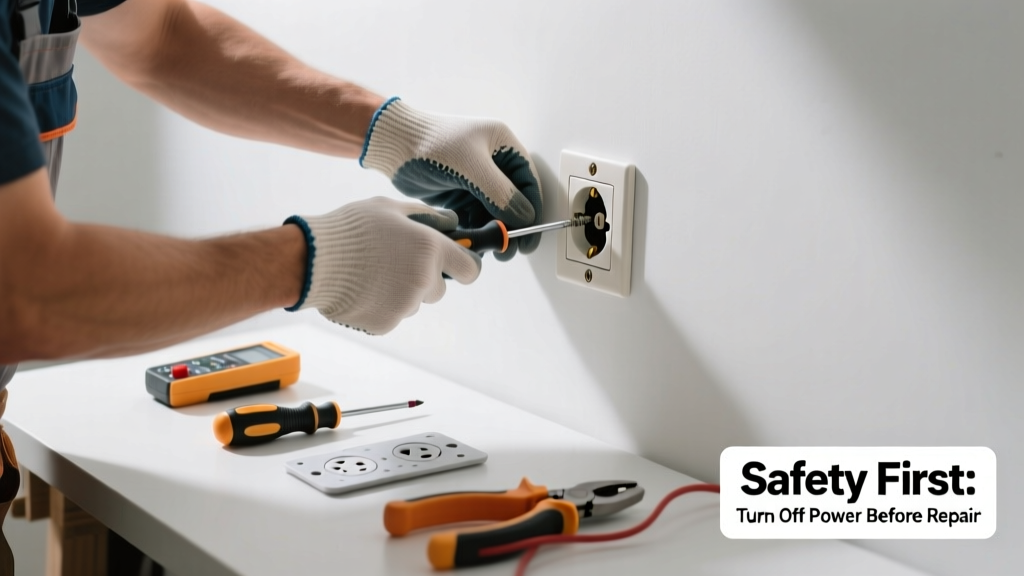
A loose outlet isn’t just annoying—it’s a red flag for potential arcing, overheating, or even fire. If your plug wobbles, the faceplate gaps unevenly, or you hear buzzing when something’s plugged in, don’t ignore it. Most cases are simple to fix in under 30 minutes—but only if wiring is sound and the box is intact.
Quick Diagnosis
Before grabbing tools, identify the root cause. A loose outlet rarely means faulty receptacle alone—it’s usually one (or more) of these:
- Mounting screws loosened from repeated plugging/unplugging
- Electrical box shifted or pulled away from stud due to drywall movement or poor initial installation
- Box itself is plastic and warped or cracked, losing grip on mounting ears
- Back-wired connections (push-in terminals) have degraded, causing internal tension imbalance
- Drywall around the box is crumbling or over-cut, offering no support
Tools & Materials Needed
| Item | Purpose | Estimated Cost |
|---|---|---|
| Voltage tester (non-contact) | Confirms power is off before touching wires—required by NEC 110.26 | $12–$25 |
| Insulated screwdrivers (flat & Phillips) | Tighten terminal screws without shorting hot/neutral; insulated handles prevent shock | $8–$18 |
| Outlet shims (paper or plastic) | Fills gap between device yoke and box flange for snug fit—UL-listed shims approved for use behind devices | $3–$7 |
| Old-work electrical box brace | Secures sagging or misaligned boxes without opening wall; clamps to drywall edge | $9–$16 |
| New tamper-resistant receptacle (if upgrading) | Required by NEC 2017 for all new/replace outlets in homes; prevents child insertion | $2–$5 |
Step-by-Step Fix
Follow this sequence in order—skipping steps risks recurrence or safety failure:
- Shut off power at the breaker and verify with a non-contact voltage tester at both hot and neutral terminals. Test adjacent outlets too—some circuits feed multiple boxes.
- Remove faceplate and outlet: Unscrew mounting screws, gently pull device out, and inspect wire connections. Tighten any loose terminal screws—back-wired outlets should be re-pigtailing to side screws per NFPA 70 406.3(D).
- Evaluate box stability: Press on the box edges. If it flexes or moves >1/8", it’s not anchored. For metal boxes: bend mounting ears slightly outward. For plastic old-work boxes: install an old-work box brace or replace with a deeper, reinforced model.
- Add shims if needed: Cut UL-listed plastic shims (not cardboard or tape) to fit behind the outlet’s mounting yoke. One shim per side often suffices—over-shimming stresses terminals.
- Reinstall and test: Mount outlet snugly (don’t overtighten—NEC 110.14(A) limits torque to manufacturer specs), replace faceplate, restore power, and test with a lamp and GFCI tester.
When to Call a Pro
Stop and call a licensed electrician immediately if you observe any of these:
- Burn marks, melted plastic, or brittle wire insulation near the outlet
- Aluminum wiring (silver-colored, stiff wires)—requires COPALUM crimps and special devices
- Outlet is in a bathroom, kitchen, or exterior location and lacks GFCI protection
- The box is recessed more than 1/4" below drywall surface—violates NEC 314.20 and requires mud ring or box extender
- You measure over 0.5V AC between neutral and ground—indicates shared neutrals or bootleg grounds
"Over 50% of residential electrical fires start at outlets or switches, often linked to loose connections or undersized boxes." — National Fire Protection Association, Electrical Fire Causes Report 2022
Prevention Tips
Extend the life of your outlets and reduce future looseness with these field-tested habits:
- Use side-wire terminals instead of back-stab connections—back-wires fail 3× faster, per 2021 UL Field Service Data
- Install outlet supports like the Steel City Box Support Clip during remodels—holds 35+ lbs of lateral force
- Replace outlets every 15 years—even if functional—since internal spring tension degrades
- After drywall repair or painting, re-torque outlet mounting screws to 14 in-lbs (use a torque screwdriver)
Can a loose outlet cause a fire?
Yes—loose terminals increase resistance, generating heat at the connection point. According to the U.S. Fire Administration, poor connections account for nearly 27% of outlet-related fires.
Why does my outlet keep loosening after I tighten it?
Most often, the electrical box itself is shifting—not the outlet. Plastic old-work boxes warp under thermal cycling, and drywall cutouts widen over time. The fix isn’t tighter screws—it’s stabilizing the box with a brace or mud ring.
Is it safe to use washers or folded aluminum foil as shims?
No. Non-UL listed shims (including foil, cardboard, or generic plastic) can compress, melt, or conduct electricity. Only use UL-listed outlet shims like those from Arlington or Legrand—tested for dielectric strength and heat resistance.
Do I need a permit to replace an outlet?
In most jurisdictions, simple receptacle replacement doesn’t require a permit—but adding circuits, moving boxes, or upgrading to AFCI/GFCI in older panels does. Check with your local building department; unpermitted work voids insurance coverage per IIHS 2023 Homeowner Policy Review.
Can I replace a loose two-prong outlet with a three-prong GFCI?
Yes—if there’s no equipment grounding conductor, you must label it "No Equipment Ground" per NEC 406.4(D)(2)(a). A GFCI protects against shock but won’t ground appliances. For full grounding, run new cable or consult an electrician about retrofit options.
How tight should outlet mounting screws be?
Tighten until the yoke is flush with the wallplate—no more, no less. Over-tightening cracks plastic yokes and strips screw threads. Use a torque screwdriver set to 14 in-lbs, the standard for residential receptacles per UL 498.
Fixing a loose outlet is one of the most impactful DIY electrical tasks—when done right, it improves safety, extends device life, and eliminates that nagging wiggle every time you plug in your vacuum. But remember: electricity doesn’t forgive assumptions. When in doubt, turn it off and call someone with a license and liability insurance.