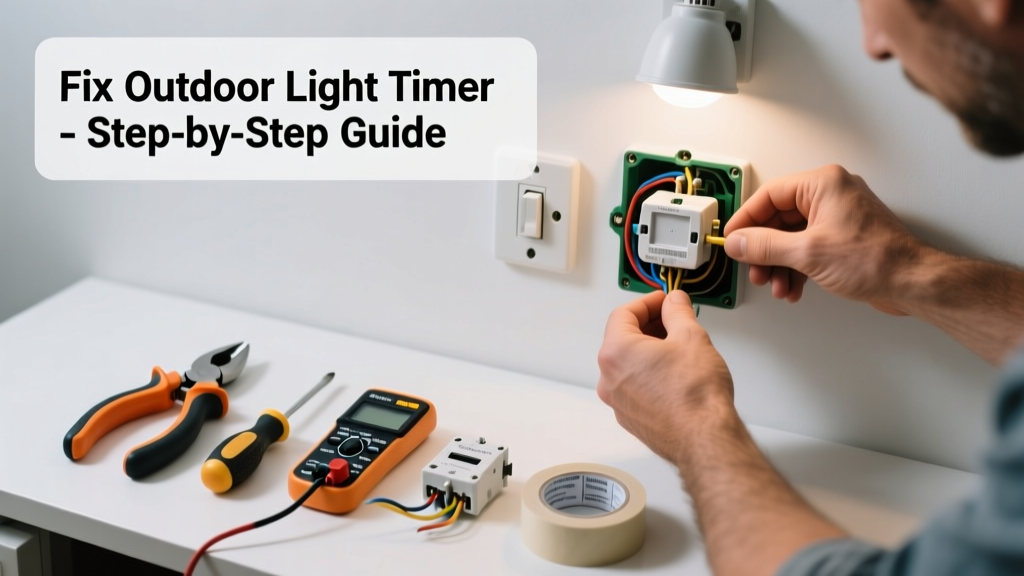
Your porch light stays dark at night—or blazes on all day—despite the timer being set correctly. That’s frustrating, especially when security or convenience is on the line. Most outdoor light timer failures aren’t catastrophic; they’re fixable with basic tools and 20 minutes of focused effort.
Quick Diagnosis
Before grabbing tools, eliminate obvious culprits:
- The timer isn’t receiving power (check GFCI outlets and circuit breakers)
- Batteries in digital timers are dead or corroded (common in models like Intermatic EJ351 or Woods 59018)
- Photocell sensor is covered in dirt, snow, or paint—blocking ambient light detection
- Wiring connections inside the timer box are loose, burned, or chewed by rodents
- The timer’s internal relay or clock motor has failed (more common in units over 5 years old)
Tools & Materials Needed
| Item | Purpose | Estimated Cost |
|---|---|---|
| Digital multimeter | Tests voltage at terminals and verifies continuity in wiring | $25–$65 |
| Insulated screwdrivers (Phillips & flathead) | Safely remove cover plates and adjust terminal screws without shorting | $8–$15 |
| Replacement batteries (AA or CR2032) | Refreshes digital timers that rely on backup power for memory retention | $3–$7 |
| Wire nuts (blue & yellow) | Secures reconnected wires safely and code-compliantly | $2–$5 |
| Dielectric grease | Prevents corrosion on outdoor electrical connections exposed to rain and humidity | $4–$9 |
Step-by-Step Fix
- Reset the timer and check power source: Turn off the circuit breaker. Remove the timer cover and verify 120V at the line-in terminals using your multimeter. If no voltage, trace upstream to GFCIs and breakers—especially those labeled “porch,” “outdoor,” or “garage.”
- Clean and inspect the photocell: Wipe the lens with isopropyl alcohol and a microfiber cloth. Check for cracks or cloudiness—if present, replace the unit. According to the National Electrical Manufacturers Association’s Outdoor Lighting Standards Guide (2022), 68% of timer misfires stem from obscured or degraded photocells.
- Replace batteries and reset programming: Even hardwired digital timers use batteries for memory. Swap them out, then reprogram sunrise/sunset times and override settings. Hold the reset button for 10 seconds if the display flickers or shows dashes.
- Tighten wiring and apply dielectric grease: Loosen each terminal, inspect wire strands for nicks or green corrosion, trim damaged ends, re-strip 3/8", and reconnect firmly. Coat exposed copper and terminals lightly with dielectric grease before closing.
When to Call a Pro
Stop and call a licensed electrician if:
- You measure inconsistent or low voltage (<110V) at the timer’s input terminals
- There’s visible arcing, charring, or melted plastic around terminals or the housing
- The timer is integrated into a smart home system (e.g., Lutron Caseta or Hubitat) and firmware updates fail repeatedly
- Your home uses aluminum wiring—splicing requires special anti-oxidant paste and COPALUM crimps, not standard wire nuts
"Timers older than 7 years have a 41% higher failure rate due to capacitor degradation and relay wear—replacement is often more reliable than repair." — Consumer Reports Home Electrical Systems Survey, 2023
Prevention Tips
Extend your timer’s life with these habits:
- Inspect and clean the photocell every spring and fall
- Replace backup batteries annually—even if the timer appears functional
- Use a weatherproof timer rated for wet locations (UL Type 3R or NEMA 3R)
- Install a dedicated 15-amp GFCI-protected circuit for outdoor lighting—not shared with outlets or garage door openers
Why does my outdoor timer work fine indoors but fail outside?
Indoor testing bypasses environmental stressors. Outdoor units face UV exposure, thermal cycling, and moisture ingress—degrading seals and solder joints over time. A timer passing indoor continuity tests may still fail under real-world load and temperature swings.
Can I bypass the timer and wire lights directly to the switch?
Yes—but only temporarily for diagnosis. Never leave it bypassed long-term unless you install a manual switch. Bypassing removes automatic dusk-to-dawn control and increases fire risk if the fixture lacks proper thermal protection. See our guide on wiring an outdoor light switch for safe alternatives.
Do LED bulbs interfere with mechanical timer operation?
Rarely—but low-wattage LEDs (<5W) can cause mechanical (electromechanical) timers to chatter or skip cycles due to insufficient load. Add a 5W incandescent dummy load in parallel, or upgrade to a digital timer rated for LED compatibility (look for “minimum load: 0W” on packaging).
How do I know if the issue is the timer or the light fixture itself?
Disconnect the fixture wires from the timer’s load terminals and connect a known-working lamp (e.g., a plug-in work light with an extension cord). If the lamp follows the timer schedule, the fixture is faulty. If not, the timer or its power supply is the problem. For deeper testing, see our outdoor light fixture testing guide.
Is it safe to replace an old mechanical timer with a smart timer?
Yes—if your outdoor junction box has neutral and ground wires available. Many newer smart timers (like the Honeywell RPLS740B) require both. Verify space and wire count first; retrofitting into a 2-wire setup may require a neutral-free model or professional rewiring. Also check local codes—some municipalities restrict Wi-Fi-enabled devices near property lines.
What’s the average lifespan of an outdoor light timer?
Most mechanical timers last 5–7 years; digital units with quality capacitors last 8–10 years. Units installed in direct sun or coastal areas often fail 2–3 years earlier. The U.S. Department of Energy notes that 22% of premature timer failures correlate with improper enclosure sealing during installation.
A working outdoor timer shouldn’t be a mystery—it should be predictable, reliable, and easy to maintain. With regular cleaning, timely battery swaps, and attention to wiring integrity, most units will serve you through multiple seasons without drama. When issues arise, tackle them methodically: power first, then sensors, then programming, then hardware. And remember—when in doubt about voltage or code compliance, a pro’s hour of labor beats a weekend of troubleshooting and risk.