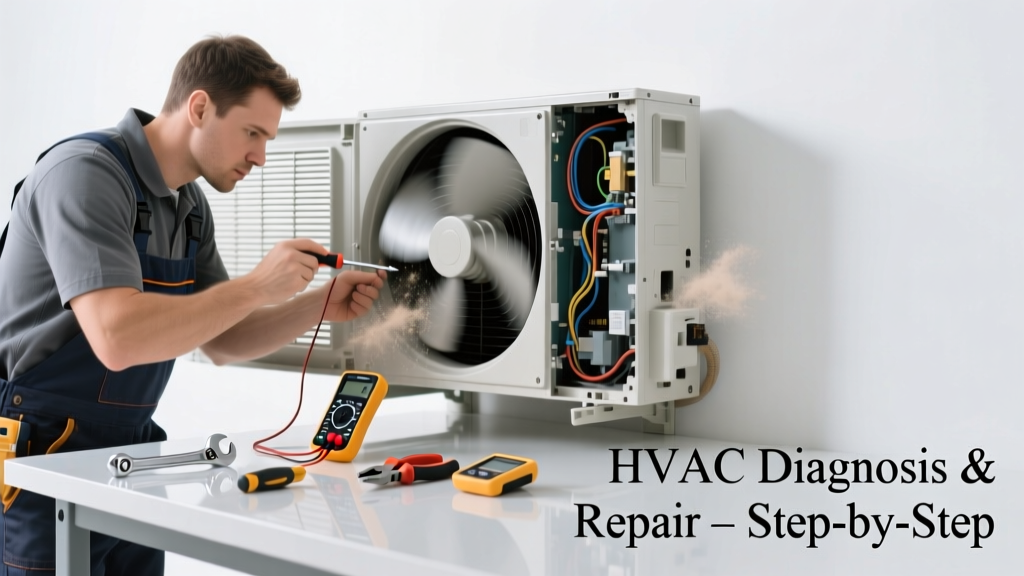
If your HVAC system is making banging, squealing, or grinding noises—and struggling to heat or cool your home—you’re not just dealing with an annoyance. You’re likely facing a mechanical issue that could worsen fast without intervention. Ignoring it risks compressor failure, frozen coils, or even electrical hazards.
Quick Diagnosis
Start here before grabbing tools. Most noisy, underperforming HVAC units trace back to one or more of these culprits:
- Dirty or clogged air filter restricting airflow
- Loose or bent blower wheel hitting the housing
- Failing motor bearings in the blower or condenser fan
- Refrigerant leak causing hissing + poor cooling
- Ice buildup on evaporator coils due to low airflow or refrigerant issues
- Cracked or disconnected ductwork vibrating or whistling
Tools & Materials Needed
| Item | Purpose | Estimated Cost |
|---|---|---|
| Non-contact voltage tester | Verifies power is off before accessing electrical components | $18–$32 |
| Fin comb (aluminum coil straightener) | Realigns bent condenser/evaporator fins to restore airflow | $9–$15 |
| Replacement MERV 8–11 pleated filter | Restores proper airflow; prevents coil icing and motor strain | $7–$14 |
| Insulated screwdriver set | Tightens loose mounting hardware safely near live circuits | $22–$40 |
| Thermometer with probe (IR or digital) | Measures supply/return air temp differential to assess efficiency | $25–$65 |
Step-by-Step Fix
Work methodically—many fixes are interdependent. Always shut off power at the breaker and furnace disconnect before starting.
- Replace the air filter: A clogged filter causes airflow restriction, leading to coil freezing, blower motor overheating, and rattling from stressed components. Use a MERV 8–11 filter sized exactly for your unit’s slot.
- Inspect and clean the evaporator coil: Turn off power, remove the indoor air handler access panel, and check for ice or dust buildup. Let ice melt completely (takes 4–8 hours), then vacuum gently and use a soft brush. Never spray water directly onto wiring or controls.
- Check blower wheel balance and mounting: With power off, spin the wheel by hand. Listen for scraping or wobble. If it contacts the housing, tighten the central hub bolt or replace the wheel if warped. A bent wheel causes vibration that travels through ducts as booming or thumping.
- Examine outdoor condenser fan operation: Look for bent blades, debris lodged in the fan shroud, or a seized motor. Spin the fan blade manually—if stiff or gritty, bearings are failing. Lubricate only if the motor has oil ports (most modern units are sealed).
When to Call a Pro
Some issues demand licensed expertise—not just for safety, but because improper handling violates warranty or code. Call an HVAC technician immediately if you notice:
- A burning smell or visible scorch marks near the furnace or condenser
- Tripping breakers or buzzing from the electrical panel when the system starts
- Hissing or bubbling sounds accompanied by reduced cooling and warm return air (possible refrigerant leak)
- Oil stains or puddles near copper lines (indicates compressor lubricant loss)
- Noise persists after all DIY steps—and your system is under 5 years old (likely covered under warranty)
According to the U.S. EPA, refrigerant leaks account for over 28% of premature HVAC failures—and require certified recovery equipment to repair properly (EPA Section 608, 2022).
Prevention Tips
Consistent maintenance cuts noise and extends system life. Schedule these quarterly and annually:
- Replace filters every 30–90 days depending on pets, allergies, and runtime
- Clear vegetation and debris from within 2 feet of the outdoor unit
- Inspect duct connections in the attic or basement for loose seams or collapsed flex duct
- Have a licensed tech perform refrigerant charge verification and electrical connection tightening every year
- Install vibration isolators on furnace mounting feet if floor-mounted (reduces structure-borne noise)
Why does my HVAC make a loud bang when it starts up?
This is usually the expansion and contraction of metal ductwork—especially if ducts run through unconditioned attics. But if the bang is sharp and localized near the furnace, it may indicate delayed ignition in a gas system. That’s dangerous: unburned gas can accumulate and ignite explosively. Turn off the furnace and call a technician immediately.
Can I lubricate the blower motor myself?
Only if your motor has visible oil ports (two small capped holes near the shaft ends) and the manufacturer’s manual permits it. Most modern PSC and ECM motors are sealed for life—adding oil can damage windings or cause overheating. Over-lubrication is the #1 cause of premature motor failure in DIY attempts.
Is a squealing noise always a bad belt?
Not anymore. Belt-driven systems are rare in residential units built after 2010. A high-pitched squeal today most often points to failing bearings in the blower motor or condenser fan motor—or a misaligned motor pulley. Check for play in the shaft and resistance during manual rotation. If present, replacement—not adjustment—is required.
What does a gurgling sound mean?
Gurgling or bubbling typically indicates refrigerant moving abnormally—often due to low charge, a clogged expansion valve, or air in the lines. It’s rarely a DIY fix. Refrigerant handling requires EPA certification, and incorrect charging can destroy compressors.
"A 3°–5° Fahrenheit drop across the evaporator coil is normal. Anything less than 12° indicates airflow or refrigerant problems." — HVAC Excellence Core Curriculum, 2023 Edition
How do I know if the noise is coming from the ducts or the unit itself?
Turn the system on and stand near the main trunk line where it leaves the air handler. Place your hand flat on the duct surface—if you feel strong vibration, the issue is likely duct-related (loose seams, undersized runs, or lack of dampers). If the noise is loudest at the furnace or outdoor unit, focus diagnostics there first. Tape a piece of cardboard over a register—if the noise drops significantly, duct resonance is the culprit.
Will tightening loose screws really stop the rattling?
Yes—especially around the blower compartment door, access panels, and outdoor unit cabinet. Vibration loosens fasteners over time. Use stainless steel sheet metal screws (not drywall screws) and torque them snug—not overtightened—to avoid stripping threads. Add rubber grommets behind panels for long-term damping.
A noisy, underperforming HVAC doesn’t have to mean a full replacement—especially if caught early. Many root causes respond well to simple, targeted fixes done safely and correctly. Stay proactive: track filter changes, listen for new sounds weekly, and treat odd behavior as a warning sign—not background noise. For deeper electrical or refrigerant work, trust certified HVAC technicians who carry proper insurance and licensing. And if your unit is over 12 years old and needs frequent repairs, consider comparing costs against a modern high-efficiency replacement—you’ll likely recoup it in energy savings within 5–7 years.