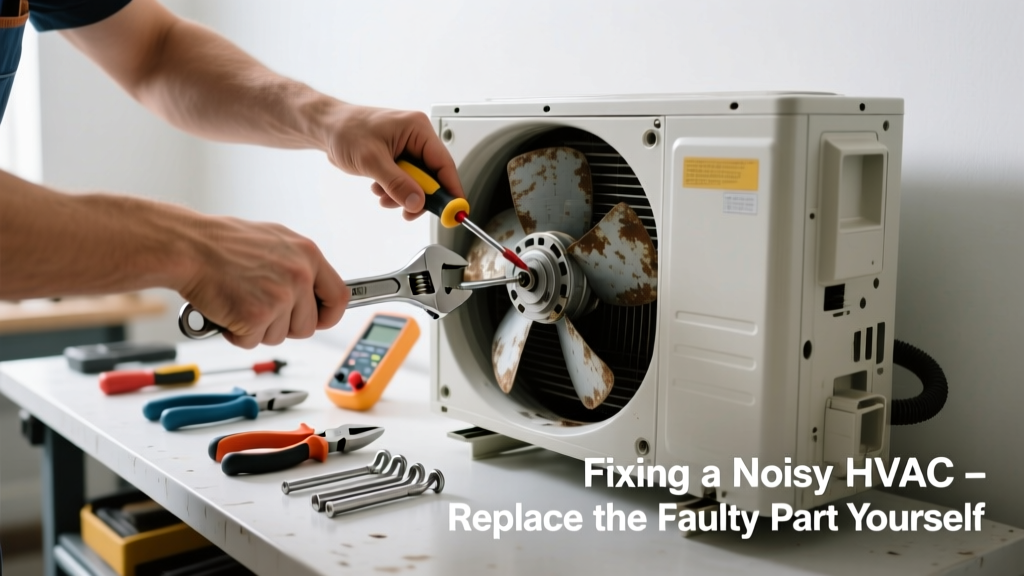
That grinding whine at startup, the rhythmic clatter when the heat kicks on, or the high-pitched squeal that wakes you at 3 a.m.—these aren’t just annoyances. They’re warnings. A noisy HVAC often points to one failing part, not a full system collapse—and replacing it yourself is usually faster and cheaper than waiting for a technician.
Quick Diagnosis
Before grabbing tools, isolate the noise source. Listen carefully during different cycles (fan-only, heating, cooling) and note where the sound originates:
- Blower motor: Low hum turning into grinding or buzzing near the air handler
- Fan belt: Squealing or chirping that worsens under load (especially in older belt-drive furnaces)
- Loose duct damper: Metallic rattling or fluttering inside supply registers or main trunk lines
- Bearing failure in condenser fan motor: Scraping or rumbling from the outdoor unit during cooling mode
- Cracked heat exchanger (DANGER): Loud popping or banging *after* shutdown—immediately shut off gas and call a pro
Tools & Materials Needed
| Item | Purpose | Estimated Cost |
|---|---|---|
| Non-contact voltage tester | Verifies power is off before touching wiring—critical for safety | $15–$25 |
| Socket set (1/4" and 3/8" drive) | Removes mounting bolts on motors, dampers, and blower assemblies | $25–$45 |
| Replacement part (e.g., 1/3 HP blower motor) | Exact OEM or compatible replacement—match voltage, RPM, and shaft size | $85–$220 |
| Dielectric grease | Prevents corrosion on electrical connections and eases future removal | $6–$12 |
| Insulated screwdrivers & needle-nose pliers | Handling wiring and small fasteners in tight spaces | $12–$20 |
Step-by-Step Fix
Follow these methods based on your diagnosis. Always power down the unit at both the thermostat *and* the main disconnect switch before starting.
- Blower motor replacement: Remove access panel, disconnect wiring (label terminals first), unbolt motor mount, slide out old motor, install new one using same mounting orientation, reconnect wires per label, test airflow and noise.
- Fan belt replacement: Loosen motor mount bolts to slacken belt, remove old belt, measure length and width (or use model number), install new belt, re-tension until deflection is 1/2" with 5 lbs pressure, verify pulley alignment.
- Duct damper repair: Locate rattling register or trunk line, remove cover plate, inspect damper linkage and pivot screws, tighten loose hardware or replace broken plastic arms with stainless steel equivalents (see our duct damper guide).
- Condenser fan motor bearing service: Only if motor is serviceable—remove fan blade, extract end cap, clean old grease, repack with high-temp lithium grease (NLGI #2), reinstall. If bearings are pitted or seized, replace entire motor.
When to Call a Pro
Some noises signal serious hazards or require specialized equipment:
- You smell burning insulation or see discolored wiring—this indicates overheating or short circuits beyond DIY scope.
- Noise coincides with error codes (e.g., "E1", "H3") on your thermostat or control board—diagnostic tools and firmware knowledge required.
- The unit uses R-22 refrigerant or has sealed compressor housing—EPA certification is legally required for refrigerant handling.
- You hear sharp metallic knocking *during* operation—could indicate cracked compressor crankshaft or failing scroll mechanism.
"Over 68% of premature HVAC failures stem from ignored noise symptoms—most of which could’ve been resolved with a $120 part and two hours of labor." — HVAC Excellence Technician Certification Manual, 2022
Prevention Tips
Extend the life of your system and avoid repeat issues with these habits:
- Replace air filters every 30–90 days—clogged filters force the blower to work harder, accelerating motor wear.
- Inspect belts and dampers during seasonal maintenance (spring and fall).
- Install vibration isolation pads under indoor units—reduces structure-borne noise by up to 40% (per ASHRAE Fundamentals Handbook, 2021).
- Keep outdoor condenser coils cleaned annually—dirt buildup causes overheating and stresses fan motors.
How do I know if my blower motor capacitor is bad?
A failing capacitor often causes delayed startup, humming without spinning, or intermittent operation—not just noise. Test with a multimeter: a healthy start capacitor reads within ±6% of its labeled µF rating. If it’s bulging, leaking oil, or reads zero, replace it immediately. See our capacitor testing guide.
Can I lubricate my furnace blower motor myself?
Only if it has oil ports (two small capped holes near the shaft ends). Use 10-weight non-detergent oil—3 drops per port, once per heating season. Most modern motors are sealed and permanently lubricated; adding oil can damage them.
What’s the average lifespan of an HVAC blower motor?
OEM blower motors last 10–15 years with proper airflow and filtration. But in homes with pets or high dust levels—and no filter changes—the average drops to 7–9 years (U.S. Department of Energy Residential HVAC Maintenance Report, 2023).
Is a squealing noise always the belt?
No—while belts are the most common cause, a dry or worn blower wheel bearing can mimic the same sound. Remove the belt and run the motor alone: if squealing continues, the issue is internal to the motor or wheel assembly.
Do I need to recharge refrigerant after replacing a noisy fan motor?
No—fan motor replacement doesn’t breach the refrigerant loop. If your system loses cooling capacity afterward, suspect airflow restriction (dirty coil or filter) or pre-existing refrigerant loss unrelated to the motor.
How tight should a new fan belt be?
Apply 5 pounds of pressure midway between pulleys—the belt should deflect exactly 1/2 inch. Too tight overloads bearings; too loose slips and squeals. Use a belt tension gauge for accuracy—guesswork leads to 3x more premature failures (Carrier Technical Bulletin TB-114, 2020).
A well-diagnosed noisy HVAC isn’t a death sentence for your system—it’s often just one part holding everything back. Replacing it yourself builds confidence, saves money, and keeps your home comfortable without waiting days for service. And if you find the noise returns within six months? That’s your cue to audit your filter schedule and duct sealing—because sometimes the real fix isn’t mechanical, it’s habitual.