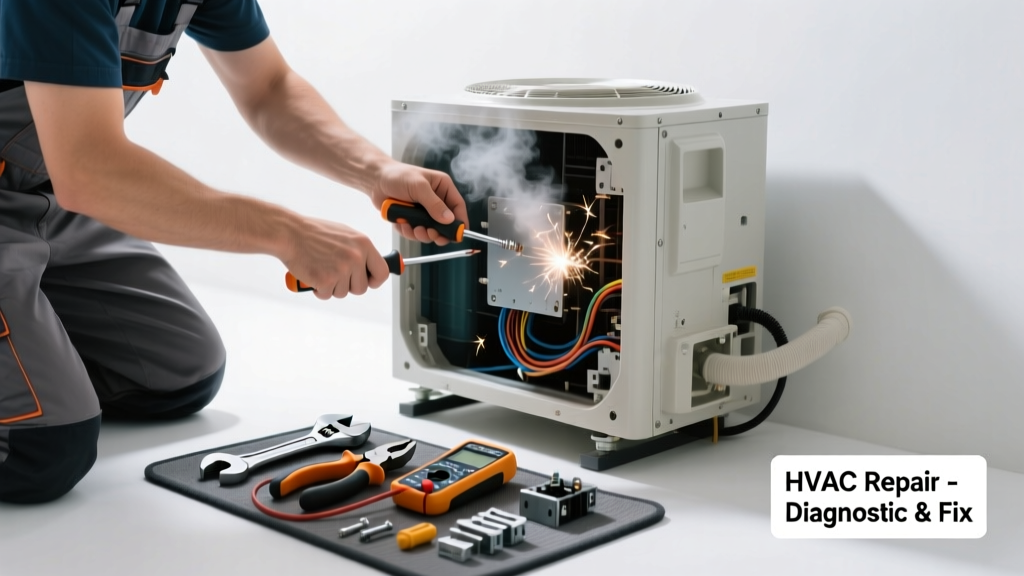
That sudden clank, high-pitched squeal, or rhythmic thumping from your HVAC isn’t just annoying—it’s often the first warning sign of a mechanical issue that could escalate into compressor failure or duct damage. Ignoring unusual noise can cost hundreds in emergency service calls or premature system replacement. Most common sounds have straightforward fixes—if you catch them early and know what to listen for.
Quick Diagnosis
Start by identifying the sound and when it occurs. Match it to these frequent culprits:
- Rattling or buzzing — Loose panel, mounting bolt, or debris inside the outdoor unit
- Squealing or screeching — Worn blower motor bearings or slipping belt (in older systems)
- Banging or clunking — Failing compressor start capacitor or loose internal component
- Humming without startup — Faulty contactor or electrical issue at the condenser
- Whistling or hissing — Refrigerant leak or restricted airflow from dirty filter or closed damper
Tools & Materials Needed
| Item | Purpose | Estimated Cost |
|---|---|---|
| Non-contact voltage tester | Confirms power is off before touching electrical components | $15–$30 |
| 6-in-1 screwdriver set | Tightens loose panels, access doors, and mounting hardware | $8–$22 |
| Replacement capacitor (if needed) | Matches OEM specs; most common cause of banging on startup | $12–$28 |
| Blower wheel cleaner & soft brush | Removes dust buildup causing imbalance and vibration | $6–$14 |
| High-efficiency HVAC filter (MERV 8–11) | Prevents airflow restriction that strains fan motor and ducts | $10–$25 per pack |
Step-by-Step Fix
Work methodically—always shut off power at the disconnect switch and breaker before beginning.
- Inspect and secure outer panels: Turn off power, then check all cabinet screws and latches on indoor air handler and outdoor condenser. Tighten any loose fasteners; replace missing ones with stainless steel sheet metal screws.
- Clean blower assembly: Remove access panel, vacuum visible dust, then gently wipe blades with damp microfiber cloth. Spin wheel manually—listen for scraping or resistance indicating bent blade or bearing wear.
- Test and replace start capacitor: Use multimeter to test capacitance (should be within ±6% of labeled µF). If low or bulging, replace with exact match—capacitor replacement guide walks through safe discharge and wiring.
- Check belt tension and alignment (belt-drive systems only): Press thumb midway on belt span—deflection should be ½ inch. Replace cracked or glazed belts; align pulleys using straightedge to prevent squealing.
When to Call a Pro
Some noises signal serious safety or code issues beyond DIY scope:
- Electrical arcing, burning smell, or tripped breakers during operation
- Refrigerant hissing or oil stains near copper lines (EPA-certified technician required for R-410A handling)
- Compressor cycling rapidly or failing to start after capacitor replacement
- Noise originating deep inside sealed compressor housing—never open this unit yourself
According to the U.S. EPA, 14% of household water usage is from leaks—but for HVAC,
"Over 60% of emergency service calls stem from ignored abnormal noises in the first 72 hours," says HVAC Technician Certification Board's 2023 Field Survey.
Prevention Tips
Extend your system’s quiet life with routine habits:
- Replace filters every 30–90 days depending on pet traffic and seasonal use
- Schedule professional coil cleaning and refrigerant charge verification annually
- Trim shrubbery to maintain 24-inch clearance around outdoor unit for unobstructed airflow
- Install vibration-dampening pads under condenser feet if mounted on concrete slab
Why does my HVAC make a loud bang when it starts up?
A single sharp bang at startup usually points to a failing start capacitor or worn compressor mounts. If it repeats each cycle, test the capacitor first—replacing it takes under 20 minutes and costs less than $30. Persistent banging after replacement may indicate internal compressor damage requiring replacement.
Can I lubricate the blower motor myself?
Most modern ECM (electronically commutated) motors are sealed and require no lubrication. Older PSC motors may have oil ports—but only if labeled “oilable.” Use only 1–2 drops of ISO 32 turbine oil per port, never WD-40 or general-purpose grease. Over-lubrication attracts dust and causes overheating.
Is a squealing noise dangerous?
Squealing often means belt slippage or failing bearings—both worsen quickly. A worn bearing can seize and snap the shaft, damaging the entire blower assembly. If squealing persists after tightening or replacing the belt, the motor itself likely needs replacement.
What does a gurgling sound mean?
Gurgling or bubbling typically indicates refrigerant line issues: either air in the system (from improper evacuation during install), low charge causing flash-gas formation, or a clogged expansion valve. This requires manifold gauge testing and refrigerant handling—call an EPA-certified tech.
Will tightening loose ductwork stop rattling?
Yes—especially in older homes where sheet metal ducts vibrate against joists or framing. Secure with 1¼-inch self-tapping screws every 12 inches along seams and joints. Add rubber isolation hangers where ducts pass through floors or walls to eliminate transmission noise.
How do I know if the noise is coming from the furnace or AC?
Turn on just the fan (no heat or cool) via thermostat. If noise continues, it’s likely blower-related. Then run cooling only—if noise appears only then, suspect condenser fan or compressor. For heating-only noise, focus on heat exchanger, inducer motor, or gas valve components.
Quiet HVAC doesn’t happen by accident—it happens with attention to small signs before they become big problems. Most unusual noises aren’t emergencies, but they’re rarely harmless either. Tackle the easy checks first, keep records of what you’ve done, and don’t hesitate to bring in certified help when electricity, refrigerant, or structural integrity are involved. Your comfort—and your utility bill—will thank you.