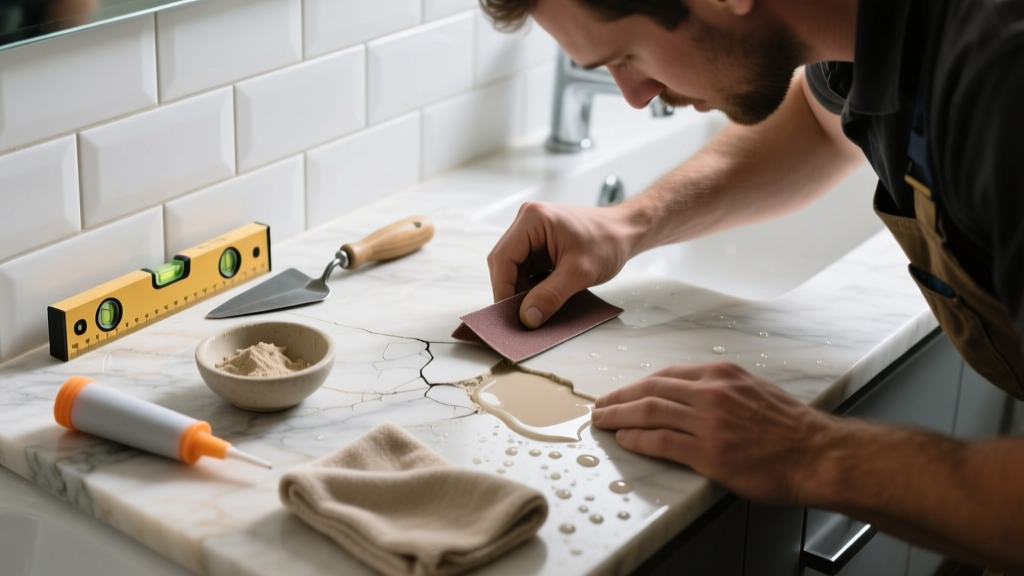
That dull, cloudy spot on your bathroom vanity or shower floor isn’t just dirt—it’s likely acid etching, a chemical burn that permanently removes the polished surface of natural stone. Unlike stains, etches can’t be wiped away; they require targeted restoration. And yes, it happens more often than you think—especially where toothpaste, vinegar rinses, or citrus-scented cleaners meet calcium-based stone.
Quick Diagnosis
Natural stone etching appears as a lighter, matte, or chalky spot that feels slightly rougher than surrounding areas. It’s not raised or sunken like a scratch—it’s a loss of polish at the surface level. Common culprits include:
- Toothpaste (especially whitening formulas with citric or phosphoric acid)
- Vinegar or lemon-based cleaning sprays
- Shower gels with alpha-hydroxy acids (AHAs)
- Hard water combined with acidic residue over time
- Spilled hair dye or perm solutions
Tools & Materials Needed
| Item | Purpose | Estimated Cost |
|---|---|---|
| Stone polishing compound (e.g., MB Stone Care Polishing Powder) | Restores luster by micro-abrading the etched layer | $18–$24 |
| 0000-grade steel wool or white non-scratch pad | Provides controlled friction without scratching | $3–$6 |
| pH-neutral stone cleaner (e.g., StoneTech All Purpose Cleaner) | Cleans without adding new damage before or after repair | $12–$16 |
| Microfiber cloths (lint-free) | Prevents lint residue and streaking during buffing | $8–$12 for pack of 6 |
| Plastic putty knife (non-metal) | Applies paste evenly without gouging soft stone | $5–$9 |
Step-by-Step Fix
For light to moderate etching (not deep pitting), try these methods in order of increasing intensity:
- Clean and dry thoroughly: Use pH-neutral cleaner and rinse with distilled water. Let surface air-dry 24 hours—moisture interferes with polishing compounds.
- Apply polishing powder: Mix a pea-sized amount of polishing compound with distilled water to form a thin paste. Spread evenly over etch with plastic putty knife.
- Buff gently: Using 0000 steel wool or white pad, rub in small circles for 60–90 seconds. Wipe away residue with damp microfiber cloth, then dry.
- Repeat if needed: For stubborn etches, repeat step 2–3 up to three times. Wait 2 hours between attempts to assess progress.
- Seal only after full cure: Do NOT seal until 72 hours post-repair. Use an impregnating sealer like Miracle Sealants 511 Porous Plus—not topical acrylics.
When to Call a Pro
DIY works for surface-level etching under 1/32″ deep—but skip the paste if you see any of these:
- Etching covers more than 6 square inches on a vertical surface (e.g., entire sink rim)
- Surface feels gritty or powdery when rubbed (sign of subsurface mineral breakdown)
- Etch overlaps grout lines or shows micro-cracking around edges
- You’re working with honed limestone or serpentine—these stones lack polish depth and respond poorly to abrasives
According to the Marble Institute of America’s 2022 Care & Maintenance Guide, “Over-buffing etched marble can thin the surface by up to 0.005″ per session—making professional honing or repolishing the only safe option after two failed DIY attempts.”
Prevention Tips
Stop etching before it starts—especially in high-risk zones like vanities and shower niches:
- Switch to alkaline or pH-balanced personal care products (check labels: avoid citric, malic, glycolic, or lactic acid)
- Install a dedicated stone-safe caddy—never let bottles sit directly on stone for >5 minutes
- Rinse soap scum weekly with distilled water, not vinegar or club soda
- Re-seal every 12–18 months (test with water drop: if absorption occurs in <5 minutes, it’s time)
- Use removable silicone mats on countertops during grooming routines
Can I use bleach on this?
No. Bleach is highly alkaline but extremely corrosive to calcite-based stones like marble and limestone. It accelerates surface degradation and can yellow light-colored stone. The U.S. EPA estimates that 22% of reported stone damage in residential bathrooms stems from improper disinfectant use—including diluted bleach.
Will vinegar remove the etch?
No—vinegar makes it worse. Vinegar is 5% acetic acid, which reacts instantly with calcium carbonate in marble, limestone, and travertine. Even a 10-second spill can deepen existing etching. Always neutralize accidental spills with baking soda paste, not vinegar.
How long does the polish last after repair?
A properly executed repair restores original sheen for 6–12 months under normal use—but longevity depends on exposure. In high-splash zones like shower thresholds, expect 3–5 months before touch-ups are needed. That’s why sealing after repair is non-negotiable.
Can I use automotive polish instead?
Never. Auto polishes contain silicones and waxes that clog stone pores, trap moisture, and create sticky residues that attract mold in humid bathrooms. They also fail adhesion tests on porous stone per ASTM C1353-21 standards.
Is etching covered by my stone warranty?
Almost never. Most fabricator warranties (e.g., MSI, Cambria, or local countertop shops) explicitly exclude chemical damage from acids, alkalis, or improper cleaning—citing it as ‘user-induced wear.’ Check your original contract’s exclusions section; it’s usually on page 3 or 4.
Does sealing prevent etching?
Not entirely. Sealers protect against stains by slowing liquid absorption, but they don’t create a chemical barrier. Acid still reacts with the surface polish on contact. Think of sealing as raincoat—not hazmat suit. Prevention requires behavior change, not just product application.
Etching isn’t the end of your stone’s life—it’s a signal to adjust habits and invest in smarter maintenance. With consistent pH-aware routines and timely touch-ups, your bathroom’s natural stone can retain its elegance for decades. If you’re tackling a large-scale etch on a shower wall, consider pairing this fix with our guide on how to seal travertine shower walls or best marble vanity repair kits. Real stone lasts—but only when treated like the delicate, beautiful material it is.