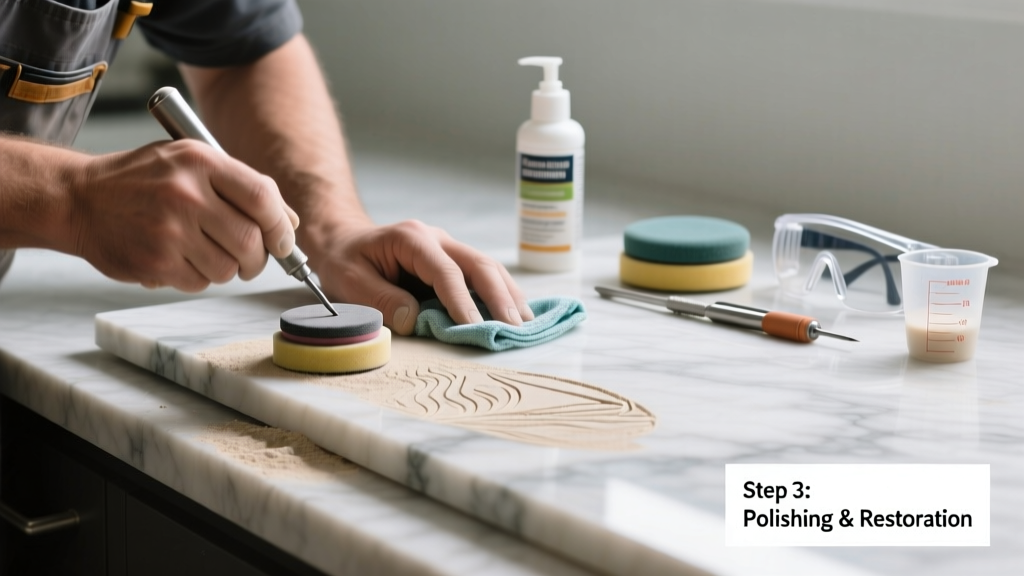
That dull, cloudy spot on your marble countertop or limestone floor? It’s likely an acid etch—not a stain—and won’t wipe away with soap and water. Etching happens when acidic substances like lemon juice, vinegar, or even some cleaners react with calcium carbonate in natural stone, dissolving the polished surface. Unlike stains, etches are physical damage that requires restoration, not just cleaning.
Quick Diagnosis
Before you grab supplies, confirm it’s an etch—not a stain or scratch. Etches appear as:
- Dull, lighter-colored marks (not dark or discolored)
- Matte or chalky texture compared to surrounding polished surface
- No change in elevation—no depression or raised edge
- Worsens after wiping with water (etches look more pronounced when wet)
Common culprits include spilled wine, citrus fruits, tomato sauce, bathroom cleaners with citric acid, and even some 'natural' all-purpose sprays labeled 'safe for stone' but containing vinegar or lactic acid.
Tools & Materials Needed
| Item | Purpose | Estimated Cost |
|---|---|---|
| Marble polishing powder (e.g., MB Stone Care Etch Remover) | Chemically neutralizes light etches and restores gloss via mild abrasion | $18–$24 |
| 0000-grade steel wool | Used dry for fine buffing; avoids scratching softer stones like travertine | $4–$7 |
| Microfiber cloths (lint-free) | Prevents lint residue and streaks during polishing and rinsing | $8–$12 for pack of 6 |
| pH-neutral stone cleaner (e.g., StoneTech All Purpose) | Cleans without introducing new acid or alkali before or after repair | $12–$16 |
| Plastic putty knife or credit card | Scrapes excess paste without scratching; safer than metal tools | $2–$5 |
Step-by-Step Fix
For light to moderate etches on polished marble, limestone, or travertine, try these methods in order of increasing intensity:
- Spot-test first: Apply product to an inconspicuous area (e.g., underside of sink rim) and wait 10 minutes. Rinse and check for uniform sheen and no discoloration.
- Polishing powder method: Mix powder with distilled water to make a thin paste. Spread evenly over etch with plastic knife. Let sit 3–5 minutes (no longer—overexposure dulls adjacent areas). Buff gently with dry 0000 steel wool in circular motions until glossy. Wipe with damp microfiber, then dry.
- Dry-buff method (for very light etches): Dampen microfiber cloth slightly with pH-neutral cleaner, then buff etch vigorously for 60–90 seconds. Follow immediately with dry microfiber. Repeat up to three times.
- Honing compound (for deeper etches): Use a dedicated honing powder (e.g., Tenax Pro-Hone) with a damp sponge and light pressure. Work in 2-inch circles for 2–3 minutes. Rinse thoroughly and follow with polishing powder.
When to Call a Pro
DIY fixes work well for surface-level etches under 1/16" in diameter and limited to one or two spots. But call a certified stone restoration technician if:
- The etch is deeper than paper-thin or feels rough to the fingernail
- It covers more than 4 square inches—or spans seams, edges, or cutouts (sink, cooktop)
- You’re working with honed (not polished) stone, which requires matching finish grain
- The stone is serpentine, onyx, or soapstone—these react unpredictably to common polishes
- You’ve already tried two DIY methods with no improvement
According to the Marble Institute of America’s 2022 Field Guide, over 68% of failed DIY stone repairs stem from using abrasive pads rated above #2000 grit or applying acidic cleaners post-etch—both of which worsen damage.
Prevention Tips
Etching is preventable with consistent habits:
- Always use coasters under glasses—even water can carry trace acidity from tap or air
- Wipe spills within 30 seconds, especially citrus, wine, soda, or vinegar-based dressings
- Switch to stone-safe cleaners: avoid anything with pH below 6 or above 9 (test with litmus paper if unsure)
- Apply a penetrating sealer every 12–18 months—but know: sealers do not prevent etching, only staining
- Use cutting boards and trivets—never place hot pans directly on marble or limestone
Can I use bleach on this?
No. Bleach is highly alkaline (pH ~12–13) and can degrade calcite binders in limestone and marble, causing further dulling or powdering. It also breaks down sealers and may yellow lighter stones. Stick to pH-neutral cleaners only.
Will vinegar remove the etch?
Never. Vinegar (pH ~2.4) is the cause—not the cure—for most etches. Applying it again will deepen the damage, especially on polished surfaces. This is a common mistake that turns a small etch into a permanent dull zone.
Can I sand it out with sandpaper?
Not safely. Standard sandpaper introduces deep scratches and inconsistent grit patterns. Even 2000-grit wet-dry paper risks removing too much material and creating a visible halo. Use only stone-specific honing powders designed for controlled abrasion.
Does sealing stop etching?
No. Sealers fill pores to slow liquid absorption—they don’t create a barrier against acid reactions on the surface. Etching is a chemical reaction with the stone’s top layer, not penetration. As the Natural Stone Institute states in its 2023 Care Handbook: "No sealer offers etch resistance. Only pH management and prompt cleanup do."
How long does the polish last after repair?
A properly restored etch matches the original polish and lasts indefinitely—unless re-exposed to acid. However, high-traffic zones (e.g., kitchen counters near sink) may need touch-ups every 6–12 months depending on usage. Avoid aggressive scrubbing during routine cleaning to preserve the finish.
Can I use baking soda paste?
Not recommended. Baking soda (pH ~8.3) is mildly alkaline and may help neutralize residual acid—but it’s too abrasive for polished stone and lacks the buffering agents found in professional etch removers. It often leaves a hazy film requiring extra polishing.
Natural stone etching isn’t a sign of poor quality—it’s proof your stone is real and reactive. With the right tools and timing, most minor etches vanish cleanly. For stubborn cases or large-scale damage, trust a certified stone restoration pro who uses diamond pads and calibrated grinders—not guesswork. And remember: the best repair is the one you never have to do—so keep that pH-neutral cleaner within arm’s reach next to your coffee maker.