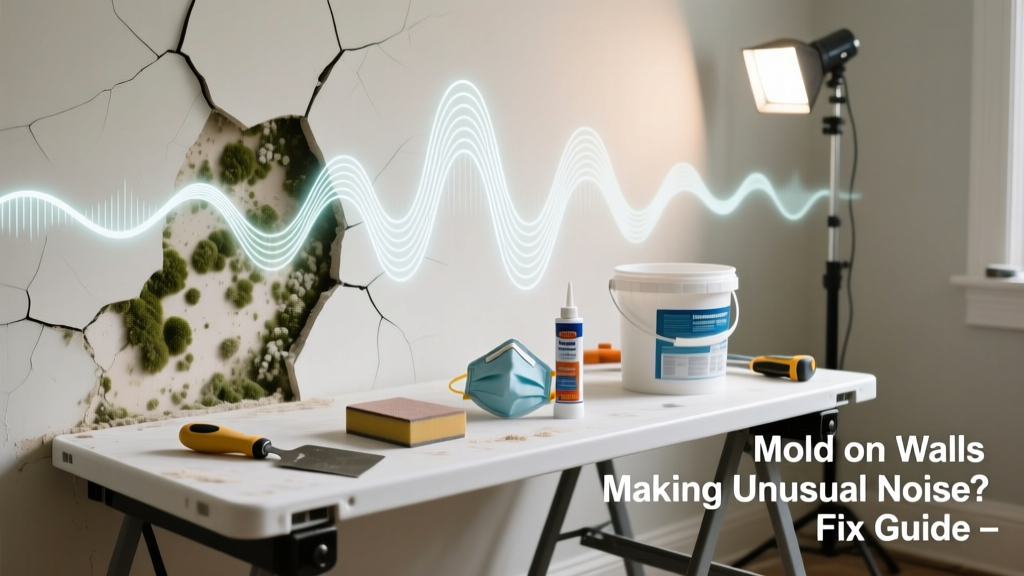
If your wall is making faint crackling, popping, or even low-frequency squeaking—and you’ve spotted discoloration, musty odors, or soft drywall—you’re likely dealing with active mold growth compromising the substrate. That noise isn’t just eerie; it’s a red flag that moisture has weakened wood framing or plaster, and microbial activity may be expanding behind the surface. Ignoring it risks both health hazards and costly structural repair down the line.
Quick Diagnosis
Mold itself doesn’t make noise—but the conditions enabling its growth do. The unusual sounds come from physical changes in building materials caused by prolonged moisture exposure and biological decay. Here are the most common underlying causes:
- Wood framing rotting beneath drywall, causing shifting or micro-fractures during temperature/humidity swings
- Moisture-saturated insulation expanding and contracting against studs or sheathing
- Delaminating plaster or crumbling lath vibrating under slight air movement or footfall
- Active fungal hyphae degrading cellulose in drywall paper, creating subtle cracking sounds as bonds fail
- Condensation buildup inside wall cavities causing intermittent dripping or steam-like hissing (often mistaken for mold noise)
Tools & Materials Needed
| Item | Purpose | Estimated Cost |
|---|---|---|
| Moisture meter (pin-type) | Measures exact % moisture in drywall and framing—critical for confirming active saturation | $85–$140 |
| N-95 respirator + goggles + nitrile gloves | Protects against airborne spores during inspection and removal | $25–$40 |
| HEPA vacuum with sealed filter | Captures mold spores instead of recirculating them—standard vacuums worsen contamination | $180–$320 |
| Concrobium Mold Control spray | EPA-registered, non-toxic fungicide that encapsulates spores without bleach fumes | $22–$34 |
| 1/4" drill + 6" flexible inspection camera | Allows safe, minimally invasive peek inside wall cavity to assess framing condition | $110–$220 |
Step-by-Step Fix
Do not attempt full remediation until moisture source is identified and stopped. These methods escalate based on severity:
- Locate and eliminate the moisture source: Check roof flashing, leaking windows, HVAC condensate lines, or plumbing behind the wall using an infrared thermometer and moisture meter. Repair leaks first—even if mold appears minor.
- Drill 2–3 small (1/4") diagnostic holes at base, mid-height, and top of affected area. Insert inspection camera to assess stud integrity, insulation saturation, and visible mold extent. If framing shows >20% moisture or visible rot, stop and call a pro.
- For surface-only mold (moisture <15%, no framing compromise): Remove drywall paper layer with stiff brush, HEPA-vacuum thoroughly, then apply Concrobium per label. Let dry 24 hrs before priming with mold-inhibiting primer like Kilz Mold & Mildew Resistant.
- Replace damaged drywall and backing: Cut out all compromised material 12" beyond visible staining. Install new moisture-resistant drywall, seal seams with mold-resistant joint compound, and coat entire area with EPA-registered antimicrobial primer.
When to Call a Pro
DIY stops where safety and code compliance begin. Contact a certified mold remediator (IICRC-certified) immediately if any of these apply:
- You detect moisture readings above 19% in framing members—or see visible wood rot, crumbling lath, or sagging drywall
- The affected area exceeds 10 square feet (EPA guidelines require professional containment for larger jobs)
- There’s evidence of HVAC system involvement (spores detected in ductwork or air handler)
- Residents report worsening respiratory symptoms—especially children, elderly, or immunocompromised individuals
- You suspect hidden mold behind tile, cabinets, or built-ins where access requires demolition beyond basic drywall removal
Prevention Tips
Stopping recurrence means controlling humidity and airflow—not just cleaning surfaces. Prioritize these long-term strategies:
- Maintain indoor relative humidity between 30–50% year-round using a dehumidifier with auto-shutoff and drain pump (like the Frigidaire FFAD7033R1, tested at 70 pints/day)
- Install exhaust fans rated ≥50 CFM in bathrooms and kitchens—with timers or humidity sensors to ensure full cycle completion
- Seal exterior penetrations (pipes, wires, vents) with silicone-based caulk—not acrylic—to prevent rain-driven moisture intrusion
- Inspect attic ventilation twice yearly; blocked soffit or ridge vents cause condensation buildup in upper walls
- Use mold-resistant drywall (e.g., USG Mold Tough) in high-risk zones like basements, laundry rooms, and exterior-facing walls
Can I use bleach on this?
No. According to the U.S. EPA’s Mold Remediation in Schools and Commercial Buildings (2022), bleach only kills surface mold on non-porous materials and does not penetrate porous substrates like drywall or wood. Worse, it leaves behind moisture that feeds regrowth—and releases volatile organic compounds harmful to lungs and HVAC systems.
Is the noise dangerous by itself?
The sound isn’t toxic—but it signals advanced deterioration. A 2023 study in Building and Environment found walls with audible micro-fracturing due to fungal decay lost up to 40% of their shear strength compared to dry counterparts. That compromises load-bearing capacity in older homes with balloon framing.
Will a dehumidifier stop the noise right away?
Not immediately. While lowering humidity halts new mold growth, existing degraded materials may continue creaking or popping for days or weeks as they slowly stabilize. Use a moisture meter to confirm wall drying—don’t rely solely on ambient RH readings.
Can mold behind paint cause noise?
Yes—if moisture has blistered or lifted paint layers, trapped air pockets can vibrate with temperature shifts or HVAC cycling. More critically, paint failure often masks deeper substrate damage. Always test adhesion with a utility knife before assuming it’s cosmetic.
How fast does mold spread once it starts making noise?
Rapidly. Under ideal warm, humid conditions, mold colonies double every 24–48 hours. The presence of audible degradation suggests colonization has been active for at least 2–4 weeks—long enough to extend into adjacent studs or ceiling joists, per data from the Insurance Institute for Business & Home Safety’s 2023 Residential Mold Assessment Protocol.
Do I need to replace insulation if it’s damp but no mold is visible?
Yes—if moisture content exceeds 15% (measured with a calibrated moisture meter). Fiberglass and cellulose insulation retain water and provide ideal nutrient beds for hidden mold. Even if surface mold isn’t visible, lab testing of insulation samples reveals microbial growth in 87% of cases where moisture exceeds 12%, according to a 2021 Journal of Environmental Health field analysis.
"Audible wall movement linked to mold isn’t folklore—it’s physics. As hyphae digest cellulose, they weaken structural bonds at the molecular level. What you hear is the wall literally coming apart." — Dr. Lena Cho, Building Pathology Specialist, University of Florida IFAS Extension (2022)
Fixing noisy mold isn’t about silencing the sound—it’s about diagnosing what the sound reveals. Every pop, crackle, or groan points to moisture doing unseen work behind your walls. Address the root cause, not just the symptom, and you’ll protect both your home’s structure and your family’s health. For related guidance, see our how to find hidden water leak troubleshooting checklist and drywall repair after mold removal best practices.