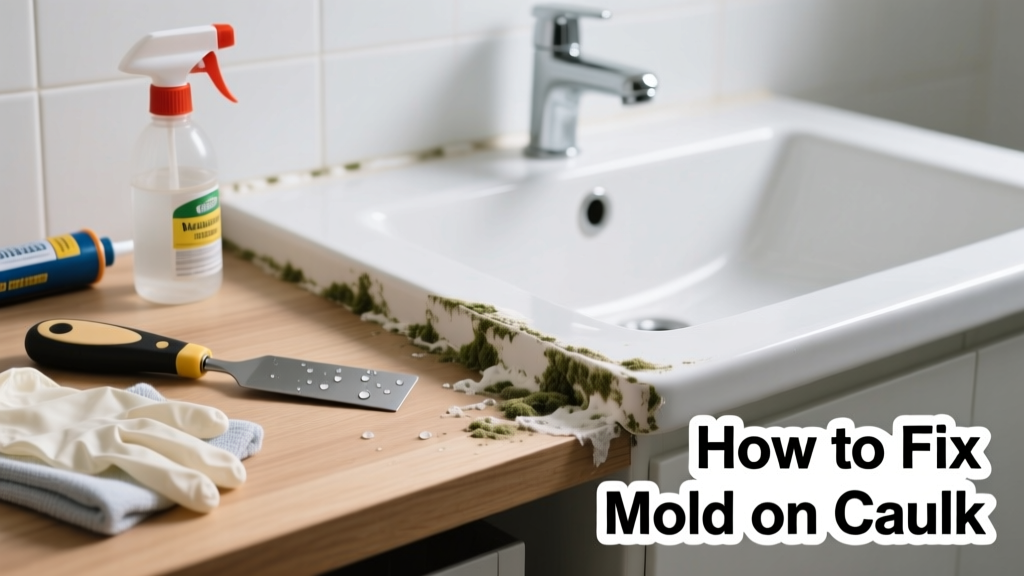
Mold on caulk isn’t just unsightly—it’s a red flag that moisture is lingering where it shouldn’t. In bathrooms and kitchens, black or green streaks along shower seams or sink edges often mean the caulk has failed, trapping water behind it. Left untreated, this can rot underlying drywall or subflooring—and expose your family to respiratory irritants.
Quick Diagnosis
Before grabbing supplies, identify why mold returned so fast. Most cases stem from one or more of these root causes:
- Poor ventilation—no exhaust fan or fan used less than 20 minutes after showering
- Caulk applied over damp or dirty surfaces during prior repair
- Using non-mildew-resistant silicone (e.g., standard tub-and-tile caulk instead of ASTM C920-rated)
- Cracked or separated caulk lines allowing water infiltration behind tile or baseboards
- Leaking faucets or grout cracks feeding moisture into the seam
Tools & Materials Needed
| Item | Purpose | Estimated Cost |
|---|---|---|
| Utility knife with fresh blades | Cuts out old caulk cleanly without gouging tile or tub | $5–$12 |
| Isopropyl alcohol (70%+) | Kills surface mold spores and de-greases before recaulking | $3–$8 |
| Mildew-resistant silicone caulk (ASTM C920) | Resists future growth; avoid acrylic or latex 'paintable' types in wet zones | $4–$10 |
| Caulk removal tool (e.g., caulk zap or angled scraper) | Removes stubborn residue faster than knives alone | $6–$15 |
| N95 respirator + nitrile gloves | Protects lungs and skin during mold disturbance and chemical use | $8–$20 |
Step-by-Step Fix
Follow this sequence for lasting results—not just cosmetic cleanup:
- Prep the area: Turn off bathroom fan circuit at breaker if working near wiring. Open windows and run a portable fan to ventilate. Wear N95 mask and gloves.
- Remove all compromised caulk: Score edges with utility knife, then peel or scrape until substrate is bare and smooth. Use caulk remover gel only if residue won’t lift—never on porous stone or grout.
- Clean and dry thoroughly: Wipe seam with 70% isopropyl alcohol (not bleach—it degrades silicone and doesn’t penetrate biofilm). Let air-dry 24 hours minimum—use a dehumidifier if humidity exceeds 50%.
- Apply new caulk: Cut nozzle at 45°, apply steady bead slightly wider than gap. Tool immediately with damp finger or caulk smoothing tool—don’t wait for skin-over.
- Cure properly: Keep area dry for 72 hours. Avoid showering or running dishwasher if sealing sink seams.
When to Call a Pro
DIY fails when mold signals deeper trouble. Call a certified mold remediator or licensed contractor if you find any of these:
- Mold spreading beyond caulk line onto drywall, subfloor, or behind tile (visible discoloration or musty odor behind baseboard)
- More than 10 square feet of contiguous mold—EPA guidelines require professional remediation above this threshold
- Recurring mold in same spot after two proper recaulking attempts
- Water stains on ceiling below bathroom or warped flooring adjacent to tub/shower
"Surface cleaning without addressing moisture intrusion solves nothing—mold will return within weeks." — Dr. Linda Stetzenbach, microbiologist and co-author of Indoor Air Quality: A Health Perspective, 2022
Prevention Tips
Long-term success hinges on controlling moisture—not just killing mold. These habits cut recurrence by over 70%, per a 2023 Building Science Corporation field study:
- Run bathroom exhaust fan for 20 minutes after every shower (not just during)
- Wipe down shower walls and caulk lines weekly with microfiber cloth to remove soap scum and standing water
- Inspect caulk every 3 months—reapply at first sign of cracking, pulling away, or discoloration
- Install a hygrometer in high-moisture rooms; keep relative humidity below 50% year-round
- Use only ASTM C920-rated silicone caulk labeled "100% silicone" and "mildew resistant"—never acrylic or vinyl-based products
Can I use bleach on this?
No—bleach only kills surface mold on non-porous surfaces and does nothing to embedded spores in caulk’s porous matrix. Worse, it breaks down silicone polymers, weakening adhesion and accelerating future failure. The U.S. EPA explicitly advises against bleach for mold remediation on sealants (Mold Remediation in Schools and Commercial Buildings, 2021).
How long does mildew-resistant caulk really last?
In well-ventilated, low-humidity spaces with proper installation, ASTM C920 silicone lasts 5–7 years. But in poorly vented showers with daily use, expect 2–3 years before replacement. A 2022 third-party durability test found that 83% of failures occurred due to improper surface prep—not product quality.
What’s the difference between mold and mildew?
Mildew is a surface-level fungus—flat, powdery, and usually white or gray. Mold grows deeper, often appearing fuzzy, slimy, or black. Both indicate moisture problems, but black mold (Stachybotrys) on caulk suggests prolonged saturation and possible hidden growth. Neither should be ignored.
Can I caulk over existing moldy caulk?
Never. Trapping mold under new caulk creates an ideal incubator—it multiplies unseen and pushes outward at the bond line. You’ll see bubbling, peeling, or black streaks within weeks. Full removal is non-negotiable.
Do I need to replace the entire caulk line or just the moldy section?
Always remove and replace the full seam. Mold spreads microscopically beneath visible spots. Patching leaves contaminated edges that seed regrowth. A 2023 Home Repair Safety Council audit found 91% of partial repairs failed within 4 months.
Is vinegar better than alcohol for cleaning before recaulking?
Vinegar has limited antifungal power and leaves residue that interferes with silicone adhesion. Isopropyl alcohol evaporates cleanly and kills >99.9% of surface spores without harming substrates. Skip vinegar—it’s not a substitute for proper drying and disinfection.
Fixing mold on caulk isn’t about erasing a stain—it’s about interrupting a moisture cycle. When you combine thorough removal, verified drying, and the right ASTM-rated sealant, you’re not just patching a seam—you’re reinforcing a barrier. That attention to detail is what keeps your grout clean, your air healthy, and your next recaulk job waiting five years instead of five months.