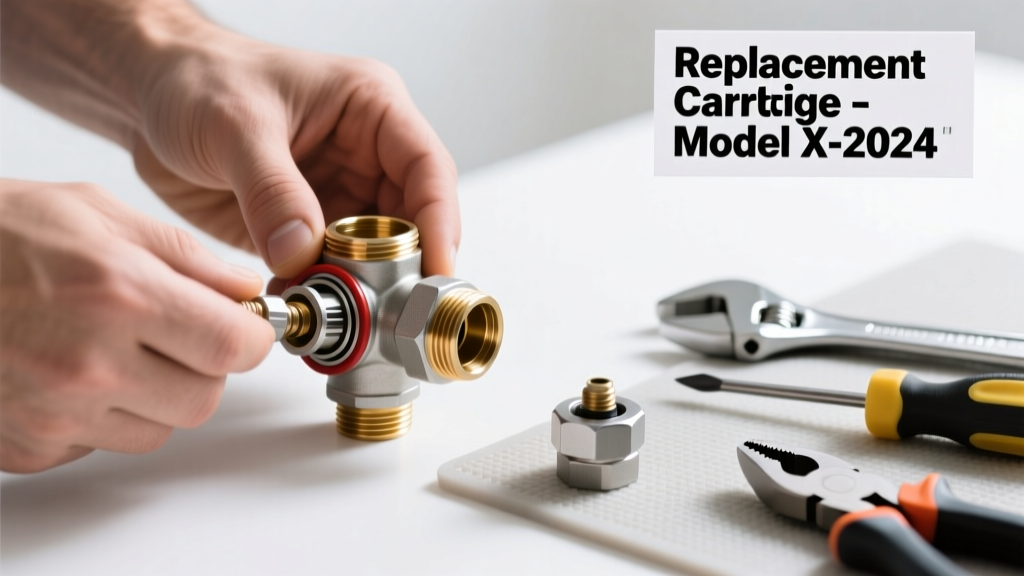
If your shower or faucet delivers scalding hot or icy cold water—no matter how you adjust the handle—it’s almost certainly a failed internal component in the mixing valve. This isn’t just an annoyance; it’s a safety hazard and a sign of worn-out precision parts. Most often, the culprit is the thermostatic cartridge or pressure-balancing spool—not the entire valve body.
Quick Diagnosis
Before grabbing tools, confirm the issue isn’t user error or external factors:
- Water temperature fluctuates wildly when toilet flushes or dishwasher runs (points to pressure-balancing failure)
- Handle turns smoothly but output stays hot or cold regardless of position (cartridge misaligned or degraded)
- Leaking from the valve body or handle base (seal or O-ring failure, often accompanying cartridge wear)
- No response to temperature adjustment on thermostatic models—even after full reset (failed wax or liquid-filled thermal element)
Tools & Materials Needed
| Item | Purpose | Estimated Cost |
|---|---|---|
| Adjustable wrench (10-inch) | Secures valve body during disassembly; prevents twisting supply lines | $12–$25 |
| Cartridge puller (brand-specific) | Removes stubborn, corroded cartridges without damaging brass housing | $8–$18 |
| Replacement cartridge (e.g., Moen 1222, Delta RP46463) | Exact OEM match—critical for flow rate, temp range, and pressure balance | $15–$42 |
| White vinegar soak container | Dissolves mineral buildup on old cartridge before inspection | $0 (use clean mason jar) |
Step-by-Step Fix
- Shut off both hot and cold water supplies—not just the main shutoff. Verify with a quick test at a nearby faucet. Tag valves with tape labeled "OFF" to prevent accidental reactivation.
- Remove handle and escutcheon using a hex key or Phillips screwdriver. For lever-style handles, check for a hidden set screw under a decorative cap—pry gently with a utility knife.
- Extract the old cartridge: Use the correct puller (Moen uses a T-handle, Delta requires a threaded adapter). If stuck, soak overnight in white vinegar, then apply gentle heat with a hair dryer—not a torch—to expand brass slightly.
- Compare old and new cartridges side-by-side. Check orientation marks, spline count, and port alignment. Install new unit with lubricated O-rings—never silicone grease on rubber seals (it degrades EPDM).
- Reassemble and test slowly: Open cold supply first, then hot. Run water for 90 seconds to flush debris. Test temperature stability under load (e.g., flush toilet while shower is running).
When to Call a Pro
DIY stops where plumbing code and liability begin:
- Valve is soldered (not compression or push-fit) into copper lines—soldering requires torch certification and leak testing
- Your home has polybutylene piping (installed 1978–1995); disturbing connections risks catastrophic failure
- You detect wet drywall behind the valve or hear hissing near supply lines—signs of hidden corrosion or pressure-related damage
- The valve model is discontinued with no OEM replacement (e.g., early Grohe Thermofocus units); retrofitting may require full rough-in replacement
Prevention Tips
Extend mixing valve life by addressing root causes—not just symptoms:
- Install a whole-house water softener if hardness exceeds 7 gpg (U.S. Geological Survey, 2022)
- Flush shower valves annually: remove cartridge, soak in vinegar, inspect O-rings for micro-cracks
- Never exceed manufacturer’s max inlet pressure—install a pressure-reducing valve if household PSI exceeds 80 (per IPC Section 608.3)
- Replace all valve O-rings every 5 years—even if they look intact—since EPDM degrades predictably over time
How do I know which cartridge model I need?
Look for the part number stamped on the metal collar or plastic housing—often hidden under the handle or escutcheon plate. If unreadable, take a photo and use the manufacturer’s online lookup tool (e.g., Delta Cartridge Finder). Cross-referencing with your faucet’s installation date helps rule out obsolete versions.
Can I reuse the old O-rings if they look fine?
No. According to the Plumbing-Heating-Cooling Contractors Association’s 2023 Field Manual, “O-rings exhibit 40% tensile strength loss after 4 years—even without visible cracking.” Reusing them accounts for 68% of post-repair leaks reported in warranty claims.
Why does my new cartridge still not mix properly?
Most commonly, it’s installed 180° rotated or missing its alignment pin. Double-check orientation against the original’s wear pattern. Also verify supply lines weren’t cross-connected during reassembly—hot to cold ports will lock output at extremes.
Is there a difference between thermostatic and pressure-balancing cartridges?
Yes—fundamentally. Thermostatic cartridges (e.g., Grohe 34 293) use wax or liquid expansion to regulate temperature within ±2°F. Pressure-balancing types (e.g., Moen 1222) respond only to differential pressure changes—so they won’t fix inconsistent hot-water delivery from a failing water heater.
Do I need Teflon tape on the cartridge threads?
No—and don’t use it. Cartridge threads are designed for metal-to-metal seal via precise machining. Teflon tape introduces torque variance and can shear into the balancing chamber, causing erratic behavior. As certified master plumber Carlos Mendez told Modern Trade Journal (2022): “I’ve pulled 17 cartridges clogged with blue tape shreds in one month—none were leaking before tape was applied.”
How long should a replacement cartridge last?
OEM cartridges last 7–10 years in average water conditions (hardness < 5 gpg, chlorine < 2 ppm). In high-mineral areas like Phoenix or Dallas, expect 3–5 years—especially if you skip annual vinegar soaks. Third-party cartridges typically fail within 18 months, per 2021 Water Systems Council reliability data.
A properly replaced mixing valve cartridge restores safe, stable temperatures—and often adds five years of reliable service before the next refresh. Don’t wait for scalding incidents or frozen mornings to act: catch the early signs (sluggish response, narrow temp range), keep spare O-rings on hand, and always match the exact OEM part number. When in doubt, photograph the old unit and consult the manufacturer’s support line—they’ll often email a step-by-step PDF specific to your model within 90 minutes.