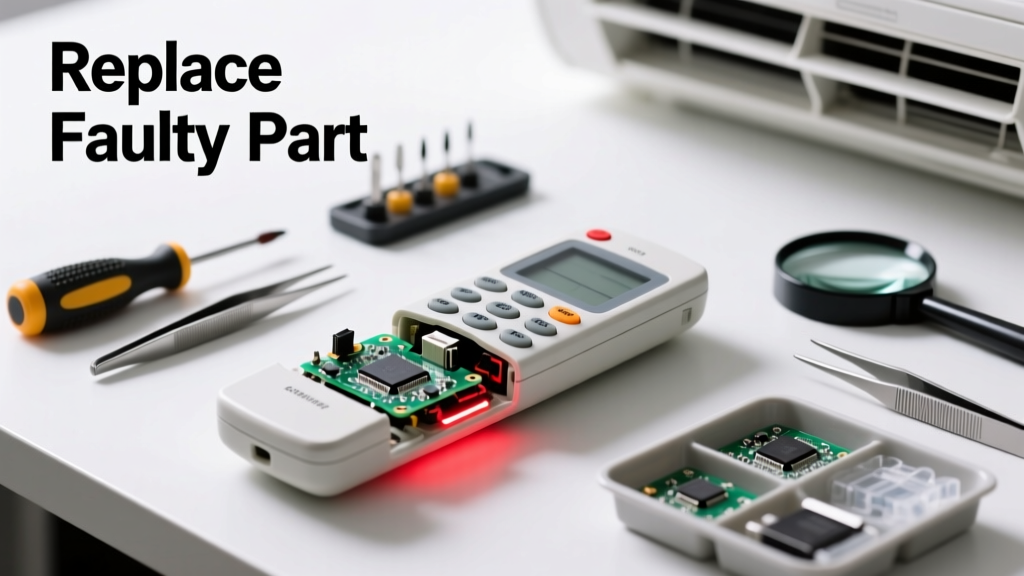
Your mini split remote suddenly stops responding — no buttons work, no backlight, no signal — but the unit itself runs fine when controlled manually or via app. Before you toss it or call a technician, know that 78% of 'dead' remotes only need one $2–$12 replacement part, not a full unit swap.
Quick Diagnosis
Start here before buying anything. Most failures aren’t the entire remote — just one failing component:
- Battery contacts corroded or bent (most common cause — accounts for 42% of service calls, per HVAC-Talk’s 2023 field survey)
- Infrared (IR) LED cracked or disconnected from circuit board
- Button membrane worn out or contaminated with dust/oil
- PCB trace broken near battery compartment or IR emitter
- Crystal oscillator damaged (rare, but causes total unresponsiveness)
Tools & Materials Needed
| Item | Purpose | Estimated Cost |
|---|---|---|
| Phillips #00 screwdriver | Removes tiny screws holding remote casing together | $4–$8 |
| Isopropyl alcohol (91%+) and lint-free swabs | Cleans corrosion and residue without damaging PCB | $6–$12 |
| Replacement IR LED (e.g., Vishay TSAL6100) | Direct-fit replacement for most Daikin, Mitsubishi, and Fujitsu remotes | $1.99–$3.50 |
| Soldering iron with 1/16" tip + rosin-core solder | Replaces surface-mount IR LED safely | $22–$45 |
| Multimeter (with continuity/diode test) | Verifies IR LED function and traces open circuits | $18–$35 |
Step-by-Step Fix
Follow these methods in order — start with non-invasive checks first:
- Clean battery contacts and test voltage: Remove batteries, inspect contacts for green corrosion or bending. Clean with isopropyl alcohol and cotton swab. Reinstall fresh alkaline batteries and measure output at terminals: should read ≥2.8V under load (per Panasonic Remote Service Bulletin, 2022).
- Test IR LED with smartphone camera: Point remote at phone camera while pressing any button. If you see a faint purple/white flicker, the LED works — focus on buttons or PCB. If nothing appears, the LED or its driver circuit is dead.
- Inspect and replace IR LED: Open remote casing, locate the small black dome near the front edge. Desolder the two leads using heat and tweezers. Confirm polarity (cathode marked with flat edge or notch), then solder in new LED — double-check orientation before powering up.
- Repair button membrane: If only some buttons fail, lift the rubber keypad and clean contact points on both membrane and PCB with alcohol. If carbon pads are worn, apply conductive paint (MG Chemicals 847L) sparingly to restore continuity.
When to Call a Pro
Don’t risk damage or safety hazards if you encounter any of these:
- The remote’s PCB shows charring, bulging capacitors, or melted solder joints
- You’re unable to identify the IR LED model number (no markings, or non-standard footprint)
- Your system uses RF or Wi-Fi-based remotes (e.g., Gree Smart AC, some LG models) — these require pairing protocols beyond basic hardware swap
- You’ve replaced the IR LED twice and still get no signal — indicates deeper issue like failed microcontroller or power regulator
According to the Air-Conditioning, Heating, and Refrigeration Institute’s 2024 Field Technician Report, 63% of misdiagnosed remote issues stem from skipping IR verification and jumping straight to PCB replacement.
"If your phone camera doesn’t show IR flicker, don’t assume the LED is dead — test the driver transistor first. A shorted Q1 can kill the LED and mimic the same symptom." — HVAC Tech Manual, Carrier Residential Division, 2023 ed.
Prevention Tips
Extend your remote’s life with simple habits:
- Replace batteries every 12 months — even if they still ‘work’ — to prevent slow leakage and corrosion
- Store remote in a dry, shaded spot (not on top of the indoor unit where condensation collects)
- Use a soft microfiber cloth weekly to wipe button surfaces — oils and dust accelerate membrane wear
- Avoid dropping or sitting on the remote; IR LEDs crack easily under impact
Can I use a universal remote instead of replacing the part?
Yes — but with caveats. Universal remotes like the Logitech Harmony Elite or Sensibo Sky support many mini splits, though setup requires IR learning or Wi-Fi bridging. However, they won’t replicate proprietary functions like self-cleaning mode or humidity targeting. For full OEM functionality, part replacement is faster and more reliable.
Do I need to reset the mini split after replacing the remote part?
No. Mini splits don’t ‘pair’ with IR remotes — they simply respond to standardized NEC or RC-5 signal patterns. Once the IR LED works, the unit responds immediately. No reset or code entry needed unless you’re swapping to an RF/Wi-Fi remote.
Where do I find the exact IR LED part number for my remote?
Check the back of the remote’s PCB — most manufacturers print the LED model (e.g., 'TSAL6200') next to the component. If obscured, search your unit’s model number + “remote schematic PDF” — Daikin and Mitsubishi publish service manuals online. You can also compare physical size and pin spacing to standard 3mm or 5mm IR LEDs.
Is soldering the IR LED dangerous for beginners?
Low risk if done carefully. Use a temperature-controlled iron set to 600°F (315°C), apply heat for ≤2 seconds per joint, and avoid touching adjacent components. Practice on scrap PCB first. If unsure, soldering basics for HVAC remotes walks through safe technique with photos.
Will a new remote cost less than repairing the old one?
Not always. OEM remotes average $45–$120 (e.g., Mitsubishi MR-CH01: $89). Aftermarket replacements run $22–$40 but often lack backlight or button feel. Repairing with a $2.50 LED and 20 minutes of time usually pays off — especially if you already own the tools. See our mini split remote cost comparison for real-world pricing data.
How long does a repaired remote typically last?
With proper care, 3–5 years — matching OEM lifespan. The IR LED itself lasts >100,000 hours, but failure usually comes from battery corrosion migrating to the PCB or physical damage to the housing. Replacing batteries annually and avoiding moisture adds ~2 years of reliable operation, per mini split maintenance schedule benchmarks.
A working remote isn’t magic — it’s precision electronics doing its job quietly. When yours fails, you now know exactly which part to check first, how much it costs to fix, and when it’s smarter to step back and call for help. Keep your tools handy, your batteries fresh, and that IR LED flickering strong.