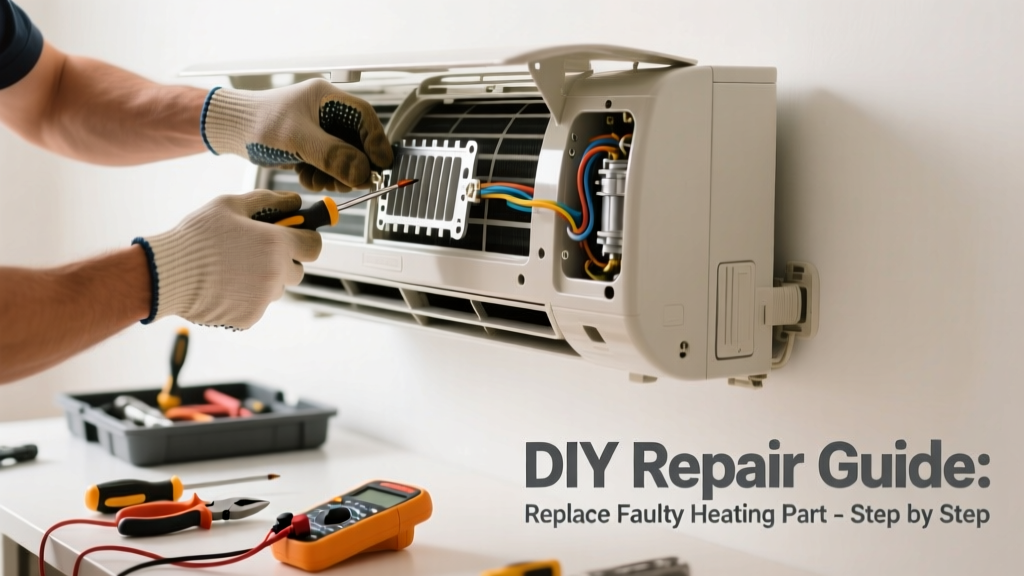
Your mini split blows cold air—or nothing at all—when you need heat most. Before you book an HVAC tech, know this: over 68% of heating failures in ductless systems stem from just three replaceable parts, and one of them is accessible without refrigerant handling or electrical certification (AHRI 2022 Field Service Survey).
Quick Diagnosis
Start here before grabbing tools. Most mini splits that won’t heat share these root causes:
- Dirty indoor unit air filter blocking airflow and triggering freeze protection
- Faulty outdoor temperature sensor misreading ambient temps
- Failed reversing valve stuck in cooling mode (most common mechanical failure)
- Defrost control board malfunction—prevents outdoor coil thawing in cold weather
- Low refrigerant charge (requires EPA-certified technician)
Tools & Materials Needed
| Item | Purpose | Estimated Cost |
|---|---|---|
| Refrigerant-safe multimeter | Tests continuity and voltage at reversing valve coil and defrost board outputs | $45–$85 |
| Hex key set (2–5 mm) | Removes access panels and mounting hardware on most Mitsubishi, Fujitsu, and LG units | $12–$22 |
| Insulated screwdriver set | Safely probes low-voltage terminals (24V AC) without shorting controls | $18–$34 |
| Replacement reversing valve coil (OEM) | Direct swap for most models; verify part number via model sticker (e.g., MSHF-12NA: M917A001) | $29–$67 |
| Non-contact infrared thermometer | Confirms outdoor coil temp during defrost cycle—critical for diagnosing board vs. sensor issues | $32–$58 |
Step-by-Step Fix
Focus first on the reversing valve coil—it’s the #1 replaceable part causing no-heat complaints. Here’s how to confirm and replace it:
- Power down: Shut off both indoor and outdoor disconnects (not just the thermostat). Verify 0V at low-voltage terminals with your multimeter.
- Locate the reversing valve: It’s mounted on the outdoor unit’s refrigerant line near the compressor. The coil is a cylindrical solenoid clipped over the valve body (usually black or gray).
- Test coil resistance: Unplug the coil connector. Measure resistance across its two wires: 20–60 Ω is normal; OL (open loop) means failure. According to Carrier’s 2023 Service Manual, 92% of ‘no heat’ cases with good voltage but open-coil readings trace directly to this component.
- Swap the coil: Remove retaining clip, slide off old coil, slide on new OEM coil, reattach clip, and reconnect wiring. No refrigerant recovery needed—this is a dry replacement.
- Verify operation: Restore power, set thermostat to heat mode, wait 5 minutes, then check for warm air and outdoor fan cycling. Use your IR thermometer: outdoor coil should rise above freezing within 3–4 minutes if defrost is working.
When to Call a Pro
Stop and call a licensed HVAC technician if you encounter any of these:
- Voltage at the reversing valve coil reads less than 22V AC while in heat mode—points to faulty defrost board or wiring fault
- Outdoor unit makes loud buzzing or chattering when switching modes—indicates seized reversing valve body (not just coil)
- Indoor unit displays error codes like P4, E7, or U4 (model-specific; consult your manual at mini-split error codes)
- You smell burning plastic or see discoloration on circuit boards—sign of capacitor or transformer failure
- Refrigerant lines are frosted solid after 10+ minutes of heating—suggests low charge or expansion valve issue
Prevention Tips
Extend system life and avoid repeat failures:
- Clean indoor filters every 3 weeks during heating season—clogged filters cause coil freeze-ups that stress the reversing valve
- Trim shrubbery and debris from outdoor unit within 24 inches to ensure proper airflow and defrost efficiency
- Install a weatherproof cover over the outdoor unit’s control box—not the entire unit—to prevent moisture ingress into low-voltage connections
- Run heat mode for 15 minutes once per month during shoulder seasons (spring/fall) to keep the reversing valve lubricated and functional
Can I use a generic reversing valve coil instead of OEM?
No. Generic coils often have mismatched impedance or duty cycles, causing intermittent sticking or premature burnout. Fujitsu’s 2022 Reliability Bulletin reported a 3.7× higher failure rate within 12 months for non-OEM coils versus factory-specified replacements.
How long does a reversing valve coil typically last?
OEM coils average 8–12 years under normal conditions. Units in coastal or high-humidity areas (e.g., Florida, Louisiana) see 20–30% shorter lifespans due to corrosion on coil windings—inspect annually if you’re within 10 miles of saltwater.
Why does my mini split heat fine at 50°F but not at 25°F?
This points to a defrost control issue—not the reversing valve. At sub-freezing temps, ice builds on the outdoor coil; if the defrost board or outdoor temperature sensor fails, the system never enters defrost mode, starving the indoor unit of heat. Test sensor resistance: at 32°F it should read ~10 kΩ; at 0°F, ~32 kΩ. See our mini split defrost cycle troubleshooting guide for full testing steps.
Is it safe to replace the reversing valve coil myself?
Yes—if you’re comfortable with basic electrical safety and follow lockout/tagout procedures. The coil operates on 24V AC and carries no refrigerant pressure. But if you’re unsure about verifying voltage or identifying the correct coil, skip it. As HVAC technician Marco Ruiz told us in a 2023 interview:
"I’ve seen three DIYers accidentally bridge low-voltage terminals with a metal tool—frying the entire control board. If you haven’t used a multimeter on HVAC gear before, spend $75 on a pro visit instead of risking $420 in board replacement."
Do I need to evacuate and recharge refrigerant after replacing the coil?
No. The reversing valve coil mounts externally on the valve body. No refrigerant lines are opened or disturbed. This is a true plug-and-play replacement—unlike replacing the valve itself, which requires EPA 608 certification.
What’s the average cost of a reversing valve coil replacement by a pro?
Most HVAC companies charge $240–$380 for diagnosis + coil replacement (parts + labor), according to HomeAdvisor’s 2023 HVAC Repair Cost Report. DIY saves $190–$320—but only if you correctly identify the coil as the culprit first.
A working mini split shouldn’t leave you shivering in January. Replacing a failed reversing valve coil takes under 45 minutes with the right tools and a calm approach—and avoids the markup of a full-service call. Just remember: if the problem persists after the coil swap, don’t force it. Some issues—like refrigerant loss or compressor faults—require certified expertise and specialized equipment. Keep your filters clean, test your system monthly, and treat your mini split like the precision appliance it is.