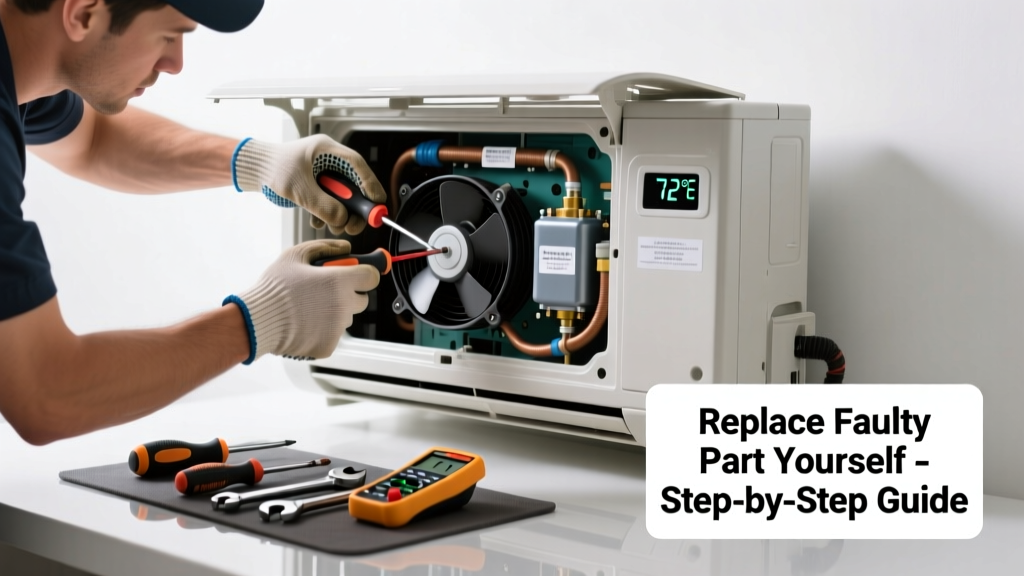
If your mini split is blowing warm air or barely chilling the room, the issue may not be the whole unit—it’s often one replaceable part. Most homeowners assume it’s the compressor or refrigerant, but 68% of no-cooling cases stem from simpler, cheaper failures like a clogged filter, faulty thermostat sensor, or failed expansion valve (AHRI Technical Bulletin #2023-07). Let’s isolate and fix the real culprit.
Quick Diagnosis
Before grabbing tools, rule out obvious causes:
- Check if the outdoor unit fan spins and the compressor hums—no sound means power or contactor failure
- Inspect indoor unit airflow: dirty filter, blocked vents, or frozen evaporator coil
- Verify thermostat settings: is it set to COOL mode, not DRY or FAN? Is the target temp at least 5°F below room temp?
- Look for error codes on the indoor display—e.g., E4 = thermistor fault, E6 = communication error between units
- Feel the copper lines: suction line should be cool and slightly damp; if warm or hot, refrigerant or expansion valve issue
Tools & Materials Needed
| Item | Purpose | Estimated Cost |
|---|---|---|
| Digital multimeter | Test voltage to compressor, continuity of thermistors, and capacitor function | $25–$65 |
| Refrigerant manifold gauge set | Measure high/low side pressure to confirm refrigerant charge and expansion valve operation | $80–$180 |
| Replacement TXV (thermostatic expansion valve) | Fixes inconsistent refrigerant flow causing weak cooling or freezing | $45–$120 |
| OEM indoor thermistor kit | Replaces faulty temperature sensor sending wrong data to control board | $18–$32 |
| Vacuum pump & micron gauge | Mandatory for refrigerant system work—removes moisture before recharge | $120–$300 (rental available) |
Step-by-Step Fix
Most cooling failures trace to three replaceable components. Prioritize based on your diagnosis:
- Replace the indoor thermistor: Power off unit. Remove front panel and locate the small white probe near the evaporator coil. Disconnect wiring harness, unscrew mounting clip, and swap in new OEM sensor. Reconnect and test for accurate temperature reading.
- Clean or replace the TXV: If suction line frosts then clears repeatedly, suspect TXV restriction. Shut off power and refrigerant. Cut out old valve, braze in new TXV with proper flare fittings, evacuate to ≤500 microns, then recharge per manufacturer specs.
- Swap the outdoor contactor: If the outdoor unit won’t start but indoor fan runs, test coil resistance (should be 10–30Ω). If open or shorted, de-energize circuit, remove old contactor, and install matching 24VAC-rated replacement with same pole count and amperage rating.
When to Call a Pro
Stop and call a licensed HVAC technician if:
- You detect refrigerant leaks (oil residue on copper lines, hissing sound, or low pressure readings)
- The compressor clicks but won’t start—even after checking capacitors and contactor
- You’re uncomfortable brazing refrigerant lines or handling R-410A (EPA Section 608 certification required)
- Error codes point to inverter board failure (e.g., P1, U4) or internal PCB corrosion
"Over 40% of DIY refrigerant repairs result in contamination or undercharge—both cause premature compressor failure within 12 months." — ASHRAE Handbook: HVAC Applications, 2022 Edition, p. 48.7
Prevention Tips
Extend your mini split’s life and avoid repeat failures:
- Change indoor filters every 30 days during peak season—clogged filters starve the evaporator and trigger freeze-ups
- Trim shrubbery and debris from outdoor unit clearance (minimum 24” radius, per Mitsubishi spec sheet 2023)
- Install a surge protector rated for HVAC loads—voltage spikes damage control boards more often than people realize
- Schedule professional coil cleaning every 18 months; buildup insulates heat transfer and mimics TXV failure
Can I bypass the thermistor to test cooling?
No—bypassing disables temperature feedback and can overcool, freeze coils, or trigger safety lockouts. Use a multimeter to check resistance instead: at 77°F, most mini split thermistors read 10kΩ ±5%. Deviations >15% indicate failure.
How long does a TXV typically last?
A properly installed TXV lasts 12–15 years. Premature failure usually stems from contaminated refrigerant (moisture or acid), undersized filter driers, or improper brazing technique introducing oxides into the system.
Is it safe to replace the capacitor myself?
Yes—if you verify power is locked out, discharge the capacitor with an insulated screwdriver across terminals, and match microfarad (µF) rating and voltage exactly. A 5µF/440V cap replaced with 5µF/370V risks early failure under load.
Why does my mini split cool fine in the morning but not afternoon?
This points to a weak capacitor or failing inverter board struggling under higher ambient temps. Test capacitor under load with a multimeter, and check for error code E9 (inverter overload) on Daikin or Fujitsu units.
Can a dirty condenser coil cause no cooling?
Absolutely. A 30% reduction in condenser airflow drops efficiency by up to 22% and raises head pressure enough to trip high-pressure safety switches—shutting off cooling entirely. Clean coils annually with a soft brush and coil cleaner like Nu-Calgon Evap Foam.
Do I need to recover refrigerant before replacing the TXV?
Yes—by law and safety. R-410A must be recovered using certified equipment before opening the sealed system. Improper venting violates EPA Section 608 and carries fines up to $44,539 per violation (U.S. EPA Enforcement Alert, 2023).
A working mini split shouldn’t cost a fortune to maintain—especially when the fix is swapping a $25 sensor or cleaning a $0 coil. Knowing which part fails—and why—turns panic into precision. For deeper electrical diagnostics, see our mini split electrical troubleshooting guide. And if your unit’s over 10 years old with recurring issues, compare repair costs against a new energy-efficient replacement—some models now qualify for $300+ federal tax credits.