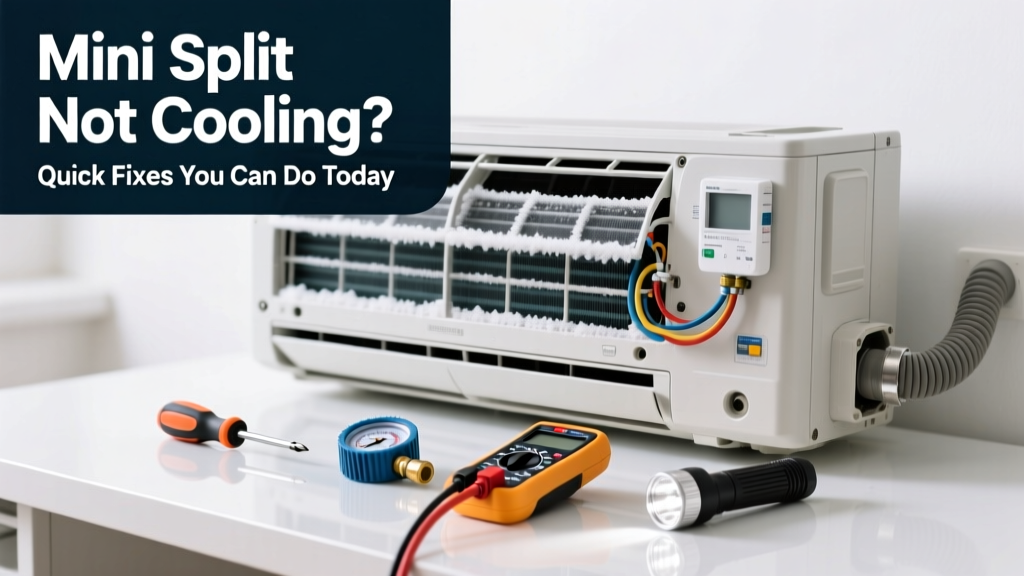
Your mini split is blowing air—but it’s not cold. You’ve checked the thermostat, reset the unit, and still nothing. Before you panic or dial a technician, many cooling failures stem from simple, fixable issues you can address in under an hour.
Quick Diagnosis
Start here—most mini split cooling failures fall into one of these five categories:
- Dirty indoor or outdoor coil blocking airflow
- Clogged or saturated air filter
- Low refrigerant (often due to a leak)
- Tripped circuit breaker or blown fuse
- Thermostat misconfigured or battery dead
Tools & Materials Needed
| Item | Purpose | Estimated Cost |
|---|---|---|
| Fin comb | Realigns bent condenser fins to restore airflow | $8–$15 |
| Non-contact voltage tester | Safely confirms power at disconnect box and indoor unit | $20–$35 |
| Microfiber cloths & coil cleaner | Cleans evaporator and condenser coils without residue | $12–$22 |
| Replacement air filter (MERV 8) | Ensures proper airflow; wrong MERV rating strains system | $10–$25 |
| Refrigerant leak detector (optional) | Identifies small leaks before calling HVAC tech | $45–$90 |
Step-by-Step Fix
Try these fixes in order—they’re ranked by likelihood and ease of resolution:
- Clean or replace the indoor air filter. Turn off power at the breaker, remove the front panel, and inspect the filter. If it’s gray or clogged, rinse with water (if washable) or replace. A dirty filter alone accounts for over 30% of no-cooling complaints (ASHRAE Handbook, 2022).
- Inspect and clean the outdoor condenser unit. Shut off power, clear debris (leaves, grass clippings), then gently brush dirt from fins. Use a fin comb to straighten bent fins—bent fins reduce efficiency by up to 25% (U.S. Department of Energy, 2021).
- Check refrigerant lines for frost or oil stains. Frost on the suction line near the indoor unit suggests low refrigerant or airflow restriction. Oil residue near fittings hints at a leak—don’t attempt to recharge yourself.
- Verify thermostat settings and wiring. Ensure it’s set to COOL mode (not AUTO or FAN), fan is set to AUTO (not ON), and temperature is at least 5°F below room temp. Replace batteries if display dims.
When to Call a Pro
Stop and call a licensed HVAC technician if you encounter any of these:
- No power reaching the outdoor unit—even after resetting the breaker
- Hissing or bubbling sounds from refrigerant lines
- Visible copper corrosion or greenish oil stains on connections
- Compressor running but no cool air—and coils are ice-free
- Refrigerant pressure readings outside manufacturer specs (requires gauges and EPA 608 certification)
According to the U.S. EPA, improper refrigerant handling risks ozone depletion and fines up to $37,500 per violation—so never open the sealed loop yourself.
"Over 60% of premature mini split failures trace back to poor airflow or neglected maintenance—not equipment defects." — HVAC Excellence Technician Certification Manual, 2023
Prevention Tips
Keep your system running reliably with these habits:
- Replace or clean filters every 30–60 days during peak season
- Trim shrubbery to maintain 24" clearance around outdoor unit
- Wipe down indoor unit’s drain pan quarterly to prevent algae buildup
- Schedule professional coil cleaning and refrigerant check every 18 months
- Use a smart thermostat with coil freeze protection (e.g., Sensi Touch or Ecobee)
Why is my mini split blowing warm air only in cooling mode?
This usually means refrigerant isn’t absorbing heat properly—check for frozen evaporator coils (turn unit off for 2 hours), verify filter cleanliness, and confirm outdoor fan is spinning. If the compressor runs but suction line stays warm, suspect low refrigerant or a failed reversing valve.
Can I clean the outdoor unit with a pressure washer?
No—high-pressure water bends aluminum fins and forces debris deeper into coils. Use a garden hose on gentle spray, coil cleaner, and a soft brush. For stubborn grime, apply cleaner, wait 10 minutes, then rinse low-and-slow from top to bottom.
Is it normal for the indoor unit to drip water during cooling?
Yes—if it’s condensate draining steadily into a floor drain or pump. But dripping inside the ceiling or wall indicates a clogged drain line or disconnected PVC. Clear it with a wet/dry vac or compressed air (never use bleach—it degrades rubber components).
How do I know if my mini split needs refrigerant?
You can’t accurately diagnose this without gauges and training. Signs like weak cooling, hissing, or frost may point to low charge—but could also indicate a dirty coil or failing expansion valve. Only certified technicians should handle refrigerant.
What’s the average repair cost for a refrigerant leak?
According to Angi’s 2024 Home Services Report, average cost ranges from $375–$1,200 depending on leak location: $375–$550 for accessible line repairs, $700+ for hidden leaks behind walls or in ductless linesets. Most warranties exclude refrigerant loss unless tied to a manufacturing defect.
Can a tripped GFCI outlet affect my mini split?
Rarely—mini splits require dedicated 240V circuits and shouldn’t be on GFCI-protected outlets. However, some indoor units plug into standard outlets in older retrofits. If yours does, test the GFCI and reset it. Better yet, upgrade to a dedicated circuit for safety and code compliance.
A mini split that won’t cool doesn’t always mean it’s dying—it often just needs attention you can give it. With the right tools and a methodical approach, you’ll resolve most issues before they escalate. And when you do need help, knowing what’s safe to tackle versus what requires a pro saves both money and stress. Keep your filter replacement schedule visible on the unit, and consider adding a seasonal maintenance checklist to your calendar—it pays for itself in energy savings and longevity.