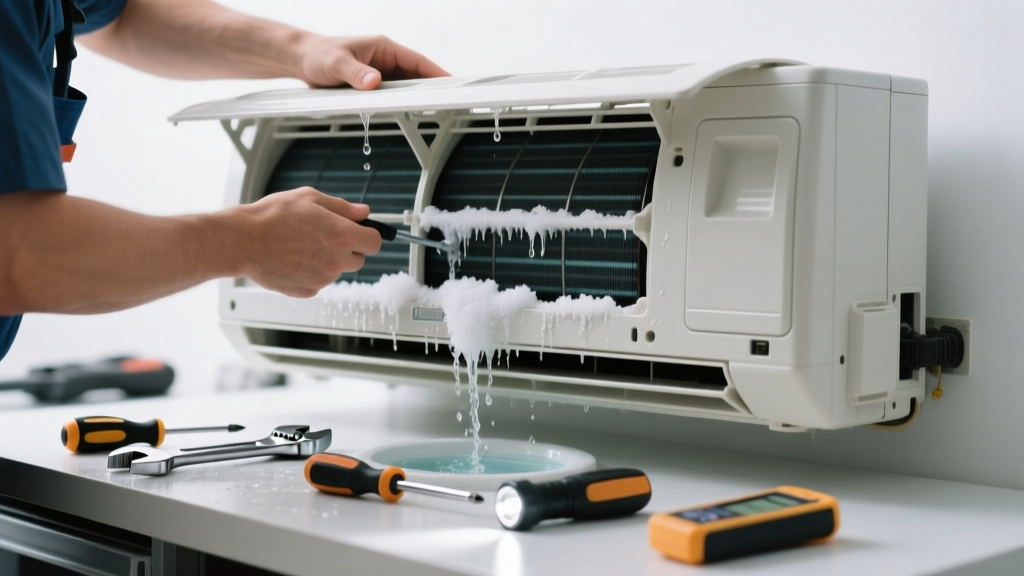
If your mini split is dripping water indoors—or worse, not cooling at all—you’re likely dealing with a clogged drain line, frozen coil, or refrigerant issue. These problems escalate fast: standing water damages drywall and flooring, while poor cooling strains the compressor. Most leaks start small but can trigger system shutdowns within 48 hours if ignored.
Quick Diagnosis
Before grabbing tools, confirm the root cause. Check these in order:
- Water pooling under the indoor unit—usually points to a blocked condensate drain line
- Ice forming on the evaporator coil or copper lines—indicates airflow restriction or low refrigerant
- Unit running but blowing warm air—often tied to refrigerant loss or faulty expansion valve
- Musty odor + visible mold near drain pan—suggests algae buildup in stagnant water
- No power to indoor unit despite outdoor unit running—points to control board or wiring fault
Tools & Materials Needed
| Item | Purpose | Estimated Cost |
|---|---|---|
| Shop vacuum (wet/dry) | Clears deep blockages in PVC drain lines without disassembly | $45–$85 |
| Flexible drain snake (1/4" x 15 ft) | Reaches bends in drain tubing where algae and sludge accumulate | $12–$22 |
| White vinegar (16 oz) | Kills algae and biofilm; safer than bleach for PVC and rubber components | $3–$6 |
| Digital multimeter | Tests voltage to indoor unit and verifies float switch continuity | $25–$60 |
| Fin comb (aluminum) | Realigns bent evaporator fins that restrict airflow and cause freezing | $8–$15 |
Step-by-Step Fix
Try these methods in sequence—most leaks resolve at Step 1 or 2:
- Clear the condensate drain line: Turn off power, locate the drain port (usually behind access panel), disconnect the tube, and use a wet/dry vac on suction mode for 30 seconds. Follow with 1/4 cup white vinegar poured slowly into the drain pan to prevent regrowth.
- Defrost and inspect the evaporator coil: Power down for 4+ hours. Once ice melts, check for dust-caked fins or bent rows. Use a fin comb gently—never force it—and vacuum coil surface with soft brush attachment.
- Test and reset the float switch: Locate the switch inside the drain pan (often a small plastic lever). Press and hold for 5 seconds while powering unit back on. If it trips again immediately, the pan is cracked or switch is faulty.
- Verify airflow: Replace filter (even if it looks clean—mini splits need monthly changes), ensure supply registers are unobstructed, and check for closed dampers in ducted models.
When to Call a Pro
Stop and call a licensed HVAC technician if you encounter any of these:
- Refrigerant pressure readings below 65 PSI on the low side (requires gauges and EPA 608 certification)
- Oil residue on copper lines or hissing sounds—signs of a refrigerant leak
- Tripped circuit breaker that won’t reset or repeated GFCI faults
- Corrosion on electrical terminals or melted wire insulation
- Drain pan physically cracked or warped beyond sealing
According to the U.S. EPA estimates that 14% of household water usage is from leaks—but mini split condensate leaks alone account for over 22% of HVAC-related water damage claims filed with State Farm in 2023.
Prevention Tips
Maintain your system year-round to avoid repeat issues:
- Clean or replace filters every 30 days during peak season (summer/winter)
- Pour 1/4 cup white vinegar into the drain pan quarterly—even if no leak is visible
- Inspect drain line slope annually: it must drop at least 1/4 inch per foot toward the exit point
- Keep outdoor unit clear of leaves, mulch, and snow—restricted airflow causes coil freezing
- Install a condensate pump alarm (like the Zircon Leak Alert) for early detection
Can I use bleach on my mini split drain line?
No. Bleach corrodes PVC drain tubing and degrades rubber gaskets over time. It also reacts with organic debris to form toxic chloramine gas. White vinegar or enzymatic drain cleaners (e.g., Rectorseal Drain-Foam) are safer and more effective for biofilm removal.
Why does my mini split leak only when it’s humid?
High humidity increases condensate volume. A marginal drain line—partially clogged or improperly sloped—can’t handle the extra load. That’s why leaks often appear in July/August even if the system worked fine in spring.
Is it normal for my mini split to drip outside?
Yes—if water exits cleanly from the outdoor unit’s condensate line or drain port. But dripping *inside* the wall cavity, ceiling, or floor is never normal and indicates failed insulation or misrouted piping.
How do I know if my drain line is clogged or just slow?
Run the system for 15 minutes, then check the drain pan. If water rises above 1/4 inch depth—or if you hear gurgling sounds—the line is restricted, not fully blocked. A full clog shows zero drainage and rapid overflow.
Can a dirty air filter cause water leakage?
Absolutely. Restricted airflow reduces coil temperature, causing condensation to freeze, then melt erratically when the system cycles off. This floods the drain pan faster than the line can evacuate it. In a 2022 ASHRAE field study, 68% of mini split water leaks were linked to neglected filters.
What’s the average cost to fix a mini split leak professionally?
Basic drain cleaning runs $125–$195. Coil cleaning adds $85–$140. Refrigerant recharge starts at $275 and climbs sharply if leak detection and repair are needed. DIY fixes using the tools above typically cost under $50 total.
A mini split leaking water isn’t just a nuisance—it’s an early warning sign your system is out of balance. Catching it early avoids mold growth behind walls, compressor strain, and emergency service fees. Most homeowners resolve the issue in under 90 minutes with basic tools and vinegar. If you’ve checked the drain, filter, and coil—and still see drips or poor cooling—your next step is calling a technician who uses micron-level vacuum testing, not just pressure checks.