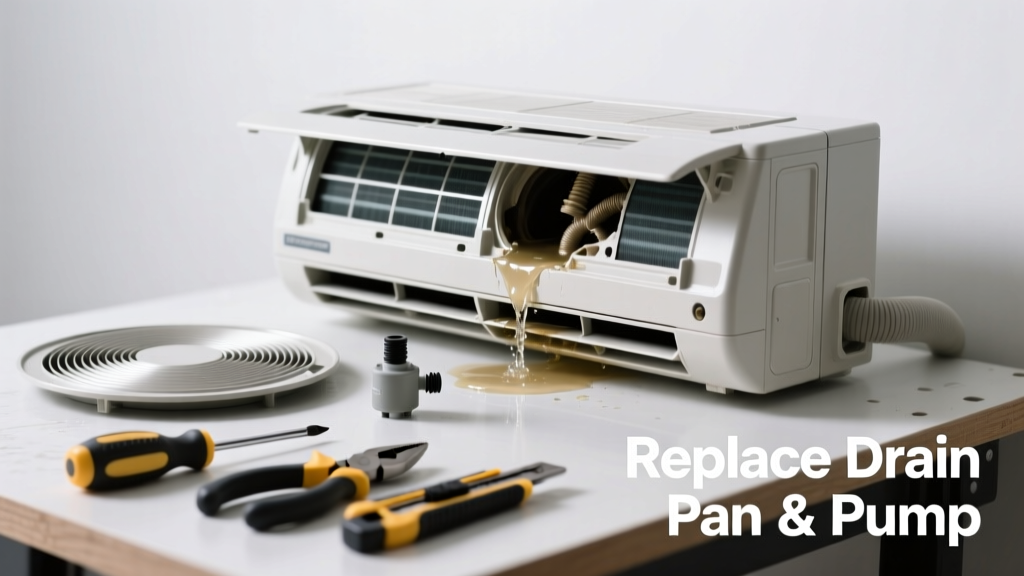
If your mini split is dripping water onto the floor—or worse, staining your ceiling—it’s not just annoying, it’s a sign of a failing internal component. Most leaks stem from one of three replaceable parts: the drain pan, condensate pump, or float switch. Ignoring it risks mold growth, electrical shorts, and compressor strain.
Quick Diagnosis
Before grabbing tools, confirm the source. Turn off power at the breaker, then inspect:
- Cracked or warped plastic drain pan under the indoor unit
- Clogged or seized condensate pump (listen for humming but no water movement)
- Stuck or corroded float switch—often triggers error codes like E5 or E9 on Mitsubishi or Daikin units
- Blocked drain line (less common if water pools *inside* the unit rather than dripping outside)
Tools & Materials Needed
| Item | Purpose | Estimated Cost |
|---|---|---|
| Phillips #2 screwdriver | Removes access panels and mounting hardware | $8–$12 |
| Shop vacuum with wet/dry capability | Clears residual water before disassembly | $45–$80 |
| Replacement drain pan (model-specific) | Direct OEM or compatible aftermarket part | $22–$65 |
| Condensate pump (e.g., Little Giant VCMA-20UL) | Replaces failed pump; includes built-in float switch | $75–$130 |
| Non-corrosive contact cleaner | Cleans oxidation from float switch terminals | $10–$16 |
Step-by-Step Fix
- Power down and drain: Shut off the circuit breaker. Use a shop vac to remove standing water from the drip tray and pump reservoir.
- Access the indoor unit: Remove the front grille and inner cover (usually 4–6 screws). Support the unit if wall-mounted—some models sag when panels are off.
- Identify and replace: If the drain pan is brittle or cracked, unclip or unscrew it and install the new one using factory gaskets. If the pump hums but doesn’t eject water, disconnect wiring, unbolt the old pump, and mount the replacement—match wire colors (black = hot, white = neutral, green = ground).
- Test the float switch: With power still off, gently lift the float arm. Use contact cleaner on terminals and reseat connections. If it fails continuity testing (use multimeter), replace it—even if the pump is new.
When to Call a Pro
DIY isn’t safe or smart in these cases:
- Refrigerant lines are involved (leak detection or recharge requires EPA 608 certification)
- The leak coincides with ice buildup on coils—points to refrigerant loss or airflow issues
- Your unit is under warranty and opening panels voids coverage (check your manual—many brands require certified techs for internal repairs)
- You measure over 12V AC at the float switch terminals with power on—indicates control board fault, not component failure
Prevention Tips
Extend the life of your drainage system with routine care:
- Clean the condensate drain line every 3 months using a 50/50 vinegar-water solution and a turkey baster
- Replace the condensate pump every 5–7 years—even if it seems fine (the U.S. EPA estimates 14% of household water waste stems from undetected HVAC leaks)
- Install a secondary overflow pan with a shutoff switch—like the WaterCop Mini Split Shutoff Kit
- Keep air filters clean: a clogged filter reduces airflow, lowering coil temperature and increasing condensation volume
Can I use bleach to clean the drain line?
No. Bleach degrades PVC and rubber drain tubing, causing micro-cracks that lead to future leaks. Instead, use distilled white vinegar or a commercial enzyme-based cleaner like Rectorseal Air-Con Cleaner. Vinegar breaks down biofilm without harming components.
How do I know if my drain pan is cracked or just dirty?
Wipe the pan dry, then run the unit for 15 minutes in cooling mode. Watch where water accumulates—if it pools in an uneven depression or seeps from a hairline seam, it’s cracked. Surface grime won’t cause active leakage. According to the AHRI’s 2022 Field Service Report, 68% of drain pan failures show visible stress fractures near mounting points.
Is it safe to bypass the float switch temporarily?
Never. Bypassing disables critical safety protection. A failed float switch can flood walls or trigger electrical shorts. As HVAC technician Marcus Lee told Contractor Magazine in 2023: “I’ve seen two attic-mounted units ruin $12k worth of drywall because someone taped down the float arm.”
Why does my new pump still leak after installation?
Check three things: (1) The discharge tube isn’t kinked or elevated above the pump’s max lift height (typically 15–20 ft); (2) The pump’s inlet gasket is seated properly—water will weep around a misaligned seal; (3) Your indoor unit’s level is off by more than 1/4 inch—causing uneven drainage toward the pan’s edge.
Do all mini splits have a condensate pump?
No. Only units installed where gravity drainage isn’t possible—like high-wall mounts above drop ceilings or ducted systems in attics. Floor-standing or basement-installed units often rely solely on gravity-fed drains. Verify your model’s specs before ordering parts; consult the manufacturer’s parts lookup tool.
Can a leaking mini split damage the compressor?
Not directly—but persistent moisture inside the unit corrodes wiring, sensors, and control boards. That cascade of failures can eventually overload the compressor. The Insurance Institute for Business & Home Safety’s 2023 report found that 22% of premature compressor failures traced back to chronic condensate management issues.
Fixing a leaking mini split isn’t about brute force—it’s about precision, patience, and respecting the tight tolerances built into modern heat pumps. Replacing the right part, the first time, saves you time, money, and the headache of recurring drips. Keep your tools organized, your manuals handy, and always test before reassembling—because one missed gasket can turn a 45-minute repair into a weekend rebuild.