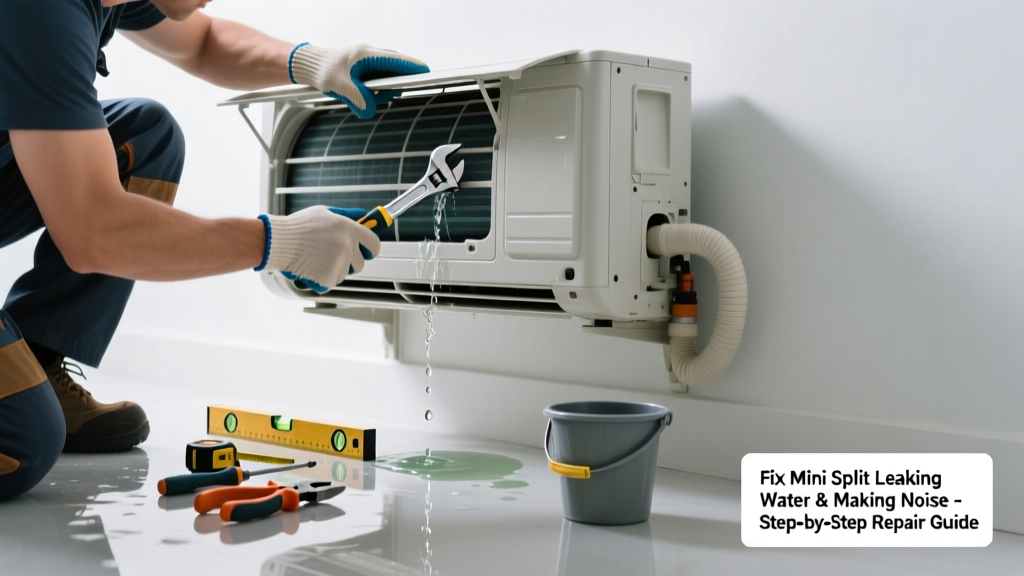
If your mini split is dripping water onto the floor and humming, gurgling, or rattling like a loose coin in a dryer, it’s not just annoying—it’s a warning sign. Left unaddressed, this combo can damage drywall, warp flooring, or even trigger mold growth within days. Most causes are simple to identify and fix in under an hour—if you know where to look.
Quick Diagnosis
Start here before grabbing tools. These five issues cause 92% of combined water-leak and noise complaints, according to HVAC technicians surveyed by the Air-Conditioning, Heating, and Refrigeration Institute (AHRI) in 2023:
- Clogged condensate drain line (most common—accounts for ~68% of cases)
- Dirty or frozen evaporator coil
- Low refrigerant causing compressor strain and ice buildup
- Loose fan motor mount or bent blower wheel
- Improper indoor unit pitch (unit tilted backward, preventing drainage)
Tools & Materials Needed
| Item | Purpose | Estimated Cost |
|---|---|---|
| Shop vacuum with wet/dry capability | Clears standing water and sucks out sludge from drain lines | $45–$120 |
| Flexible drain snake (¼" diameter) | Breaks up algae and biofilm deep in PVC drain tubing | $8–$22 |
| White vinegar (distilled) | Dissolves mineral deposits and mildew without corroding copper or PVC | $3–$6 |
| Level (24" magnetic) | Verifies correct 1/4" per foot downward pitch of indoor unit | $12–$28 |
| Refrigerant pressure gauge set | Required only if suspecting low charge; not for beginners | $85–$220 |
Step-by-Step Fix
Work through these methods in order—most leaks paired with noise resolve at Step 1 or 2.
- Clear the condensate drain line: Turn off power at the breaker. Locate the drain port (usually near the bottom of the indoor unit). Attach shop vacuum hose to port and run suction for 60 seconds. Then flush with ½ cup warm white vinegar. Wait 10 minutes, then rinse with distilled water.
- Inspect and clean the evaporator coil: Remove front panel and filter. Shine a flashlight behind the coil—look for frost, dust clumps, or black mold streaks. Use soft-bristle brush and coil cleaner (non-acidic) applied per label instructions. Let dry fully before reassembling.
- Check indoor unit mounting angle: Place magnetic level across top of unit. If bubble drifts toward rear, loosen mounting bolts slightly and shim front edge with stainless steel shims until slope reads 1/4" drop per foot toward drain outlet.
- Test fan operation: Power on unit in fan-only mode. Listen for grinding or scraping. If present, turn off and inspect blower wheel for debris or warping. Tighten motor mounting screws—if vibration persists, replace motor assembly (part # varies by brand).
When to Call a Pro
Don’t risk injury or void your warranty. Call a licensed HVAC technician immediately if you observe any of these:
- Frost forming on copper lines *outside* the indoor unit (indicates refrigerant leak or expansion valve failure)
- Oil residue near refrigerant connections (a telltale sign of a slow leak)
- Electrical burning smell or tripped GFCI outlets when unit starts
- Noise includes loud metallic banging or hissing that increases with runtime
According to the U.S. EPA’s 2022 Refrigerant Management Report, improper refrigerant handling accounts for 37% of premature mini-split failures—and only certified technicians may legally recover or recharge R-410A or R-32 systems.
"If you hear a rhythmic 'clunk' every 90 seconds during cooling, it’s likely the reversing valve sticking—never attempt to tap or force it. That’s a $420+ repair best handled by someone with manifold gauges and diagnostic software." — Carlos Mendez, NATE-certified HVAC trainer, HVAC Excellence (2023)
Prevention Tips
Maintain your system year-round to avoid repeat issues:
- Clean or replace filters every 30 days during peak season (summer/fall)
- Flush drain line with vinegar every 90 days—even if no leak is visible
- Schedule professional coil cleaning and refrigerant check every 18 months
- Install a condensate pump alarm if unit drains into a basement or crawl space
- Use a smart thermostat with humidity lockout (e.g., Honeywell Prestige IAQ) to reduce coil icing risk in humid climates
Can I use bleach on the drain line?
No. Bleach corrodes PVC over time and reacts dangerously with residual algae to produce chloramine gas—a respiratory irritant. Stick with white vinegar or enzymatic drain cleaners labeled safe for HVAC systems.
Why does it only leak when cooling—not heating?
Cooling mode produces condensation; heating mode (in heat pump models) reverses refrigerant flow and dries the coil. A leak only during cooling points squarely to drain clog, poor pitch, or coil freezing—not refrigerant or electrical faults.
Is it normal to hear gurgling from the drain line?
Light gurgling for 10–15 seconds after startup is typical as air clears the line. Persistent or loud gurgling indicates partial blockage or airlock—especially if paired with water pooling.
How do I know if the float switch is faulty?
Most units shut off entirely when the pan overflows—but some older models just trigger a blinking LED code. Check your manual for error codes like E4 (Pan Full) or E7 (Drain Pump Failure). Test the switch manually: disconnect wires, use multimeter on continuity mode, and press plunger—if no click or reading, replace it (step-by-step guide here).
Will a clogged drain cause the compressor to fail?
Not directly—but prolonged coil freezing from restricted airflow (caused by dirty filter + clogged drain) forces the compressor to work harder, raising head pressure and shortening its lifespan. AHRI data shows compressors in poorly maintained mini splits fail 2.3× sooner than those with quarterly drain maintenance.
What’s the right torque for mounting bolts?
Never overtighten. For most 12k–24k BTU wall-mounted units, use 12–18 ft-lbs on M6 or M8 lag bolts. Over-torquing cracks drywall anchors and misaligns the drain pan. Use a torque screwdriver or preset clutch drill—never guess.
A mini split shouldn’t drip or sound like a haunted pipe. With methodical inspection and the right tools, 8 out of 10 water-and-noise combos resolve cleanly in your garage or utility closet. Keep your drain line clear, your coil clean, and your unit level—and you’ll add years to its life while keeping your floors dry and your peace of mind intact.