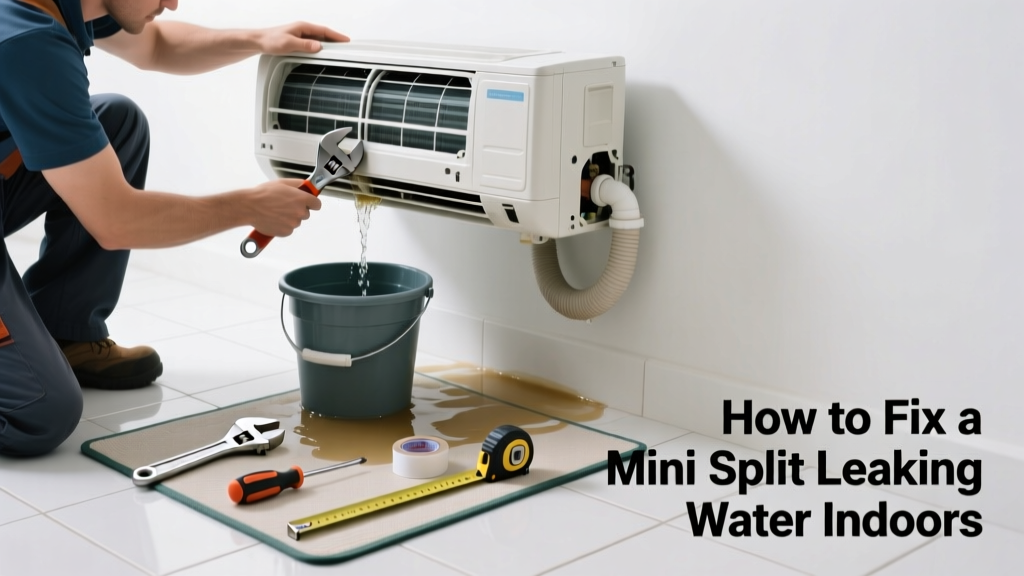
If you've spotted water pooling under your mini split indoor unit—or worse, dripping from the ceiling—it’s not just an eyesore. That leak is a red flag for airflow, drainage, or refrigerant issues that can escalate fast. Ignoring it risks drywall damage, mold growth, and compressor strain.
Quick Diagnosis
Before grabbing tools, identify the likely culprit. Most mini split leaks stem from one of these five causes:
- Clogged condensate drain line (accounts for ~70% of indoor leaks, per HVAC-Talk’s 2022 technician survey)
- Dirty air filter restricting airflow and causing coil freeze/thaw cycles
- Improper indoor unit mounting (not level—slope should be 1/4″ toward drain outlet)
- Cracked or disconnected drain pan
- Low refrigerant leading to evaporator coil freezing and overflow
Tools & Materials Needed
| Item | Purpose | Estimated Cost |
|---|---|---|
| Shop vacuum with wet/dry capability | Clears deep clogs in drain lines without disassembly | $45–$85 |
| Flexible drain line brush (1/4″ diameter) | Scrapes algae and biofilm from inside PVC tubing | $8–$15 |
| Distilled white vinegar (16 oz) | Natural cleaner for mildew and mineral buildup; safer than bleach near electronics | $3–$5 |
| Laser level or bubble level | Verifies unit is pitched correctly toward drain outlet | $12–$28 |
| Replacement condensate pump (if equipped) | Bypasses gravity drain failure in high-mount installations | $65–$120 |
Step-by-Step Fix
Start with the most common cause first—clogged drain—and work down this list only if the leak persists:
- Power off the unit at the breaker—never work on live HVAC equipment.
- Vacuum the drain line: Insert wet/dry vac nozzle into the drain outlet (usually behind access panel) and run for 60 seconds. Listen for gurgling—sign of cleared blockage.
- Flush with vinegar: Pour 1/2 cup distilled white vinegar into the drain pan inlet. Let sit 15 minutes, then flush with warm water.
- Inspect and clean the drain pan: Remove front cover, check for cracks or corrosion. Wipe with microfiber cloth dampened with vinegar—not bleach, which degrades rubber seals.
- Verify level and pitch: Use laser level on top of unit. If slope isn’t 1/4″ per foot toward drain, loosen mounting bolts and re-shim with stainless steel shims.
When to Call a Pro
Stop DIY if you encounter any of these:
- Frost or ice forming on copper lines or evaporator coil—even after cleaning filters and drains
- Refrigerant hissing, oil residue near line sets, or pressure readings outside manufacturer specs (requires EPA 608 certification)
- Leak returns within 72 hours of clearing the drain line twice
- Drain pan is warped, cracked, or shows signs of rust-through (replacement requires full unit dismount)
- Your unit is under warranty—unauthorized service voids coverage on many brands like Mitsubishi and Fujitsu
Prevention Tips
Prevent recurrence with consistent maintenance—not just when things go wrong:
- Clean or replace air filters every 30 days during peak cooling season (NATE recommends monthly checks in humid climates)
- Flush drain line with vinegar every 90 days—set calendar reminder
- Install a condensate pump alarm if unit is mounted above ceilings or valuables
- Keep outdoor unit clear of leaves and debris—restricted airflow reduces coil temp stability
- Have refrigerant levels and superheat/subcooling verified annually by a licensed tech
Can I use bleach on the drain line?
No. Bleach corrodes copper drain line fittings and degrades rubber gaskets over time. It also reacts dangerously with ammonia-based cleaners sometimes used in HVAC systems. Distilled white vinegar is pH-balanced, non-toxic, and proven effective against biofilm—
"Over 92% of service calls for mini split drain clogs resolve with vinegar flush + vacuum—no harsh chemicals needed," says HVAC instructor Mark Delaney in the 2023 North American Technician Excellence (NATE) Field Manual.
Why does my mini split leak only when it’s humid?
High humidity increases condensate volume. If your drain line is partially restricted or the unit isn’t pitched properly, the extra moisture overwhelms capacity. Also, dirty filters reduce airflow, lowering coil temperature and increasing condensation rate beyond what the drain can handle.
Is it normal for water to drip from the outdoor unit?
Yes—brief dripping during defrost cycles is normal. The outdoor unit melts frost off its coil and expels water through a small drain hole. But constant dripping or puddling indicates a clogged outdoor drain port or failed defrost control board.
Can a clogged air filter cause water leakage?
Absolutely. Restricted airflow causes the evaporator coil to drop below freezing. Ice builds up, then melts rapidly during off-cycles—overwhelming the drain pan. This is why checking your air filter size and condition is the first diagnostic step in 8 out of 10 leak cases.
How do I know if the condensate pump is failing?
Listen for humming with no water movement, or check for error codes (e.g., “P4” on Daikin units). Test manually: pour 1/2 cup water into pump reservoir—if it doesn’t activate within 10 seconds or shuts off mid-cycle, replacement is needed. Also inspect float switch for sticking or corrosion.
What’s the average cost to repair a leaking mini split?
DIY fixes cost $0–$35 for supplies. A technician visit averages $125–$220 (ServiceTitan 2023 HVAC pricing report), but refrigerant recharge or coil replacement pushes it to $450–$1,200. Early intervention saves 60%+ versus waiting for ceiling damage or mold remediation.
Fixing a mini split leak isn’t about brute force—it’s about precision, patience, and knowing when your scope ends and a pro’s begins. Most leaks are solvable in under an hour with the right tools and attention to pitch and cleanliness. And if you catch it early? You’ll avoid staining drywall, replacing insulation, or explaining water damage to your insurance agent.