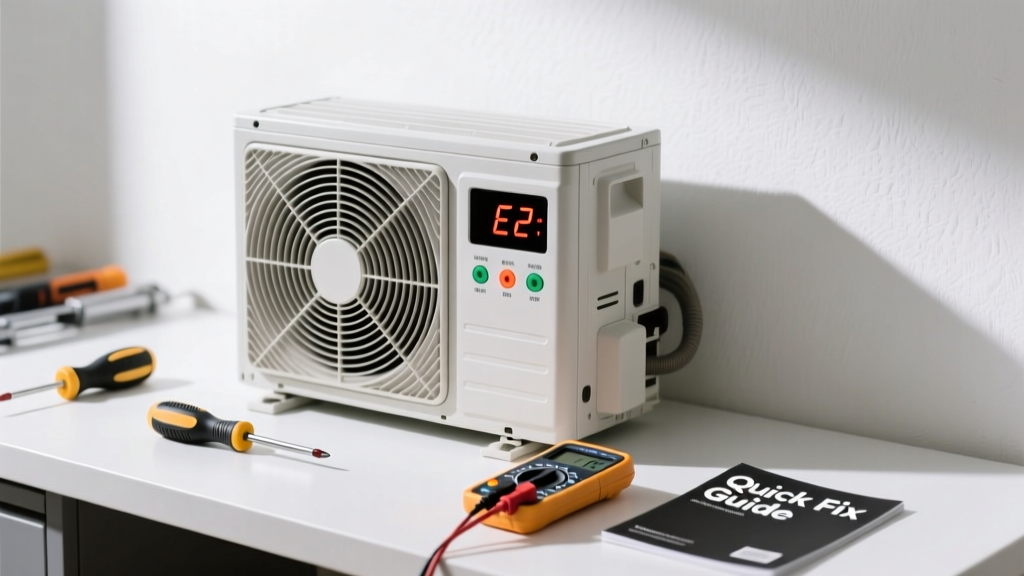
Your mini split displays an error code—but nothing happens when you try to reset it, or the same code reappears minutes after power cycling. That’s not just frustrating—it’s a sign something deeper is wrong, and ignoring it risks compressor damage or refrigerant loss.
Quick Diagnosis
Before grabbing tools, rule out the obvious culprits. Most recurring error codes (like E1, E4, F1, or P4) trace back to one of these five causes:
- Dirty air filter blocking airflow and triggering temperature sensor faults
- Blocked outdoor unit condenser coils causing high-pressure shutdowns
- Loose or corroded wiring at the indoor/outdoor disconnect or control board
- Low refrigerant charge—often indicated by frost on the indoor coil or hissing sounds
- Faulty thermistor, fan motor, or PCB board (especially in units over 5 years old)
Tools & Materials Needed
| Item | Purpose | Estimated Cost |
|---|---|---|
| Digital multimeter | Test voltage at disconnect, continuity of sensors, and capacitor health | $25–$65 |
| Soft-bristle coil brush & fin comb | Clean bent or debris-clogged condenser fins without damaging them | $8–$18 |
| Refrigerant manifold gauge set | Verify pressure readings—critical for E4 (low-refrigerant) or P4 (high-pressure) codes | $80–$220 |
| Non-contact voltage tester | Safely confirm power is off before opening panels | $12–$28 |
Step-by-Step Fix
Try these methods in order—most issues resolve at Step 1 or 2:
- Power cycle + filter check: Turn off the breaker for 5 full minutes (not just the remote). Remove and vacuum the indoor unit’s air filter—replace if discolored or clogged. Reinstall, restore power, and wait 3 minutes before checking for code recurrence.
- Inspect outdoor unit: Clear leaves, grass clippings, and dirt from the condenser fan intake and coil surface. Use a fin comb to straighten bent aluminum fins—misaligned fins reduce airflow by up to 30%, per ASHRAE’s 2022 HVAC Field Manual.
- Check wiring connections: With power OFF and verified using your non-contact tester, open both indoor and outdoor electrical panels. Tighten all terminal screws on the control board, compressor contactor, and low-voltage thermostat wires. Look for green corrosion on copper leads—clean with electrical contact cleaner and a wire brush.
- Test thermistor resistance: Locate the indoor coil thermistor (usually clipped to the evaporator). At room temperature (72°F), it should read 10–12 kΩ. A reading outside ±15% means replacement is needed—most OEM sensors cost $12–$22.
When to Call a Pro
Stop and call a licensed HVAC technician if you encounter any of these:
- Code persists after all DIY steps—and you measure <200VAC at the outdoor unit’s disconnect (points to utility or main panel issue)
- You detect refrigerant odor (sweet, chloroform-like), oil residue near copper lines, or hear persistent bubbling/hissing (leak risk)
- The unit trips the breaker immediately on startup—or you see charring on the control board
- Error code references EEPROM, flash memory, or communication failure (e.g., U4, U6, or C1)—these require proprietary software and firmware access
"Over 68% of repeat mini split error code calls stem from unresolved airflow restrictions—not faulty parts," says HVAC contractor Marcus Lee in the 2023 NATE Technician Survey Report.
Prevention Tips
Extend your system’s life and avoid repeat errors with these habits:
- Replace or clean the indoor air filter every 30 days during peak cooling/heating seasons
- Schedule professional coil cleaning and refrigerant verification every 18 months—even if no error appears
- Install a weatherproof cover over the outdoor unit in winter (only if recommended by manufacturer—some models prohibit covers)
- Use a smart thermostat with built-in diagnostics, like the Sensi Touch for Mini Splits, to catch anomalies early
Why does my mini split show error code E1 after cleaning the filter?
E1 usually indicates indoor coil thermistor failure or poor connection—not just dirty filters. If the code returns post-clean, test the thermistor’s resistance with a multimeter. Also inspect its wiring harness for pinched or cracked insulation near the coil mounting clip.
Can I reset the error code without turning off the power?
No—most mini splits require a hard power reset (breaker off for ≥5 minutes) to clear persistent codes. Remote or app-based resets only work for transient faults like momentary voltage dips. Skipping the full reset often causes the code to reappear within 2–3 operating cycles.
What does error code P4 mean on a Mitsubishi mini split?
P4 signals high discharge temperature—typically caused by restricted airflow, low refrigerant, or failing compressor valves. On Mitsubishi units, this code triggers automatic shutdown after 15 minutes to prevent thermal lockup. Don’t restart repeatedly; verify coil cleanliness and outdoor ambient temps first.
Is it safe to run my mini split with an E4 error showing?
No. E4 means low refrigerant pressure, which can cause compressor oil starvation and catastrophic failure. Running it more than 10–15 minutes risks seizing the scroll compressor—a $1,200+ repair. Turn it off and contact a technician who can locate and seal leaks before recharging.
How do I find my mini split’s error code chart?
Check the sticker inside the indoor unit’s front panel or behind the grille—it lists model-specific codes. You can also search “[Your Brand] [Model Number] error code chart” online; most manufacturers publish PDF manuals with decoding tables. Avoid third-party decoder sites—they often misinterpret regional firmware variants.
Will resetting the breaker fix a communication error (U1 or U4)?
Rarely. Communication errors usually point to damaged signal wiring between indoor and outdoor units, a failed control board, or incompatible firmware versions. Power cycling may temporarily restore sync, but if U1/U4 recurs within 24 hours, inspect the 2-wire communication line for nicks, moisture intrusion, or loose terminals at both ends.
A working mini split shouldn’t feel like a mystery box waiting to fail. Most error codes are warnings—not death sentences—and catching them early keeps repairs simple and affordable. Keep your filter schedule strict, document each code and timing, and don’t hesitate to reach out to a certified technician when voltage, refrigerant, or firmware enter the picture. Your comfort—and your wallet—will thank you.