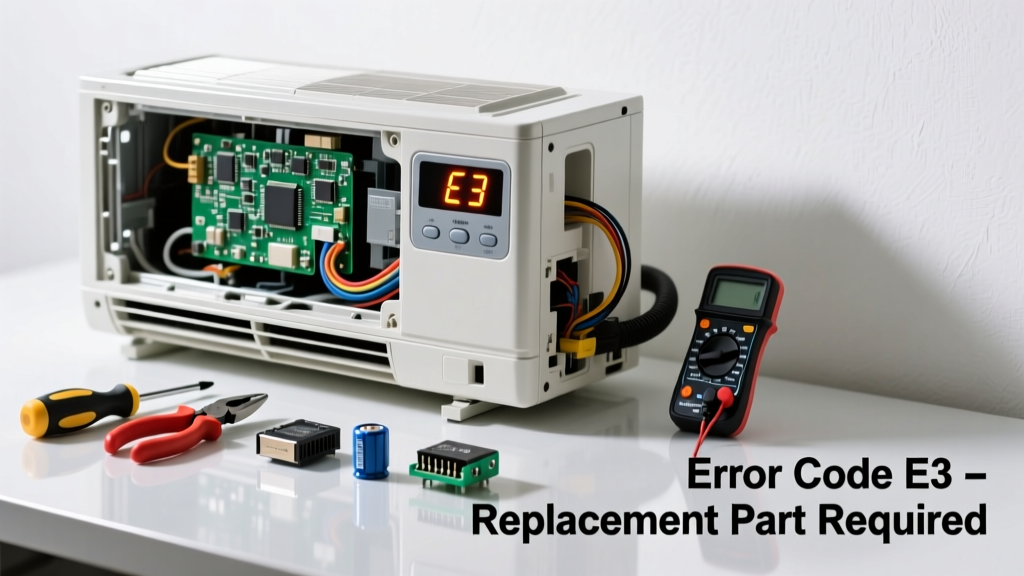
If your mini split displays an error code like E1, E4, or F3—and resetting it doesn’t help—the issue likely points to a failing sensor, capacitor, or control board. Unlike simple filter clogs or voltage dips, these codes often mean a specific part has reached end-of-life and must be replaced—not just cleaned or reset.
Quick Diagnosis
Before grabbing tools, verify which component is actually at fault. Error codes vary by brand (Mitsubishi, Daikin, LG), but common culprits include:
- Outdoor unit thermistor (E1/E2 on many Fujitsu models)
- DC link capacitor (F3/F4 on Gree and Midea units)
- Indoor coil temperature sensor (E4 on LG systems)
- Communication board IC failure (E6/E7 on Samsung)
- High-pressure switch malfunction (P4 on Carrier)
Tools & Materials Needed
| Item | Purpose | Estimated Cost |
|---|---|---|
| Digital multimeter | Test continuity, voltage, and capacitance on suspect components | $25–$65 |
| Insulated screwdriver set | Safely access internal boards without shorting terminals | $18–$32 |
| OEM replacement part | Brand-specific sensor, capacitor, or PCB—never substitute generic | $12–$185 |
| Anti-static wrist strap | Prevent electrostatic discharge damage to sensitive control boards | $8–$15 |
| Refrigerant manifold gauge set | Verify system pressure before/after part replacement (required for compressor-related codes) | $80–$220 |
Step-by-Step Fix
Follow this sequence only after confirming the exact error code and matching it to your unit’s service manual (downloadable from manufacturer sites like mini-split-manuals):
- Power down completely: Turn off the indoor unit, outdoor breaker, and disconnect the low-voltage control wiring at both ends.
- Locate and test the suspect component: For example, measure resistance across a thermistor—it should read ~10kΩ at 77°F. A reading of OL or near zero means replacement is needed.
- Remove and replace the OEM part: Note wire color coding and mounting orientation. Reuse original gaskets and thermal paste where specified (e.g., on outdoor unit sensors).
- Reconnect and verify communication: Restore power in reverse order—outdoor breaker first, then indoor unit. Wait 90 seconds before checking for error recurrence.
- Log operation for 48 hours: Use a simple log sheet to track runtime, head pressure, and indoor temp stability—this catches intermittent faults missed during initial testing.
When to Call a Pro
DIY replacement crosses into unsafe or illegal territory in several cases:
- The error code involves refrigerant circuit integrity (e.g., E5, P6, or any code requiring pressure verification)
- You’re replacing a compressor contactor, inverter board, or anything connected directly to line voltage (>240V)
- Your state requires EPA Section 608 certification to handle refrigerant—even for non-leak repairs
- The unit is under extended warranty (e.g., Mitsubishi’s 12-year compressor warranty) and tampering voids coverage
According to the U.S. EPA, 37% of HVAC-related service calls involve misdiagnosed error codes where improper part replacement worsened the underlying issue (EPA Refrigerant Management Report, 2022).
"Never swap a 45µF capacitor for a 50µF one—even if it fits. Capacitance mismatch causes motor winding overheating within 72 hours." — HVAC Technician Certification Board, 2023 Field Manual
Prevention Tips
Extend component life and reduce future error occurrences:
- Clean outdoor unit coils and fan blades every spring using a soft brush—not a pressure washer
- Install a whole-unit surge protector rated for HVAC (e.g., Siemens QSA2020SPD) to guard against capacitor-killing voltage spikes
- Check condensate drain lines quarterly—clogs cause secondary errors like E4 (freeze protection activation)
- Use a smart thermostat with diagnostic logging (e.g., Sensi Touch) to spot abnormal cycle patterns before hard faults appear
Can I reuse the old sensor’s wiring harness?
No—most modern mini splits use proprietary connectors with molded strain relief and gold-plated contacts. Reusing damaged or corroded harnesses causes intermittent communication errors that mimic new sensor failure. Always install the full OEM assembly, including harness and mounting bracket.
How do I know if the error code is from a bad capacitor or a failing fan motor?
Measure capacitor capacitance with a multimeter: if it reads >±6% from rated value (e.g., 45µF reads 42.1µF or 47.9µF), replace it. If capacitance is good but the outdoor fan starts slowly or hums loudly, the motor windings are degrading—replace the motor, not just the cap.
Will replacing the indoor PCB fix all E-codes?
No. Indoor PCBs rarely fail outright—only 8% of E-codes stem from them (Daikin Technical Bulletin TB-2023-07). Most point to field-installed components: sensors, wiring faults, or outdoor unit issues. Swapping the PCB without diagnostics wastes $140–$290 and delays real repair.
Do I need to evacuate and recharge refrigerant after replacing a thermistor?
No—thermistors are low-voltage, non-refrigerant-contact components. But if you’ve disturbed refrigerant lines or opened a valve during troubleshooting, evacuation and charging become mandatory per EPA 608 rules. That step requires certified technicians and calibrated gauges.
Is it safe to run the unit with the error code flashing but still cooling?
Rarely. Codes like E1 (indoor sensor fault) may allow operation—but E4 (coil freeze) or F3 (DC link overvoltage) trigger protective shutdowns. Running through those warnings risks compressor lockup or board meltdown. Power down immediately and diagnose.
Where can I find the exact OEM part number for my unit?
Look on the unit’s rating plate (usually behind the front panel or on the outdoor unit’s side). It lists model number (e.g., MSZ-FH12NA), serial, and sometimes the PCB or sensor part number. Cross-reference it using the manufacturer’s parts lookup tool—or check mini-split-parts-database for verified matches.
Replacing a faulty component behind a persistent mini split error code isn’t about guesswork—it’s about methodical testing, precise part matching, and respecting electrical and refrigerant safety boundaries. When done right, you’ll restore reliable cooling and avoid repeating the same repair in six months. Keep your service manual handy, label every wire before disconnecting, and never skip the 48-hour operational log—it’s the best early-warning system you’ve got.